A cross-reference can contain multiple subfields. For example, the text "For further information, see 'Deciduous vines' on page 226" would use Section Name and Page Number subfields.
Subfields allow Affinity to keep cross-references up to date as a document's content changes, with little or no effort on your part.
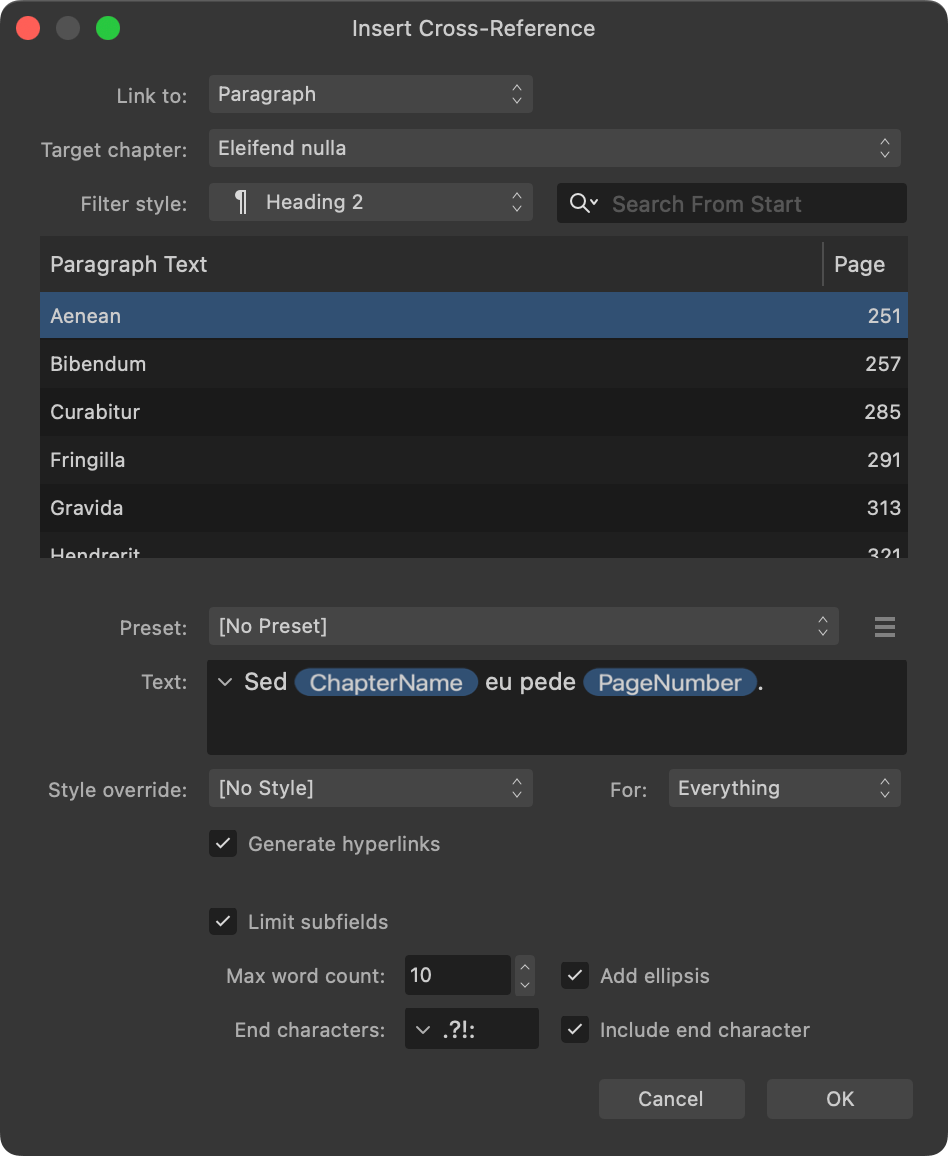
When inserting or editing a cross-reference, the following options are available for setting the cross-reference's text:
- Preset—Select a preset to populate the Text option with previously saved content.
- Preset Actions—the following options are available:
- Language—Select the language whose presets you wish to use or manage.
- Create Preset—Creates a new preset from the current text and formatting settings.
- Save Preset—Updates the selected preset with the current text and formatting settings.
- Rename Preset—Changes the selected preset's name.
- Delete Preset—Deletes the selected preset.
- Text—Enter the phrase you wish your cross-reference to display in document text. It can contain regular text and subfields.
Inserting subfields
The following subfields can be inserted into the text by clicking the downwards-pointing arrow (top left of the option) and then selecting from the menu:
- Page Number—Displays the publication page number that contains the cross-reference's target.
- Section Name—Displays the name of the document section that contains the cross-reference's target. (Nothing is displayed if the section is unnamed.)
- Chapter Name—Displays the current document's name as it appears on the Books panel. The document must be a chapter of an open book.
- Object Description—Displays the name of the cross-reference target's entry on the Layers panel.
- Anchor Name—Displays the name of the cross-reference's targeted anchor.
- Above/Below—Displays the cross-reference target's position in the document relative to the cross-reference.
- Numbered Paragraph—Displays the target paragraph's text. If the target is a numbered list item, its item number/letter is included.
- Paragraph Body—Displays the target paragraph's text. If the target is a numbered list item, its item number/letter is excluded.
- List Number—Displays the target's item number/letter, if the target is a numbered list item. (Otherwise, 0 is displayed.)
- Note Number—Displays the target's note reference, if the target is a note body. (Otherwise, 0 is displayed.)
Special characters including tab and various kinds of dash and space can also be inserted via the arrow.