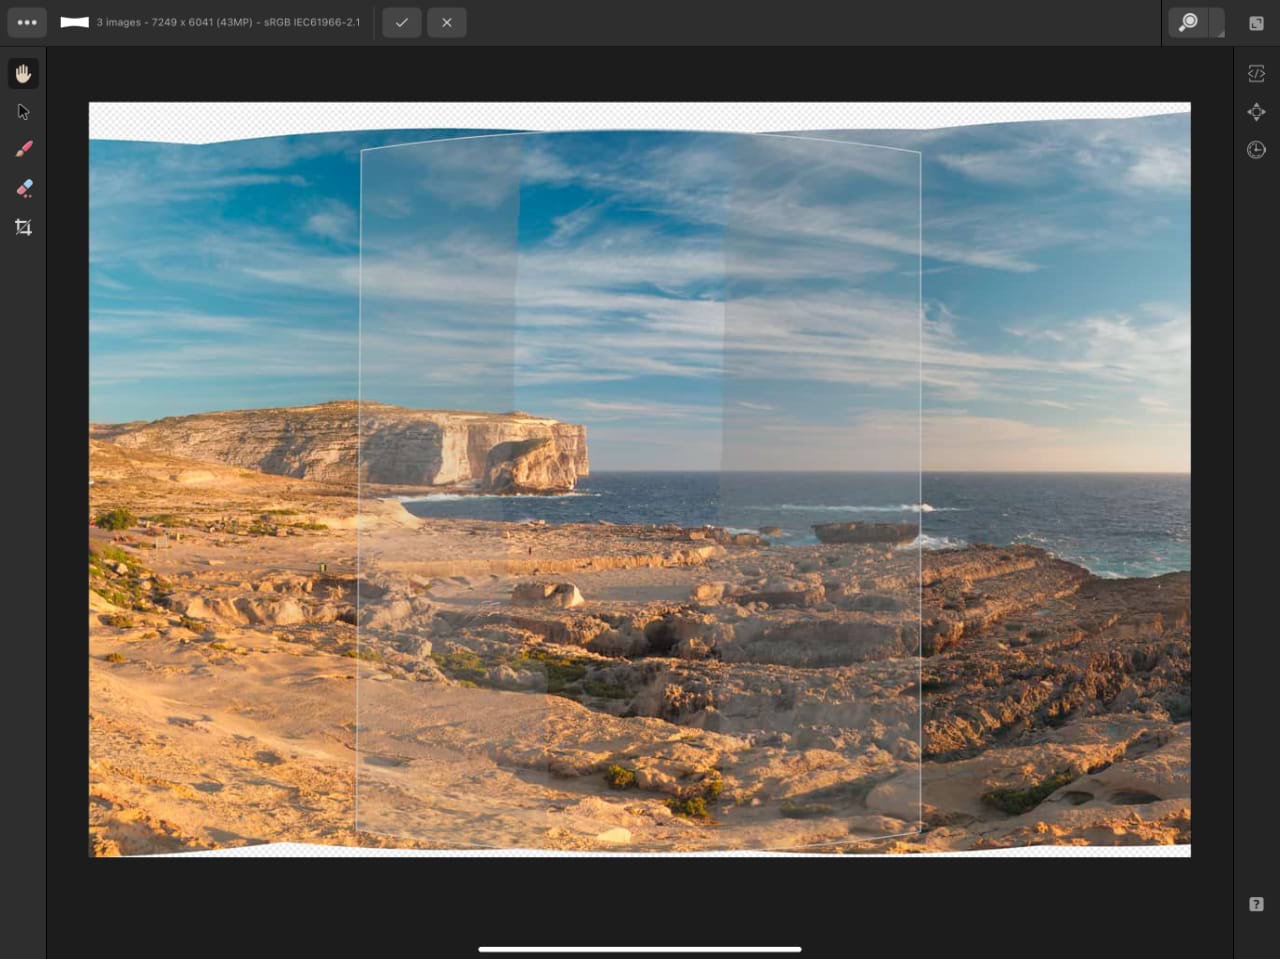
To edit a panorama:
- Create a new panorama following the instructions listed in Stitching panoramas.
- When the initial stitching is complete, the panorama will be opened with a selection of tools available.

- To correct alignment, use the Transform Tool and drag the corner handle of any image to transform it. You can also drag from the image center to alter the image's position.
- For more detailed editing, use the Brush Tool to paint in areas that you want to use from the stack's surrounding images. Use the Erase Tool to remove areas.
- Make your edits accordingly, then select Apply and the final panorama will be rendered.