Transforming is a general term to describe the repositioning, sizing (scaling), rotation, shearing or flipping of objects. Several choices are available:
- "by eye": Using the Move Tool or by dragging control/rotation handles.
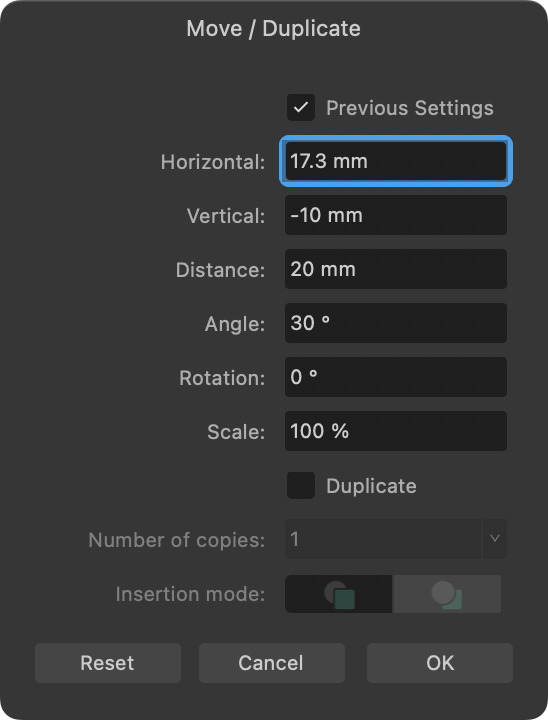
- Move data entry: For accurate repositioning, rotating, scaling and duplicating of layer content by dialog.
- Transform panel: For accurate repositioning, resizing, rotating and shearing objects via panel.