Changing the UI appearance

Affinity Photo 2 has a dark User Interface (UI) by default. This makes it easier to accurately view and edit the colours in your document. However, you can swap the UI from dark to light (and vice versa), adjust the background greyscale or the overall gamma for contrast changes, and switch from colourised to monochromatic iconography in the UI.

Dark and Light Photo UI Styles
Dark vs light UI styles.
Colourised and monochromatic UI icons
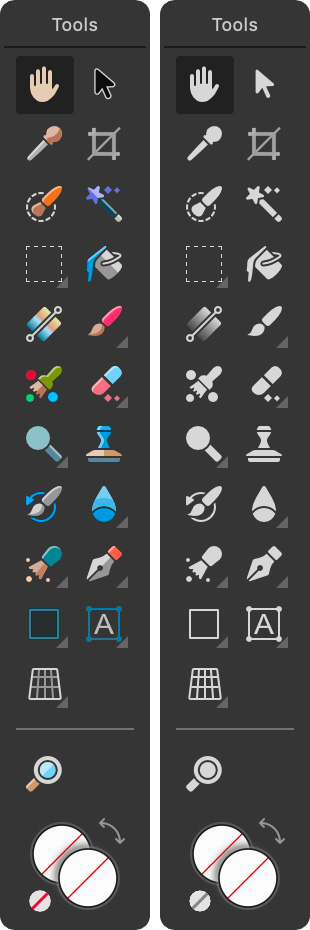
Colourised (default) vs monochromatic iconography.
To change the UI from dark to light (or vice versa):
  1. Choose Affinity Photo 2>Settings (or >Preferences).
  2. Choose Edit>Settings (or >Preferences).
  3. Click the User Interface label.
  4. For UI Style, choose either Dark or Light.
To change the UI background, Artboard background or Gamma level:
  1. Choose Affinity Photo 2>Settings (or >Preferences).
  2. Choose Edit>Settings (or >Preferences).
  3. Click the User Interface label.
  4. Drag the sliders to set the Background Grey level, Artboard Background Grey level and/or UI Gamma level.
To display monochromatic icons in the UI:
  1. Choose Affinity Photo 2>Settings (or >Preferences).
  2. Choose Edit>Settings.
  3. Click the User Interface label.
  4. For Icon Style, choose Mono.

SEE ALSO: