Grouping objects
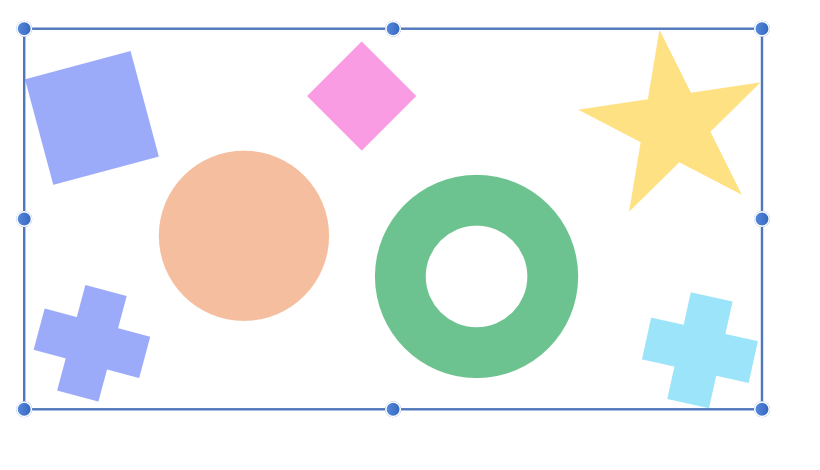
Objects can be grouped together to assist with design composition. One or more groups can also belong to a 'parent' group, in which case they are nested groups.

Objects can be grouped together to assist with design composition. One or more groups can also belong to a 'parent' group, in which case they are nested groups.

Grouped objects remain together so they can be easily selected, moved, copied, and edited as if they are a single object.
Groups, and nested groups, can be broken apart at any time into their separate components or objects. Ungrouping can be performed on individual groups, or across multiple or nested groups using a single command.
You can enable Ask for name when creating Layers and Groups setting to be prompted to name them upon creation. This is found in the Settings>User Interface section.