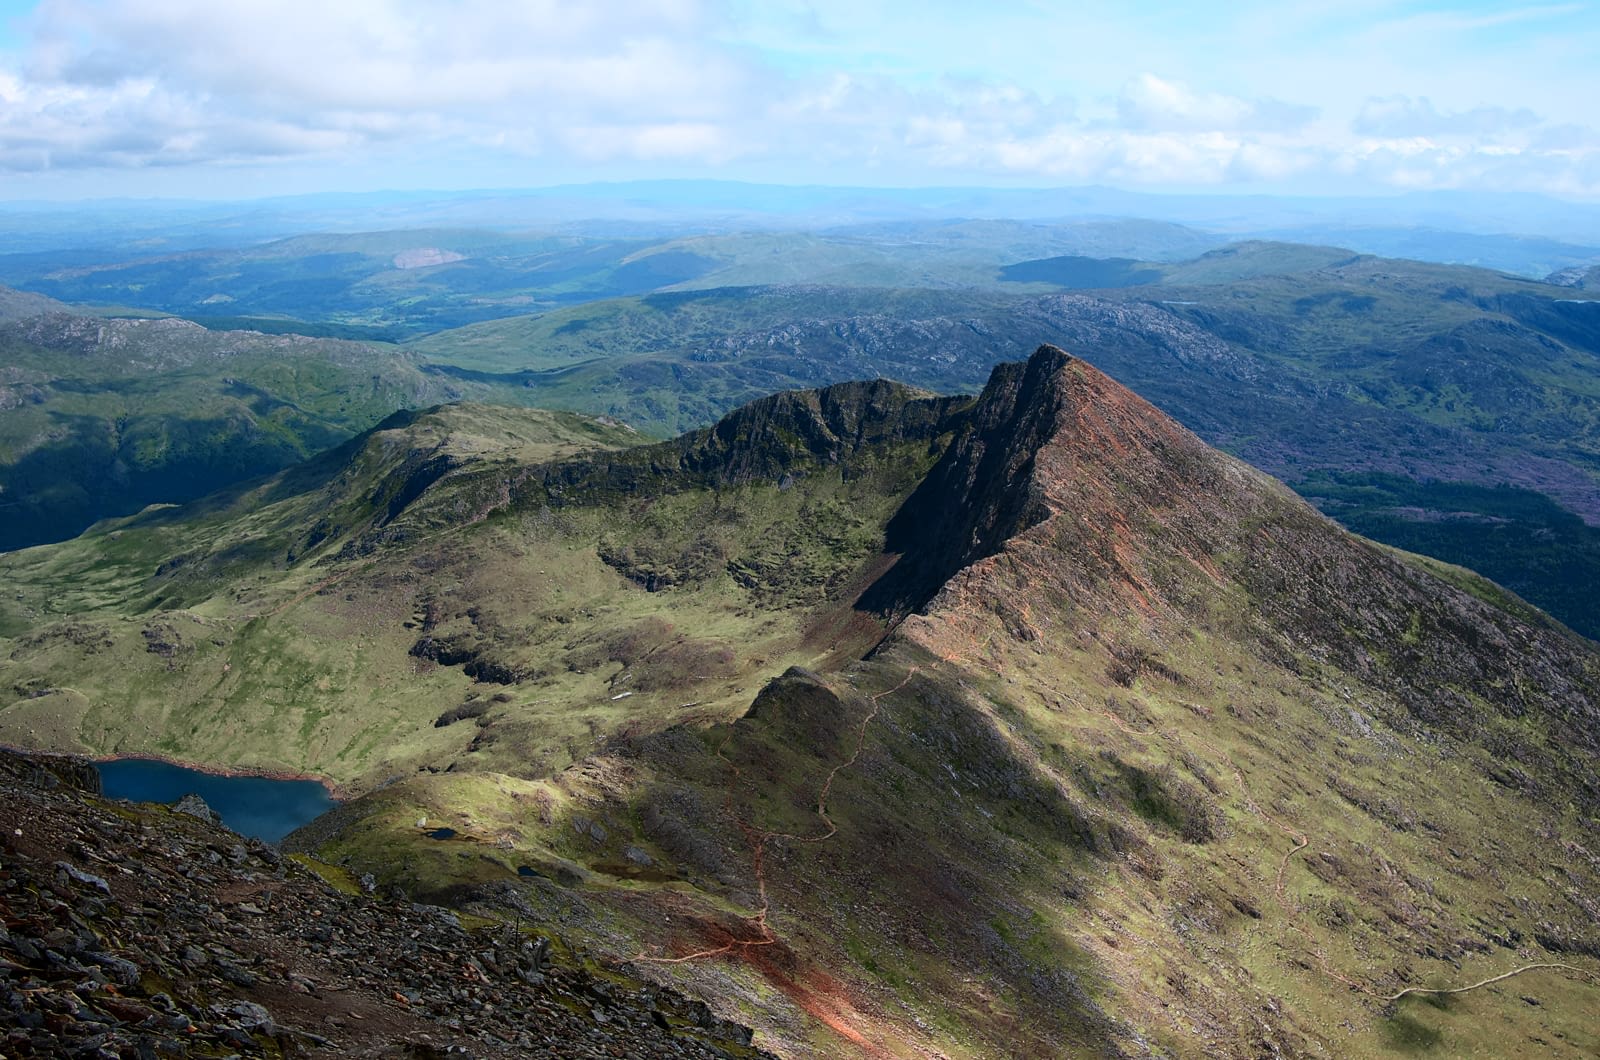
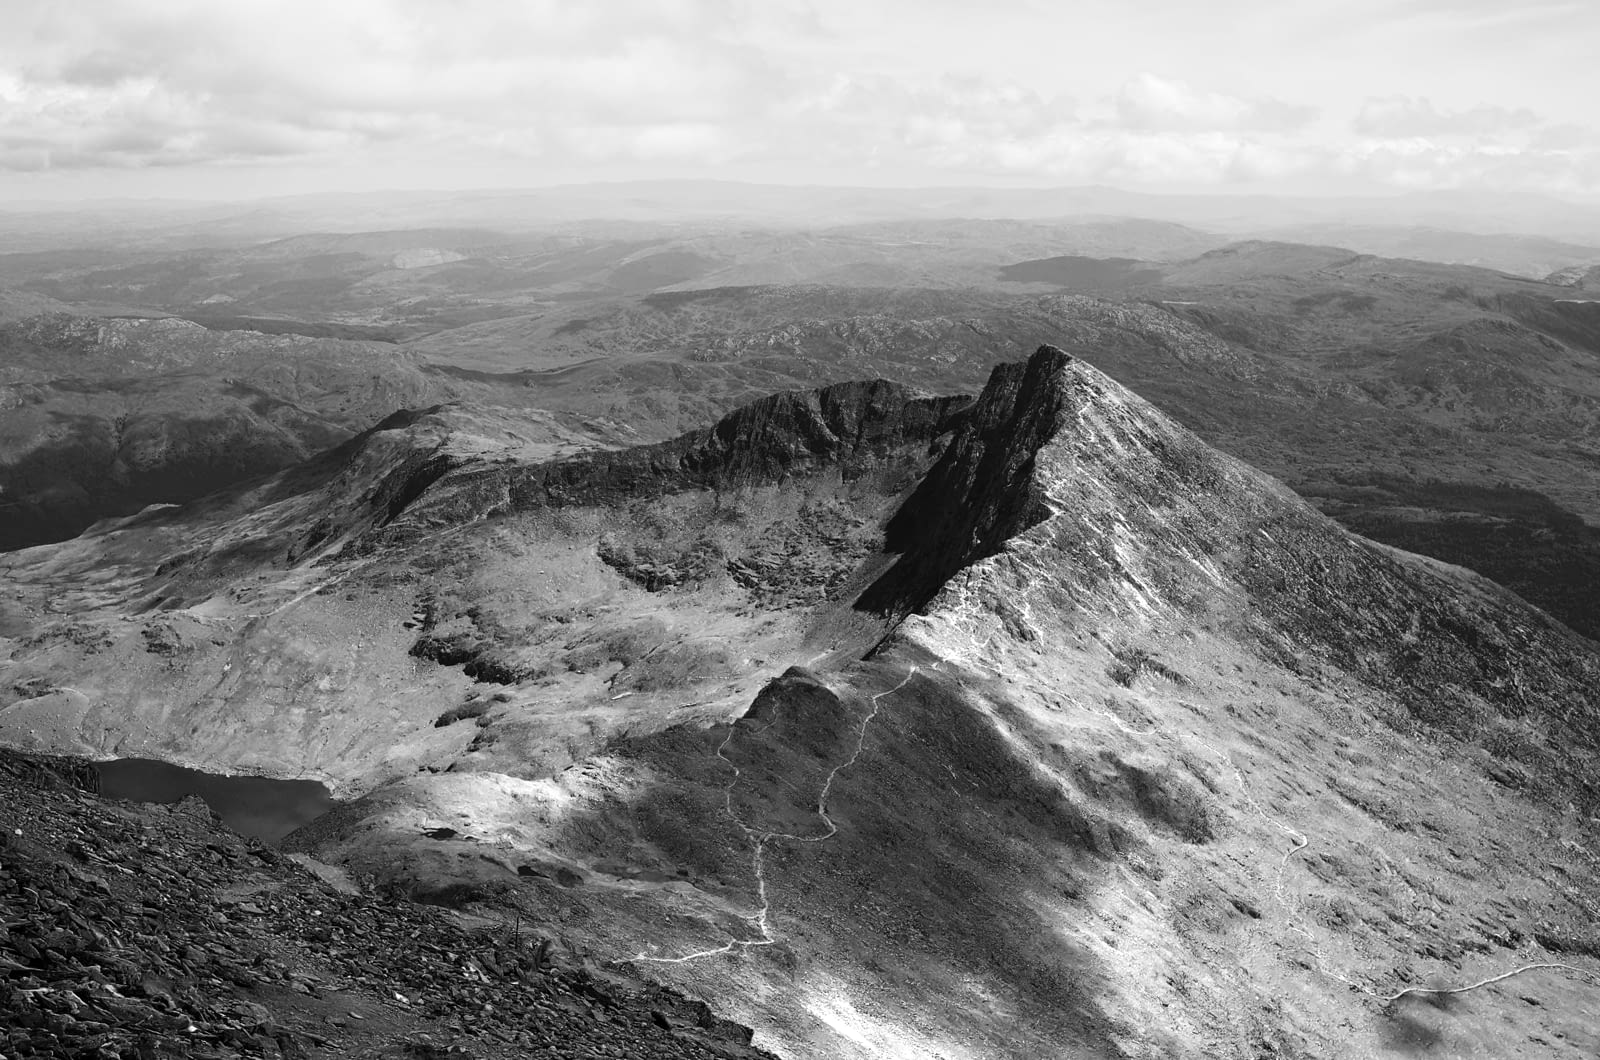
Adjustment layers
Use adjustment layers to apply an adjustment to a specific layer, group, object or an image on your page. This is carried out non-destructively (i.e., without permanently affecting the original layer or object).


Use adjustment layers to apply an adjustment to a specific layer, group, object or an image on your page. This is carried out non-destructively (i.e., without permanently affecting the original layer or object).


Adjustments are applied from the Adjustments panel and most include customisable settings alongside general adjustment options. Once applied, they can be identified as both an adjustment and a specific adjustment type by using unique symbols.

There may be times that you only want to apply an adjustment layer to either a single layer (e.g., a placed image) or a group of layers. This is easily achieved by clipping.
When an item is selected, the adjustment layer is applied to just that item, i.e. it is clipped. With no selection in place, the adjustment is applied to the entire spread.
If there was no item selected, the adjustment is added to the top of the layer stack.
On the Layers panel, do one of the following: