To access the Table Formats panel:
Do one of the following:
- From the View menu, select Table Formats from the Studio options.
- From the Table menu, select Show Table Formats.
 To create a new custom table format from scratch:
- From the Table Formats panel, click on the Panel Preferences menu and choose Create New Format.
To save a table as a new custom table format:
- With a table selected on the page, from the Table Formats panel, click on the Panel Preferences menu and choose Add Format from Selection.
To edit a custom table format:
Do one of the following:
- To edit the custom table format directly, from the Table Formats panel, click on a table format's preferences menu and choose Edit "[Table format name]".
- To create and edit a copy of the custom table format, from the Table Formats panel, click on a table format's preferences menu and choose Edit copy of "[Table format name]".
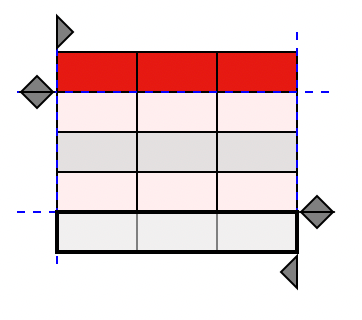
The Edit Table Format dialog displays a preview of the header and row cells that make up the table format on the left, a list of available formats which can be applied to the table in the center, and formatting properties on the right.

Selecting table cells from the preview window will highlight the style for reformatting in the central Cell Formats pane.
To resize the preview table:
- From the table preview window, click the small - and + buttons located at the top left and bottom right corners respectively to adjust the number of visible cells.
To create a new cell format:
- From the Cell Formats pane, click the + button.
To delete an existing cell format:
- From the Cell Formats pane, click the - button.