Using adjustment layers

Use adjustment layers to apply an adjustment to a specific layer, group, object or an image on your page. This is carried out non-destructively (i.e., without permanently affecting the original layer or object).
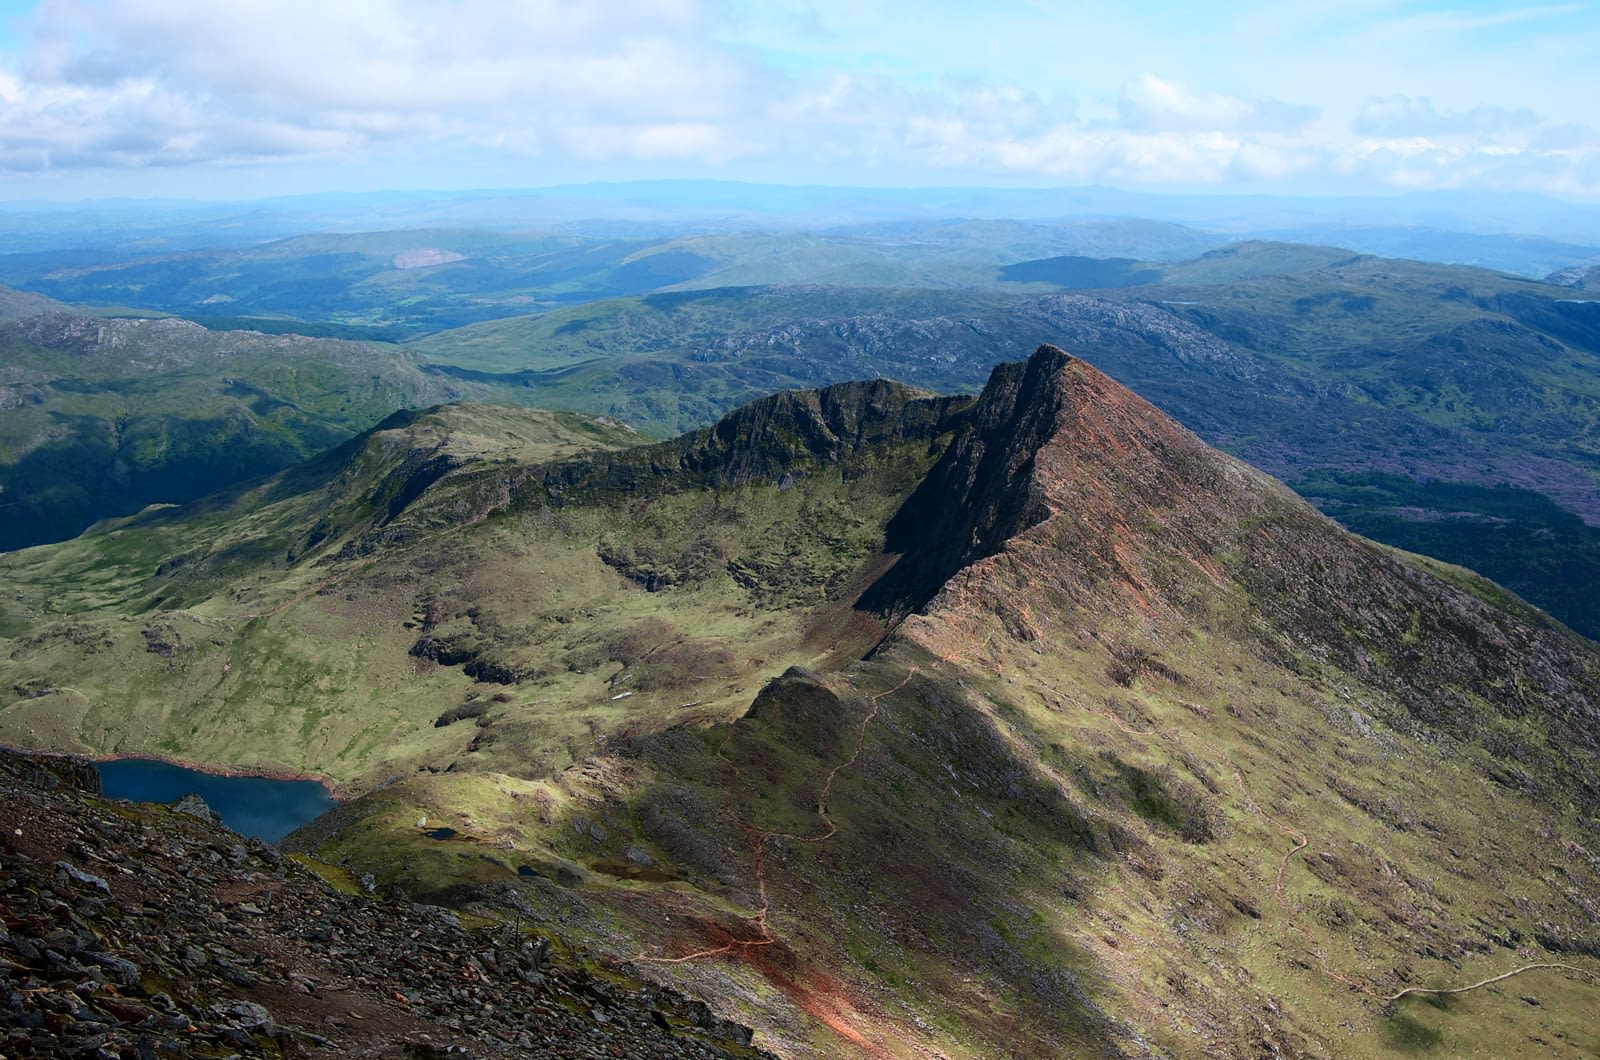
Before
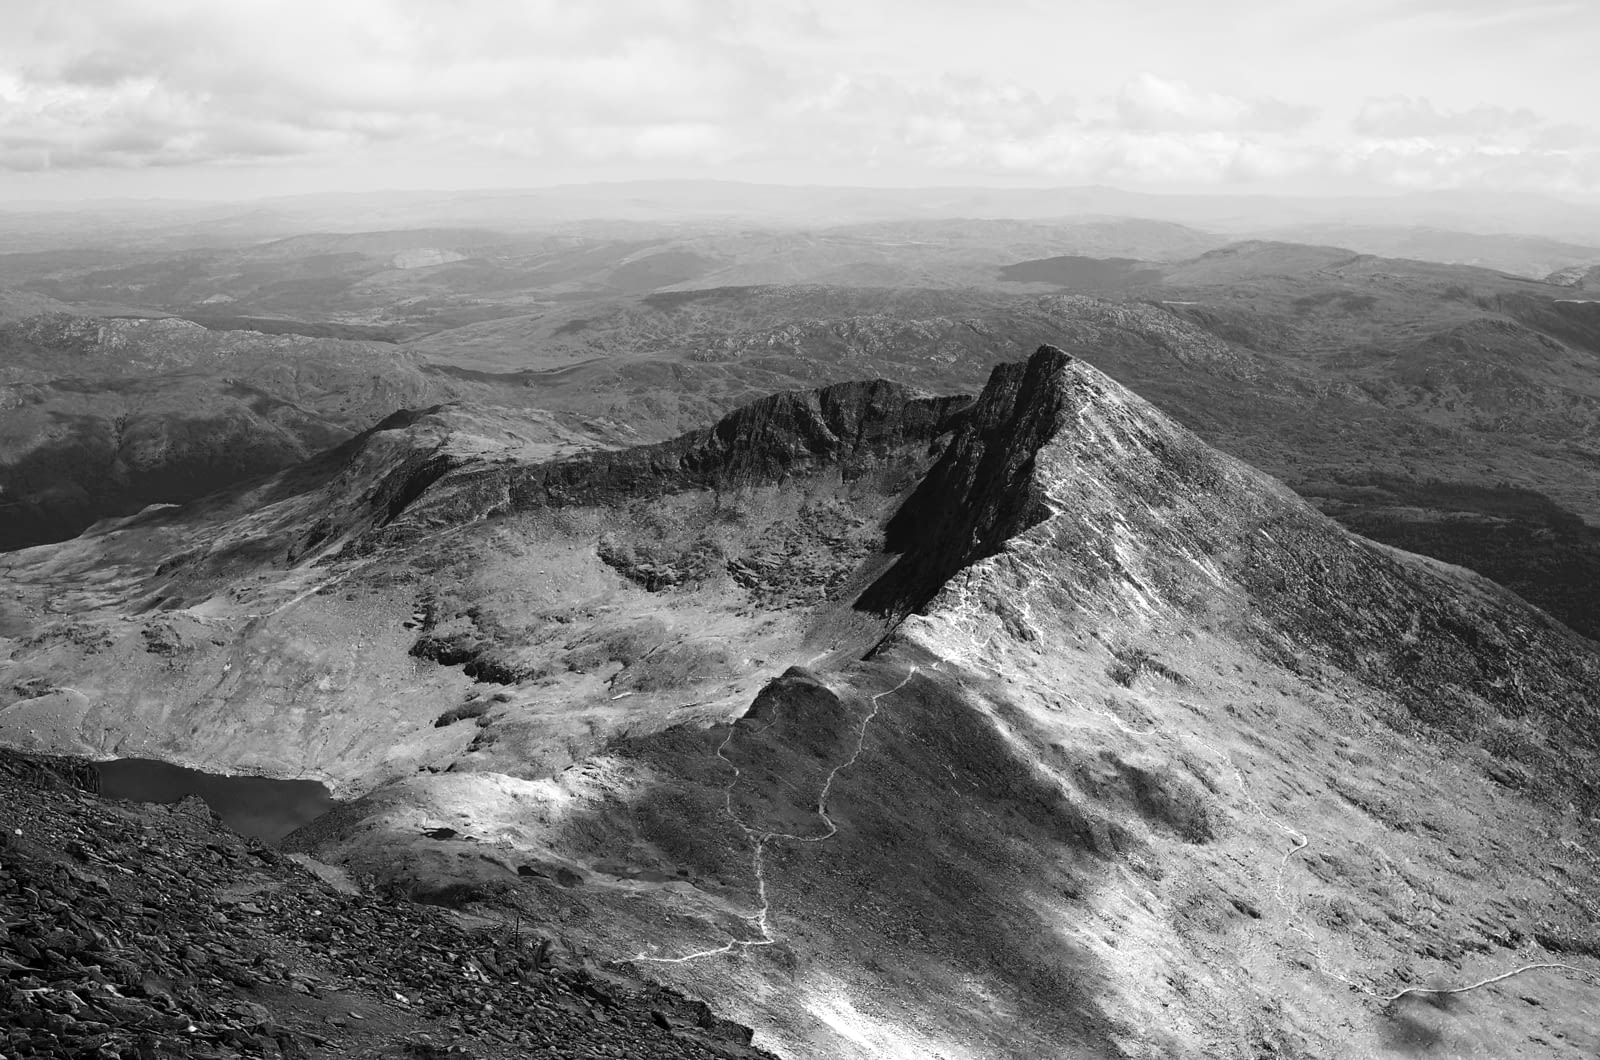
After
Black and White adjustment applied to placed image.

About adjustment layers

The Layers panel provides a range of adjustments directly from the panel. When an item is selected, the adjustment layer is applied to just that item, i.e. it is clipped. With no selection in place, the adjustment is applied to the entire spread.

With Photo Persona, adjustment layers can also have mask properties. Areas of an adjustment layer can be revealed or hidden in the same way as with a mask layer.

Adjustments To apply an adjustment:
  1. On the Layers panel, do one of the following:
    • Select a layer to add the adjustment as a child of the layer. It will affect all objects on the selected layer.
    • Select an object, group or image to add the adjustment to the item, affecting just that item only.
    • Deselect all items to add the adjustment at the top of the layer stack, applying the adjustment to all items below it (the entire spread).
  2. Click Adjustments and select an adjustment from the pop-up menu.
  3. If a dialog appears for the adjustment, follow the steps below:
    1. Adjust the settings in the dialog.
    2. Click Close.
To modify, merge or delete an adjustment layer:
  1. In the Layers panel, double-click the adjustment layer that you want to modify.
  2. Adjust the settings in the dialog.
  3. Click Close to apply the changes, Merge to apply the changes and merge the adjustment with the layer beneath, or Delete to remove the adjustment layer entirely.
To move an adjustment layer:

Do one of the following:

SEE ALSO: