Print

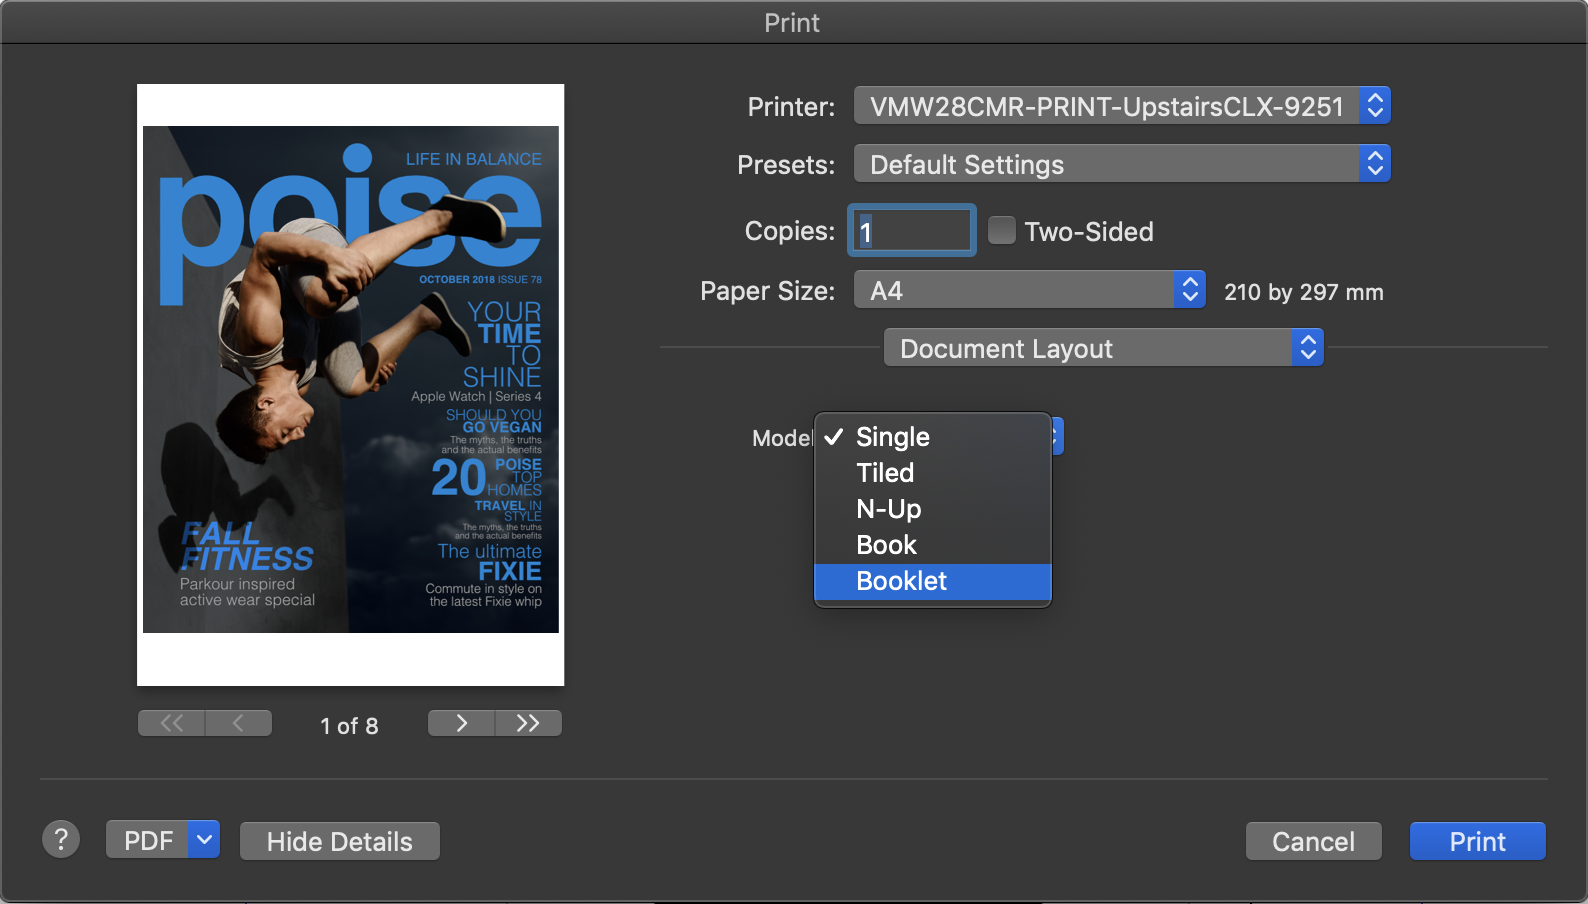
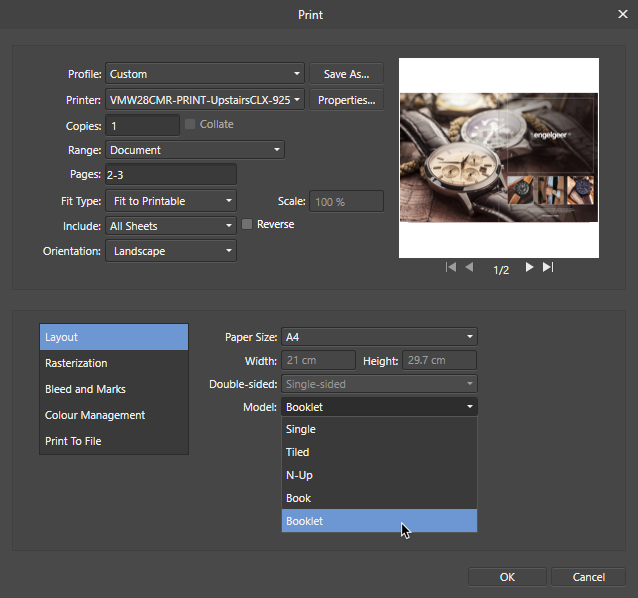
You can print specific or all pages of your publication, or choose various layouts such as tiled, N-Up (ganged) or booklet.

Print dialog showing layout options

Print dialog set up showing layout options.

Print dialog showing layout options

Print dialog set up showing layout options.

About printing

The print feature lets you print out your document using different layouts.

The final print of the page will include all currently visible objects. Layer visibility and exportability is controlled by the Layers panel.

When printing, you may be warned about overflowing text in your publication. To resolve, check your text frames for frame text that extends over the frame end.

More about printing booklets

It's possible to automatically impose your booklet and print directly to your printer or generate a PDF output, which acts as a 'stepping stone' before being sent for physical printing.

Imposition means that your pages are flipped and reordered at print time so that when printed sheets are produced, they can be folded so pages come together in their correct order.

Booklet setup tips

These simple tips will help you get great results:

To print single, multiple or all pages:
  1. From the File menu, select Print.
  2. In the Print Options pop-up menu, select Range and Scale, then set your Range and Pages options. For the latter, you can use '1,3,5', '1-5', '1,3 4-6' or other combinations.
  3. In the dialog, set your Range and Pages options. For the latter, you can use '1,3,5', '1-5', '1,3 4-6' or other combinations.
  4. Click Print.
To print tiled or N-Up (ganged) output:
  1. From the File menu, select Print.
  2. In the Print Options pop-up menu, select Document Layout.
  3. From the dialog, select Layout from the lower-left Categories list.
  4. From the Model pop-up menu, select 'Tiled' or 'N-Up'.
  5. In the dialog, adjust settings as appropriate.
  6. Click Print.
To print as a booklet
  1. From the File menu, select Print.
  2. From the dialog, set your Paper Size, e.g. A4.
  3. From the dialog, select Layout from the lower-left Categories list, then set your Paper Size, e.g. A4.
  4. In the Print Options pop-up menu, select Document Layout.
  5. From the dialog, select Layout from the lower-left Categories list.
  6. From the Model pop-up menu, select 'Booklet'. This instructs the print process to impose the pages.
  7. In the Print Options pop-up menu, select Layout.
  8. From the Two-Sided pop-up menu*, choose 'Short-Edge Binding'.
  9. In the Double-sided pop-up menu*, select Flip short side.
  10. Click Print.

* This step assumes you're using duplex printing. If this isn't available to you, you can skip these steps and print odd and even pages on opposite sides of your paper in consecutive print stages. Use 'Odd Only' and 'Even Only' options in the Print Options pop-up menu's 'Paper Handling' section.

SEE ALSO: