Exposure merging using stacks
Exposure merging brings together images deliberately shot at different exposure levels to produce an image of a higher dynamic range. Such an approach is likely when areas in your shot are in high contrast and you'd like to bring together differently exposed areas as a solution.
Not to be confused with HDR merge, exposure merging composites images without creating an HDR image or applying HDR tone mapping, producing quicker and often more natural results.
Exposure 01
Exposure 02
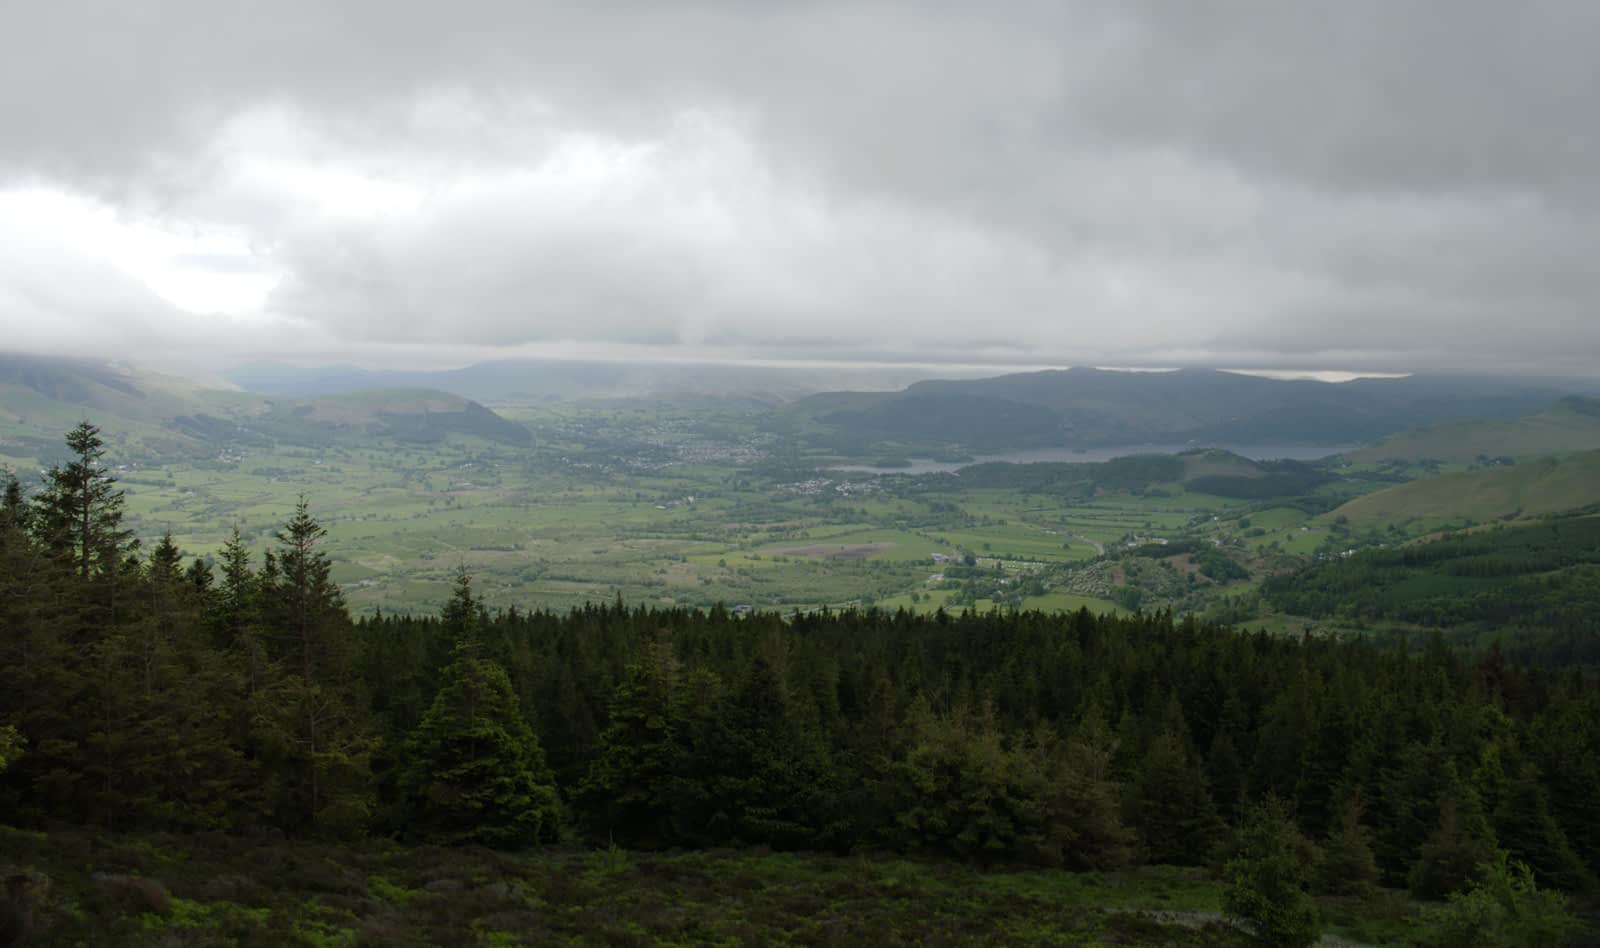
Final Exposure