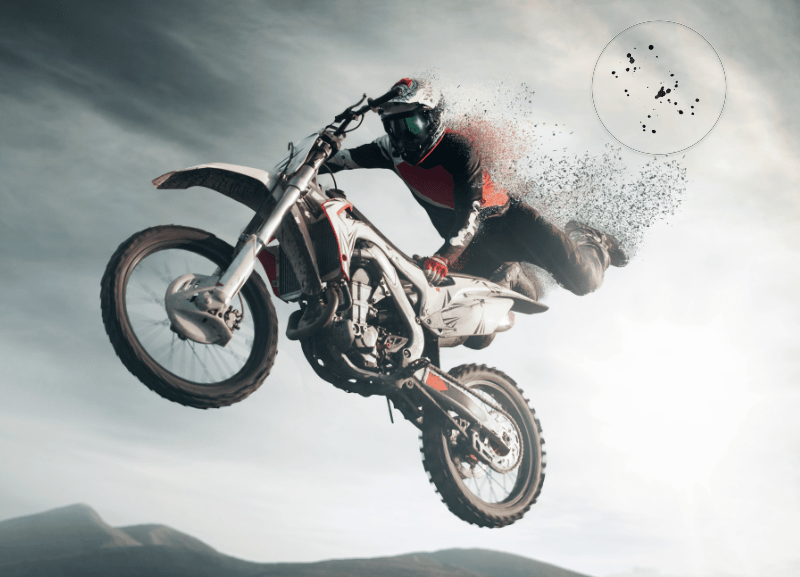
Sprays and Splatters
Oils
Pencils
Masking
Dry Media
Watercolor
Markers

Painting
Whether you want to add lens flare, clouds or smoke to create a fantasy-like composition, simulate splatter or spray strokes to add drama to a scene, or perhaps turn your photo into an oil or watercolor painting to achieve that classic and timeless look, Affinity Photo 2 comes packed with a plethora of brush choices for numerous creative applications.
Irrespective of brush tool, an impressive selection of categorized brushes is available for use from the Brushes panel. Each category in the panel contains brushes of varying styles, properties and characteristics.
Your last used brush will be remembered the next time you use the Paint Brush Tool. Any alterations to brush settings made via the context toolbar for a specific brush will be remembered the next time that brush is used, i.e. every brush can have its own customized context toolbar settings. If altered, you can reset any brush's context toolbar settings back to brush defaults at any time.
If you want to create your own custom brushes, these can be stored in the panel for future use. You can also import brushes (.abr and .afbrushes formats) via drag-drop from your Files app onto the Brushes panel.
Mirror painting
Using the Symmetry and Mirror options found on the context toolbar, you can create variable repeating patterns with radial or Mandala-style symmetry. See Symmetry and Mirror for more information.
By default, if you switch away from a brush tool, when you return to it the last used brush will be remembered (even any modified settings), with the Brushes panel automatically scrolling to the brush; switching across brush categories is automatic. You can switch off auto-scrolling/auto-switching in the Brushes panel's preferences if needed.
 To paint brush strokes:
- Use the Layers panel to select the layer that you want to work on, or create a new layer.
- From the Tools panel, select the Paint Brush tool.
- From the Brushes panel, select a brush thumbnail of your choice. The tool defaults to the last used brush or a soft-round brush upon first use.
- Adjust the context toolbar and vertical sliders settings.
- Select a stroke color from the context toolbar or the Color panel.
- Drag on the page in the direction that you want the brush stroke to follow.
To smooth brush strokes as you paint:
- On the context toolbar, navigate to the Stabilizer option and choose one of the following:
- Rope stabilizer—drag the stroke end by a 'rope' that smooths the stroke but lets you introduce sharp corners at increasing Length (radius) values by redirecting the slackened rope.
- Window stabilizer—smooths the stroke by averaging the stroke's position over a Window whose size is configurable.

 To undo painted modifications do one of the following:
- Select the Undo Brush tool and paint over the areas previously painted to remove strokes.
- On the History panel, scroll the list and select the camera icon that corresponds with the history entry that you want to paint back to. Alternatively, you can use the slider located under the history list and drag it left to undo your strokes.
- Paint over pixels which you want to return to their original value.
 To erase brush strokes after you paint:
- From the Pixel Persona, select the Erase Brush tool.
- (Optional) From the Brushes panel, choose a brush thumbnail that you painted with.
- Adjust the context toolbar and vertical sliders settings.
- Drag on the page in the direction that you want the erase brush stroke to follow.
To rotate the brush nozzle as you paint using a keyboard:
- Tap the left or right arrow keys to adjust the rotation of the nozzle.