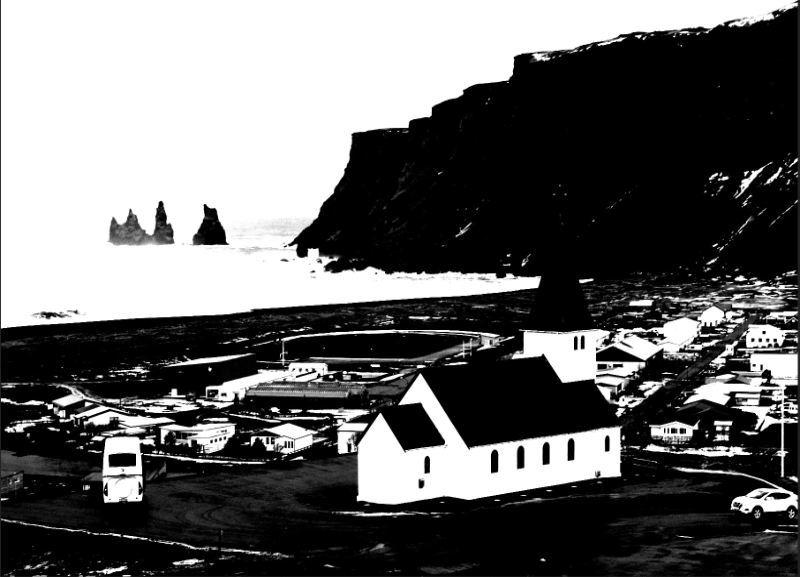
Masking from channels
Create masks based on channel information to selectively apply and mask adjustments and filters to your compositions.


Create masks based on channel information to selectively apply and mask adjustments and filters to your compositions.


Masking using channel information is a great alternative to working with selections, where parts of compositions can be fine-tuned with more precision. Extracting pixel information from only certain areas, while excluding others from adjustments, is naturally where masking from channels can help. This is particularly true if the areas to extract pixel information from are complex and so other methods of working (such as using Flood Select or Selection Brush tools) take too long or aren't accurate enough.
Adding an Adjustment or Filter (as required) will limit its effect to the area selected based on channel information. Alternatively, your workflow may include an inverted selection mask to target specific and complex areas.