About cropping
Use cropping for practical reasons or aesthetic reasons equally. For instance, an unwanted object or person can be excluded which might otherwise detract from your desired image. Aesthetically, you can balance image content in your composition so that it is more appealing to the eye.
Affinity Photo 2 lets you crop unconstrained or to original or custom aspect ratios. For print or web delivery, you can specify common print sizes (e.g., 6" x 4") or create pixel-accurate custom crop regions, respectively.
If snapping is active, the crop area can snap to page edges and guides when being resized or moved.
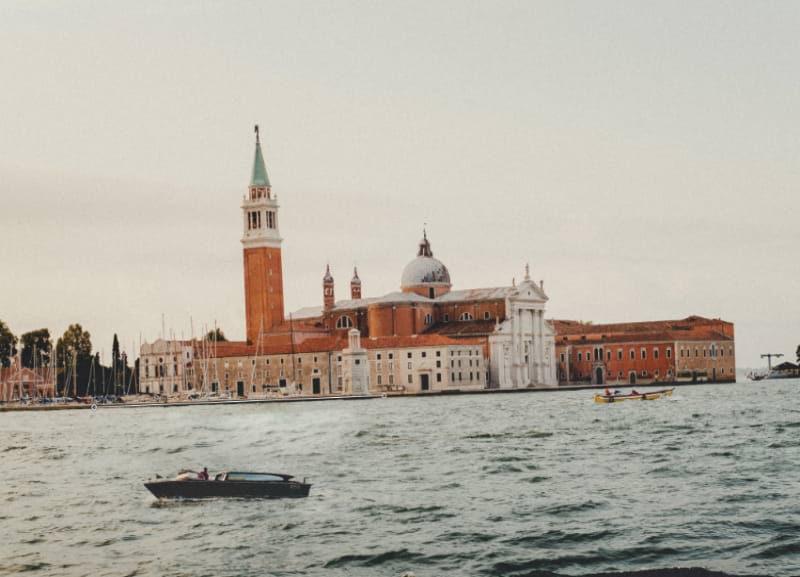
Unconstrained (Portrait)
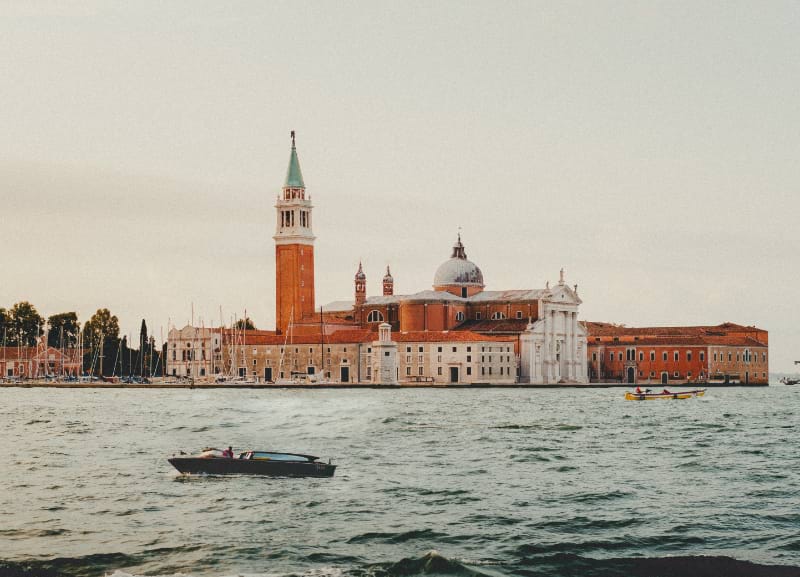
Unconstrained (Landscape)
Original Ratio
Custom Ratio (16x9)
Resample (6inx4in; 300 dpi)
Crop modes
When cropping, you may wish to work unconstrained or to specific ratios or absolute dimensions. These are some of the options available:
- Unconstrained—The crop area can be sized freely.
- Original Ratio—Retains your image's original aspect ratio.
- Custom Ratio—Uses the adjacent input boxes to set the ratio—width in the left box, height in the right box. Can be saved as a preset.
- Resample—Use the adjacent Width and Height settings to set dimensions for the crop area at your chosen measurement Units and DPI. This is a great way to crop to a chosen print size (e.g., 10in x 8in) with print-ready resolution, e.g. a DPI of 300.
You can crop to absolute pixel dimensions by entering pixel width and height values adjacent to the Mode setting.
Straighten images
When activated, dragging on the page will orient the photo to align it with the drawn line. We recommend using a reference within your photo such as the horizon or the edge of a building. When straightening or rotating an image, the crop box automatically adjusts to fit the new composition excluding any transparent areas.
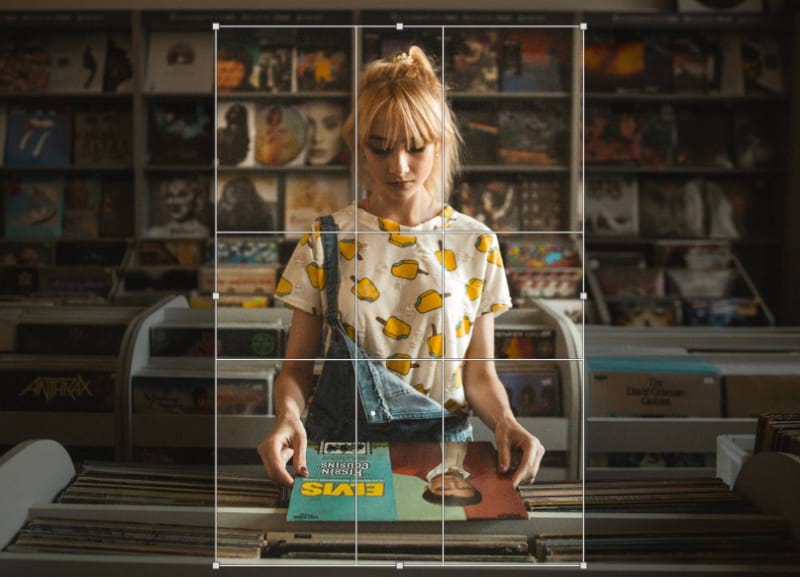
Compositional overlays
If you're cropping to remove unwanted subject matter in your image, compositional overlays can be ignored. However, if you're looking for better composition, one of several overlays can be used. The examples below show a post-crop overlay applied to aid composition.
Thirds Grid
Golden Spiral
Diagonals
Phi Grid
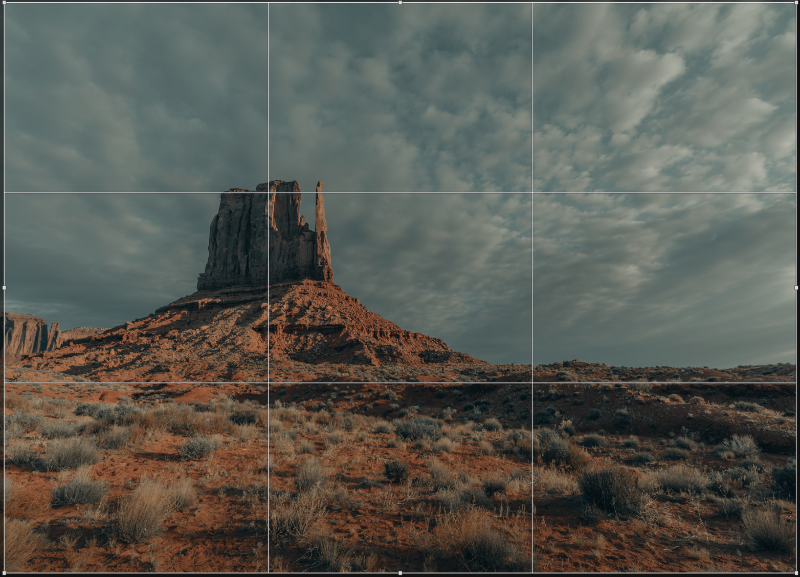
- Thirds Grid—Shown by default, the Rule of Thirds grid's intersection lines can be positioned over an object of interest in your image.
- Golden Spiral—Size and position the grid so the inner origin of the spiral is centered over the subject of interest; this balances the composition naturally. Also known as Fibonacci Spiral or divine proportions.
- Diagonals—Position two objects of interest under the diagonal line intersections to balance the objects against each other.
- Phi Grid—Unlike the Rule of Thirds, this grid doesn't divide the frame into nine equal frames; instead, only the top and bottom segments are the same. Position the subject of interest within the center of the frame.