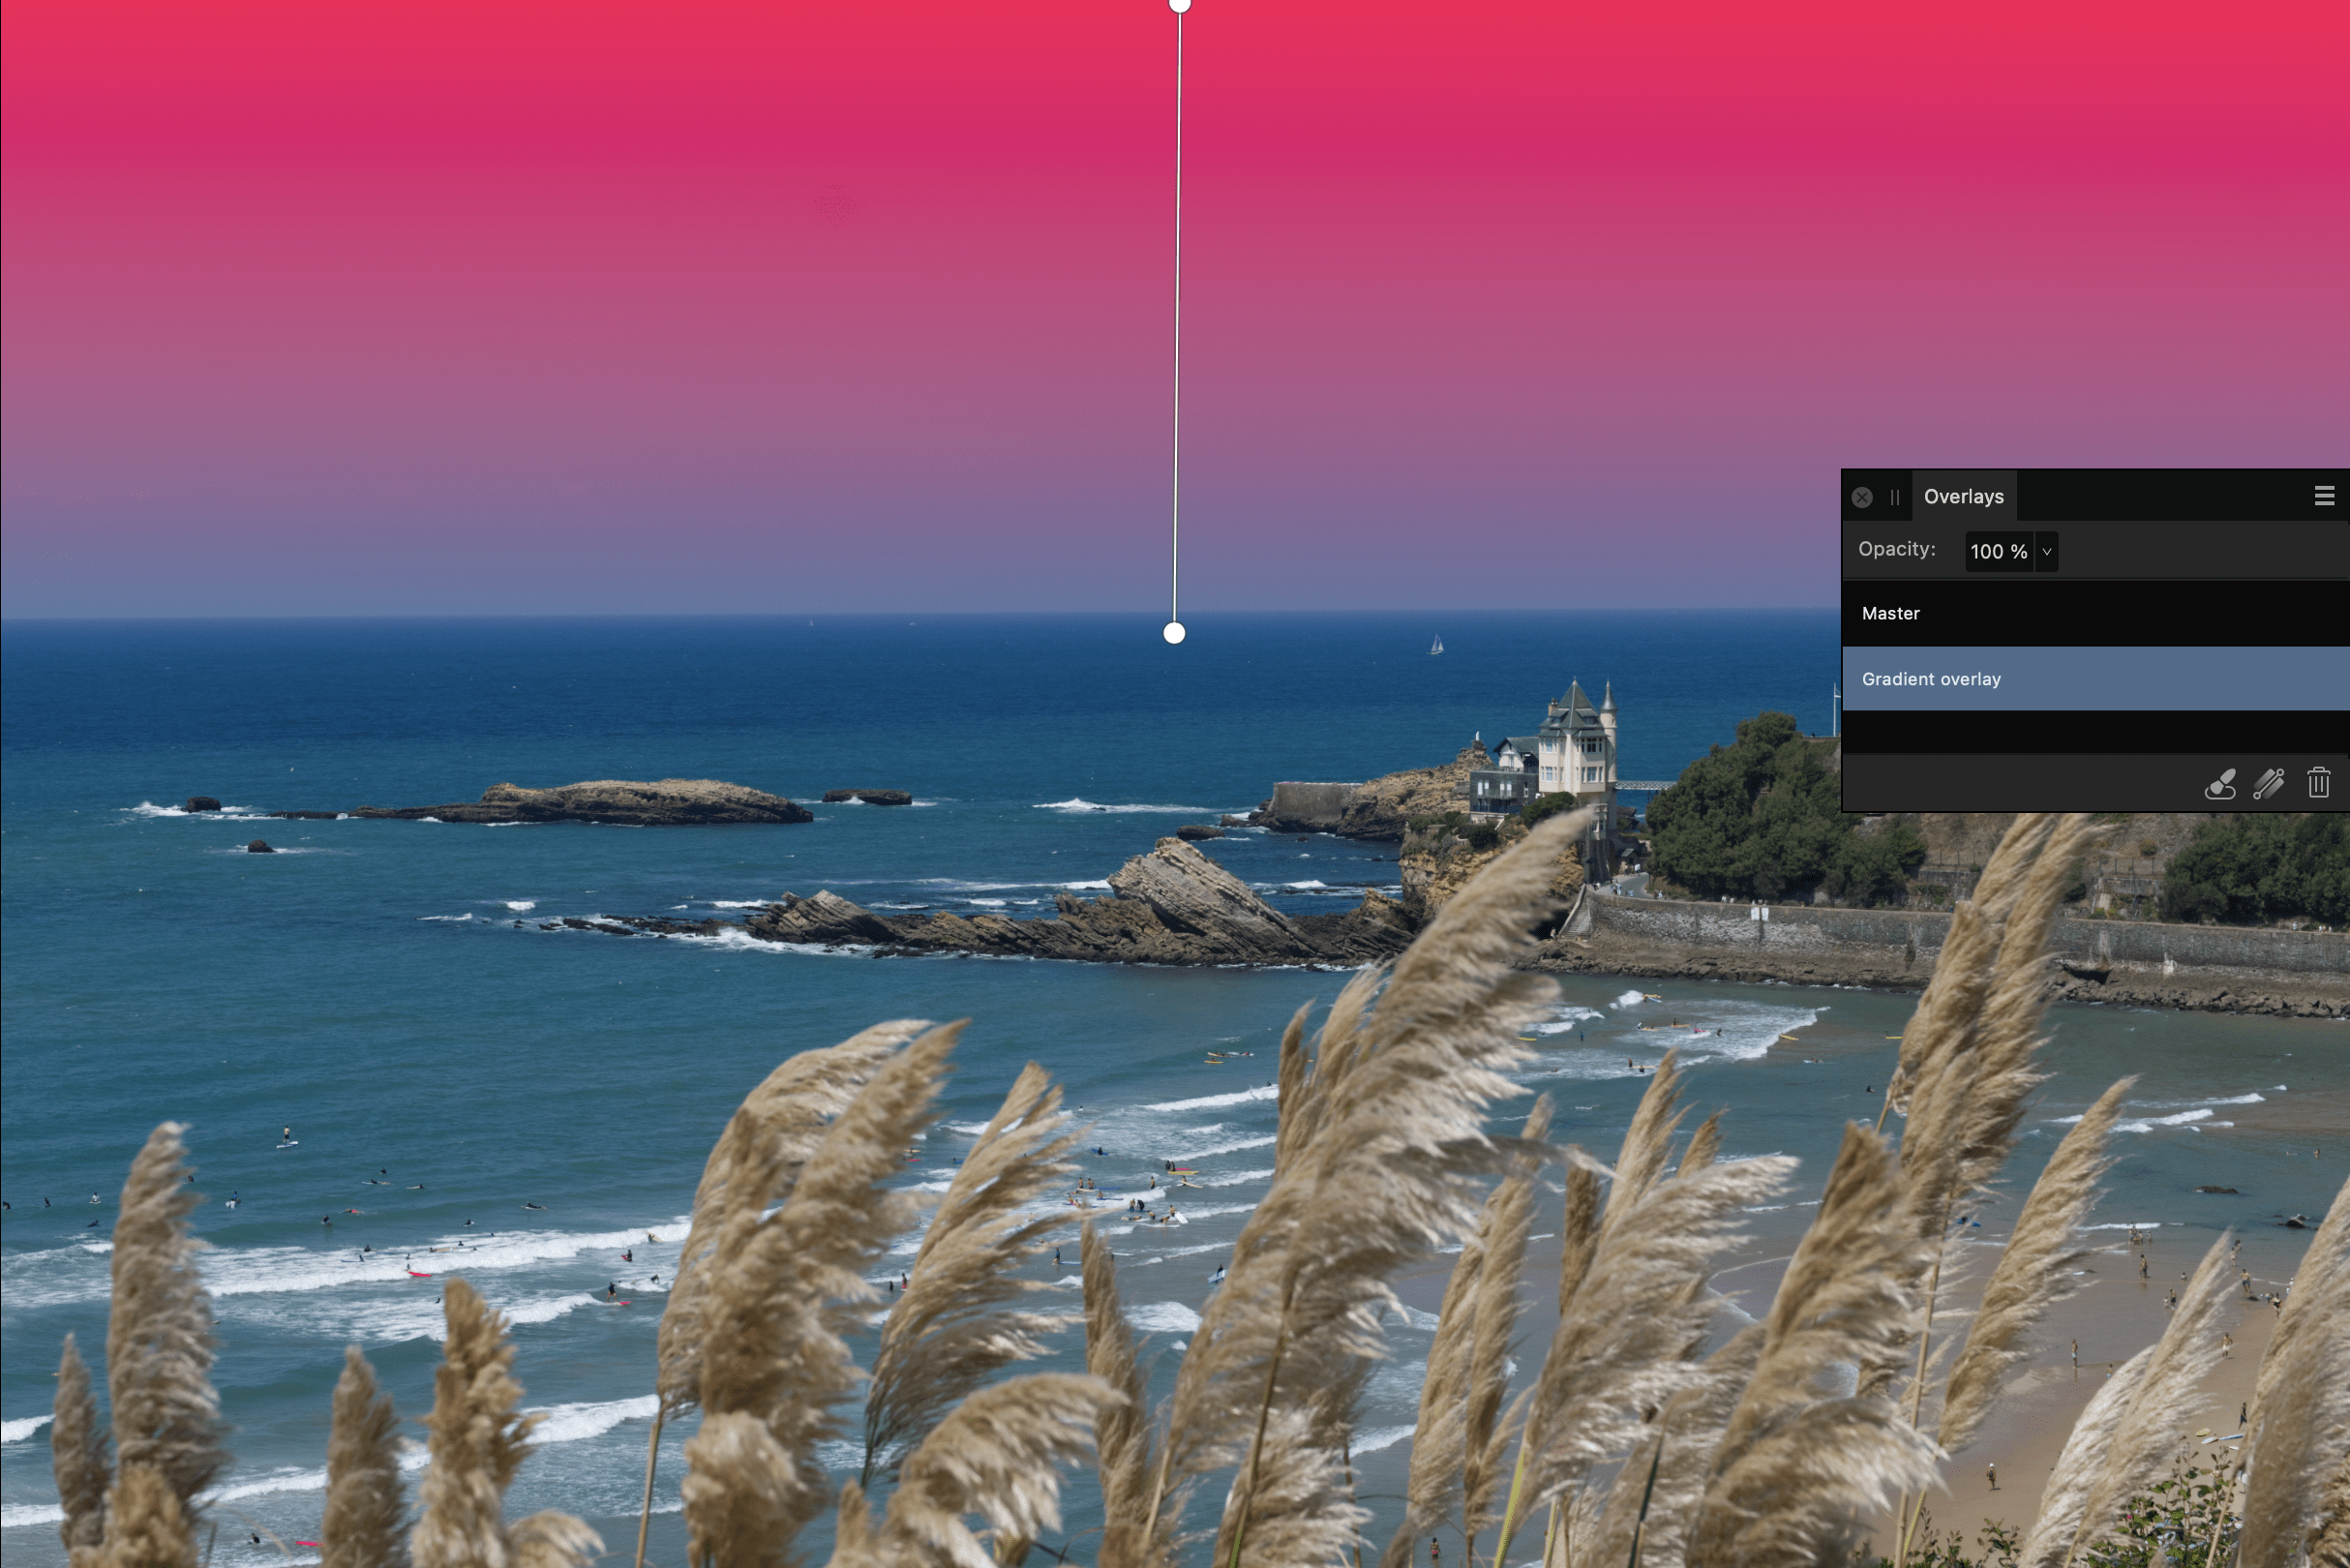
Using overlays
The Overlay tools can be used in combination with the Overlays panel to allow you to apply standard adjustments to isolated areas of an image.

The Overlay tools can be used in combination with the Overlays panel to allow you to apply standard adjustments to isolated areas of an image.

Overlays are elements within Develop Persona which are placed on top of an image. Any adjustment applied to an overlay affects the image below.
However, overlays can have a varying level of visibility, which varies the impact its adjustments have on the underlying image. In this respect, Overlays in Develop Persona act in a similar way to masks in Photo Persona.
Areas of an overlay which are transparent ignore the overlay's adjustments, while opaque areas display the applied adjustments. Areas of semi-transparency (such as those created with the Overlay Gradient Tool) will display the adjustments by a varying degree.
The adjustments applied to an overlay are determined using the Overlays panel.
There are two types of overlay: Brush and Gradient.
Brush overlays can only be edited using the Overlay Paint and Overlay Erase Tools. Areas are added to an overlay using the Overlay Paint Tool. Areas are removed using the Overlay Erase Tool.
The Overlay Gradient Tool applies a gradient from transparent to opaque across Gradient overlays only.
Do any of the following:
On the Overlays panel: