Macros

Affinity Photo 2 supports a powerful and intuitive macro recording and playback feature, presented as the Macro panel. It allows you to record multiple operations and then play them back sequentially as one action.

Macro panel

The Macro panel showing a series of recorded actions.

About macros

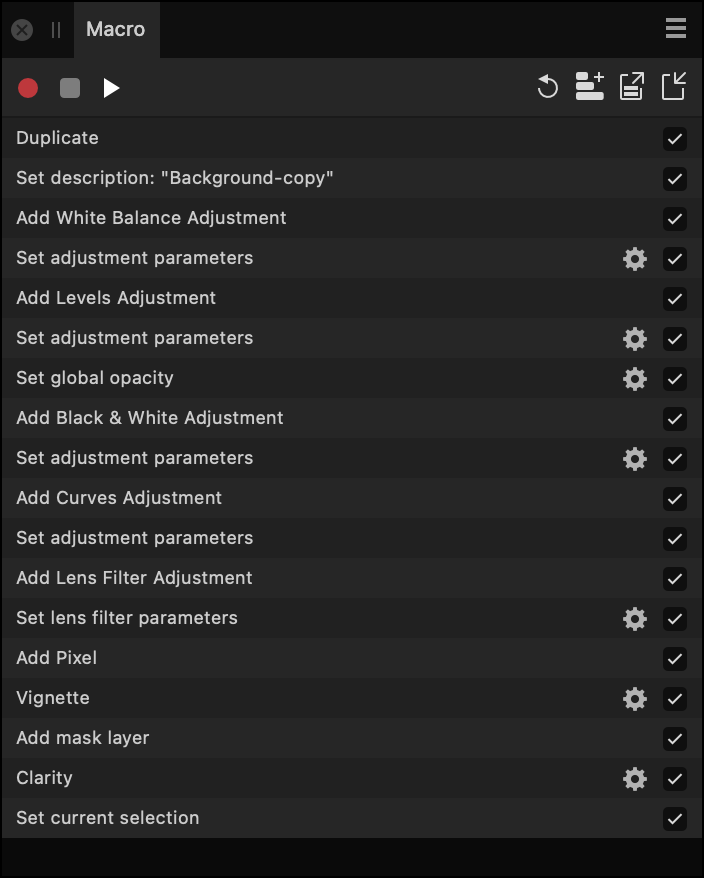
Through the Macro panel, you can record any operation in Photo; from applying a Gaussian Blur to adding a gradient fill. It is hugely useful for workflow purposes as you can record common workflow steps and apply them to your documents in a single click. Additionally, you can exclude operations from the recording if they were performed accidentally or are no longer needed, and expose certain parameters to the user for configurable playback.

Macros can be saved locally (they appear in the Library panel) and exported to an .afmacro file format for sharing and re-importing.

Record Macro Stop Macro Play Macro To record a macro:
  1. On the Macro panel, click the Start recording icon.
  2. Perform the operations you wish to record. They will appear one by one in the macro operation list.
  3. (Optional) Uncheck any operations you do not wish to include (e.g., if they are no longer required).
  4. When you are finished recording, click the Stop recording icon.
  5. (Optional) To continue recording the macro, click the Start recording icon again.
  6. (Optional) To play back and preview your macro, click the Play icon.
  7. (Optional) To retrospectively change parameters on a particular operation, click the Settings icon next to the operation. This is useful for fine tuning your macros, or quickly creating variations (e.g., Moderate, Standard, Extreme, etc).
  8. (Optional) Within the Settings dialog for a recorded action, enable the Eye icon to expose the parameter to the user (making it interactive) when the macro is run.
Reset Macro To reset (clear) the macro operation list:
Add Macro to Library To save a macro:
  1. Once you have recorded your macro, click the Add to Library option.
  2. You will be prompted to choose a category and enter a name for your recorded macro. Enter a name and click OK.
  3. The Library panel will become visible with the saved macro appearing in its library category.
To scale/align a macro to the current document:
  1. (Optional) At the bottom of the Library panel, choose a scaling option from the left-hand menu to apply to the macro's drawing actions.
  2. (Optional) From the right-hand menu, choose whether the macro's drawing actions are aligned to one of the corners or the centre of the current document.
  3. Click the macro you want to run.
Export Macro To export a macro:
  1. Once you have recorded your macro, click the Export option.
  2. A file export dialog will then appear. Choose where to export your macro and name it accordingly, then click Save.
  3. The macro will then be saved as an .afmacro file.

SEE ALSO: