Selecting objects
Before you can move or modify vector objects, you must first select them.
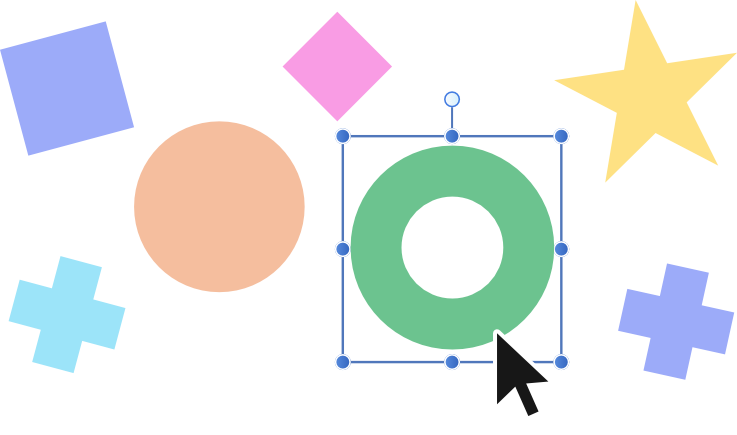
Before you can move or modify vector objects, you must first select them.
By default, the Auto-select option is checked on the context toolbar. As expected, it automatically enables the layer corresponding to an object when you tap to select it on the page. The option can be disabled if preferred.
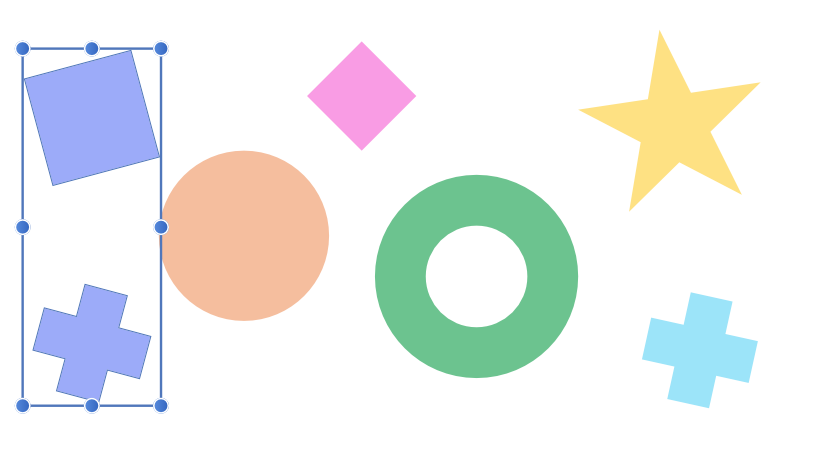
You can select single or multiple objects using a variety of methods. If you already have an object selected, you can quickly select the next or previous object in the z-order (stack).
The selection behavior depends on the current Edit All Layers setting on the Layers panel's Panel Preferences menu:
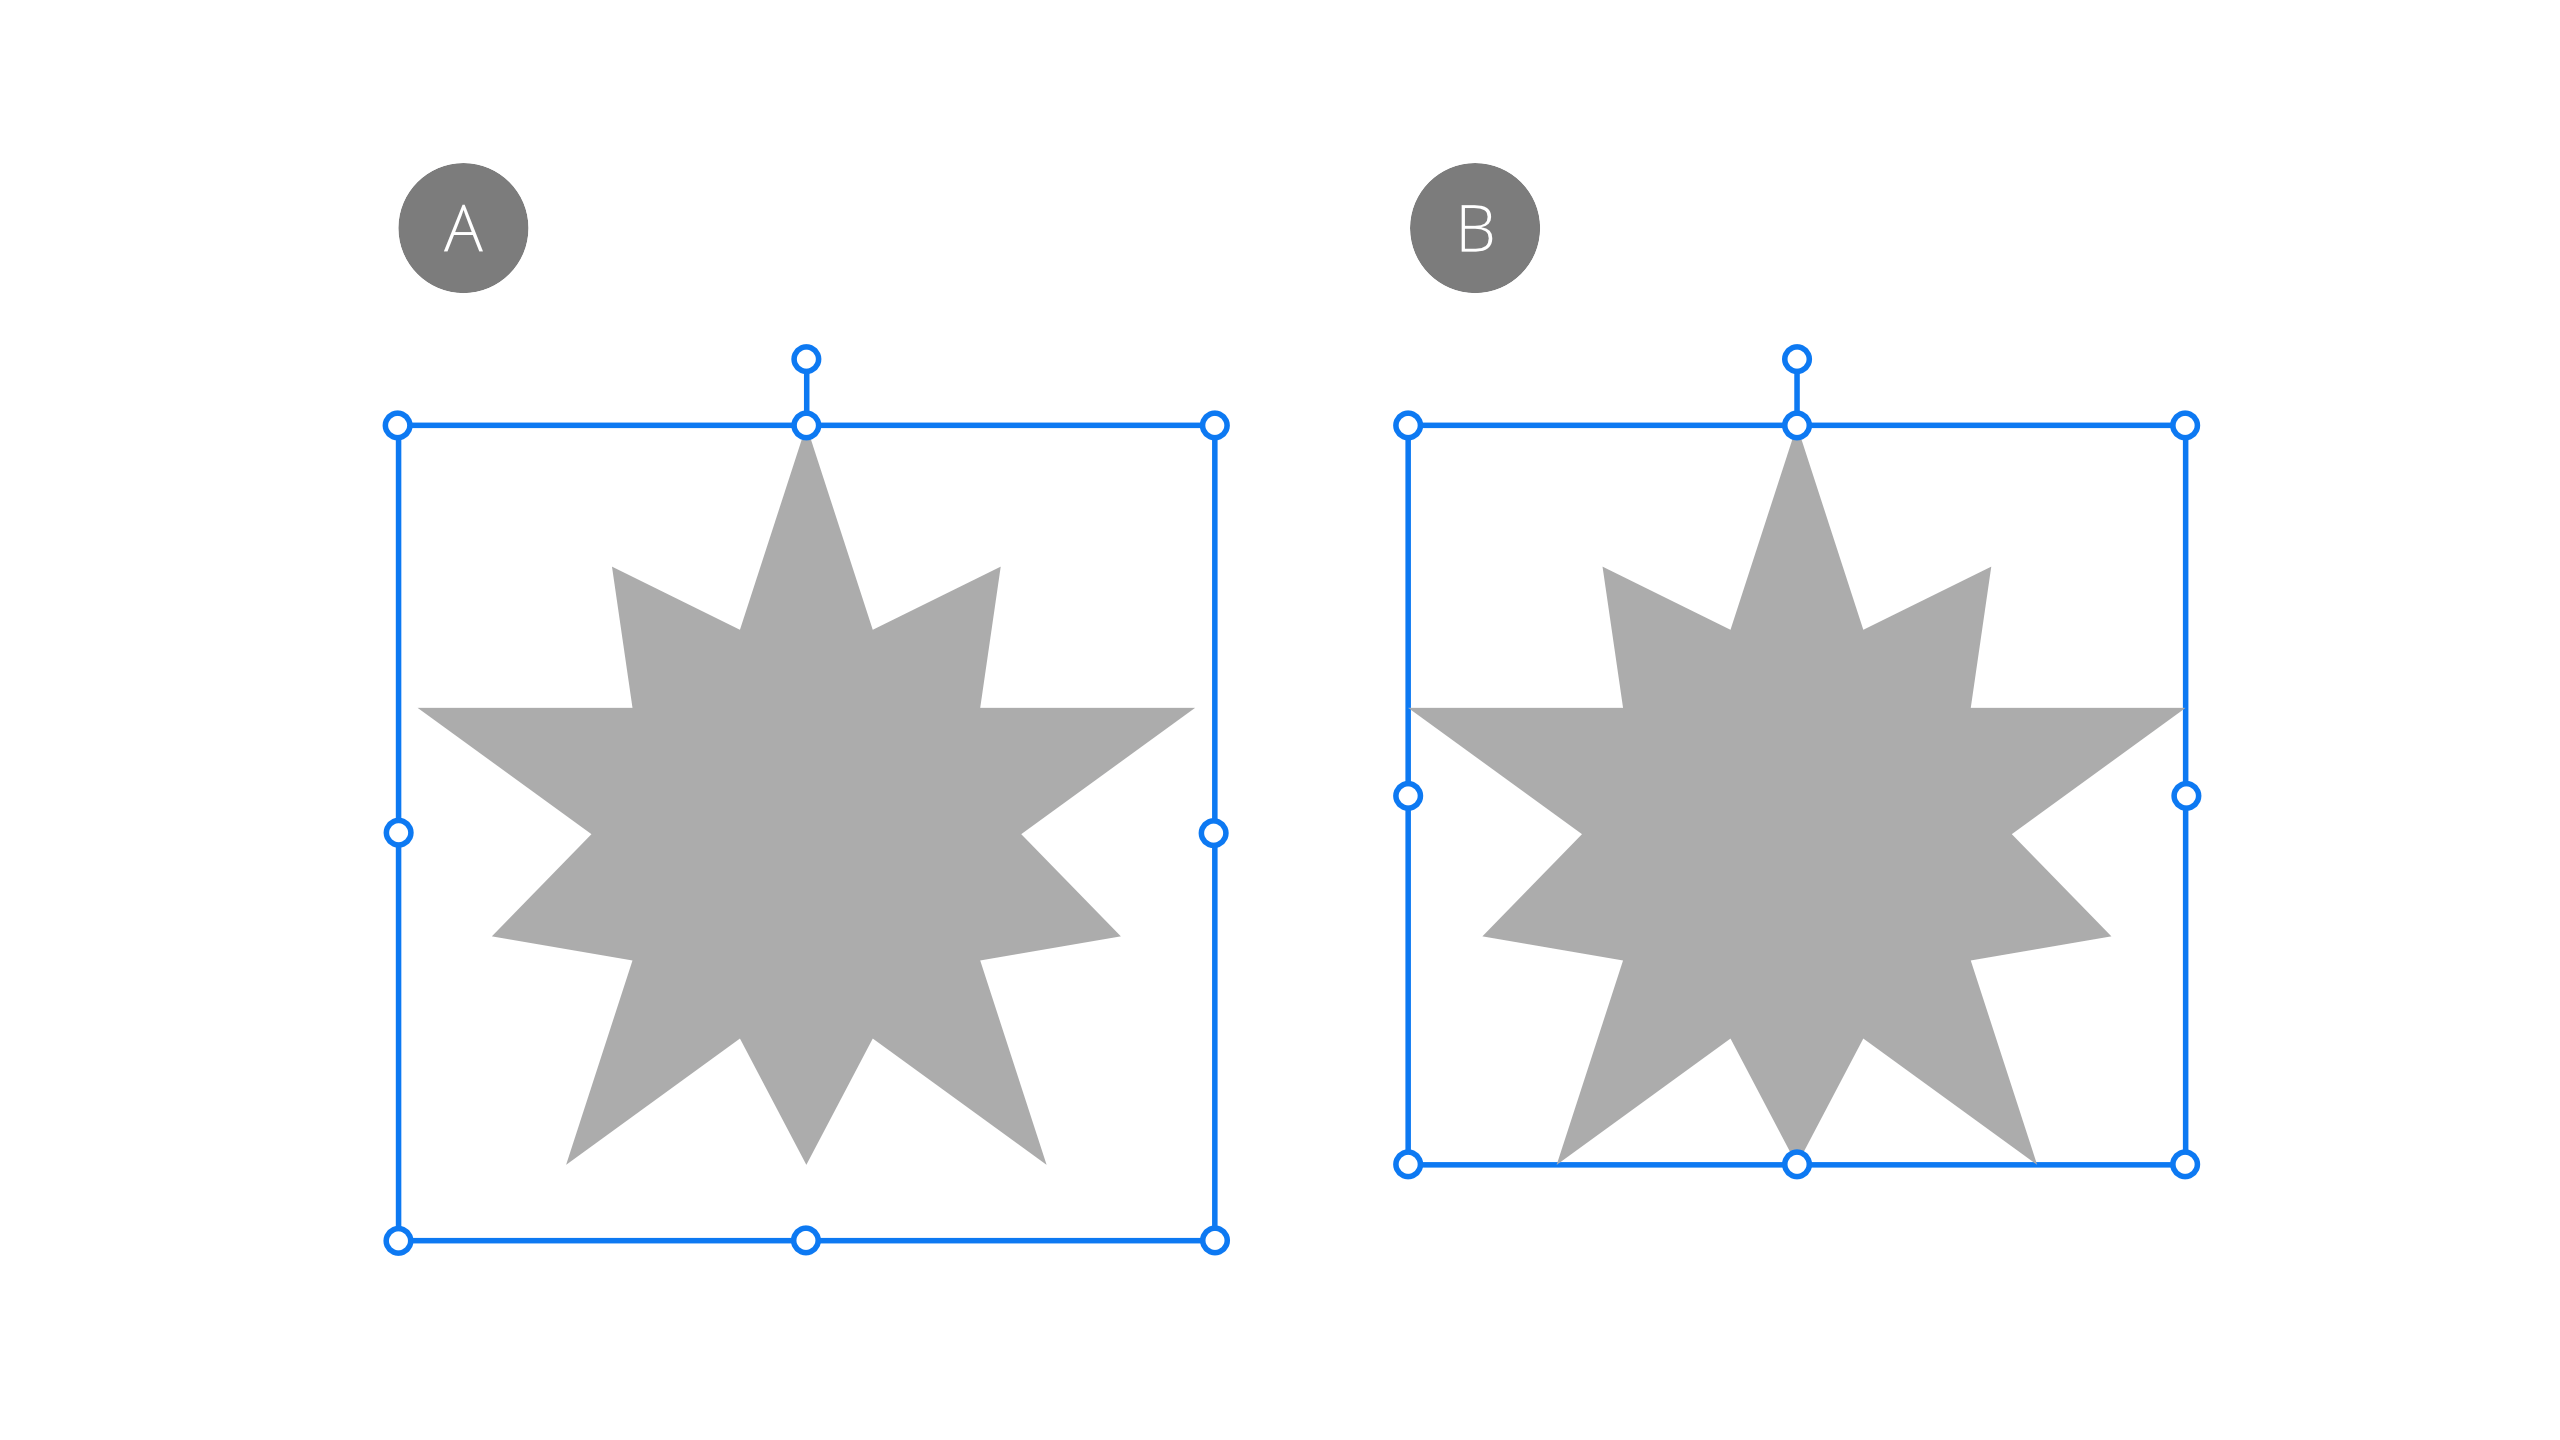
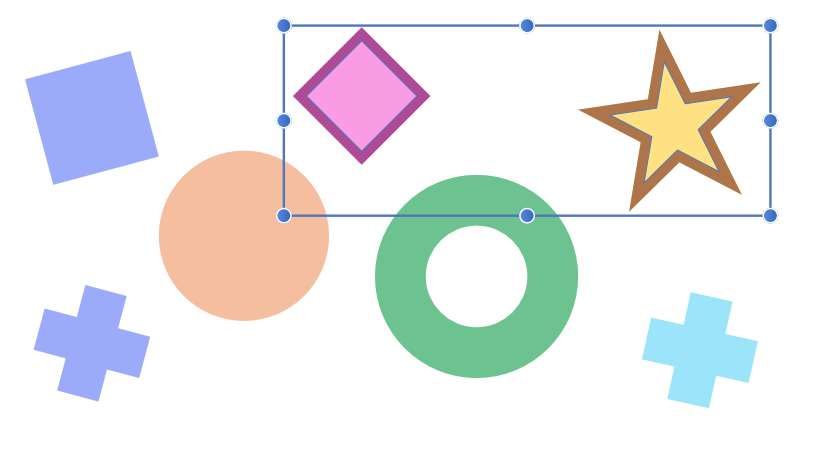
For some shapes (e.g. star shapes), a Base box type will be established on shape creation to accommodate the range of different potential shape sizes when creating variants of that shape. However, you can temporarily swap to a 'tighter' bounding box called Regular bounds if needed. The latter is useful for accurately resizing a shape by its corner/edge handles to another object or page element.
For rotated multiple selections of objects or pixel layers, you can temporarily reorient the selection's selection box to vertical using the same Regular bounds type. Otherwise, the selection box will stay transformed with the transformed items (using the Base Box type).
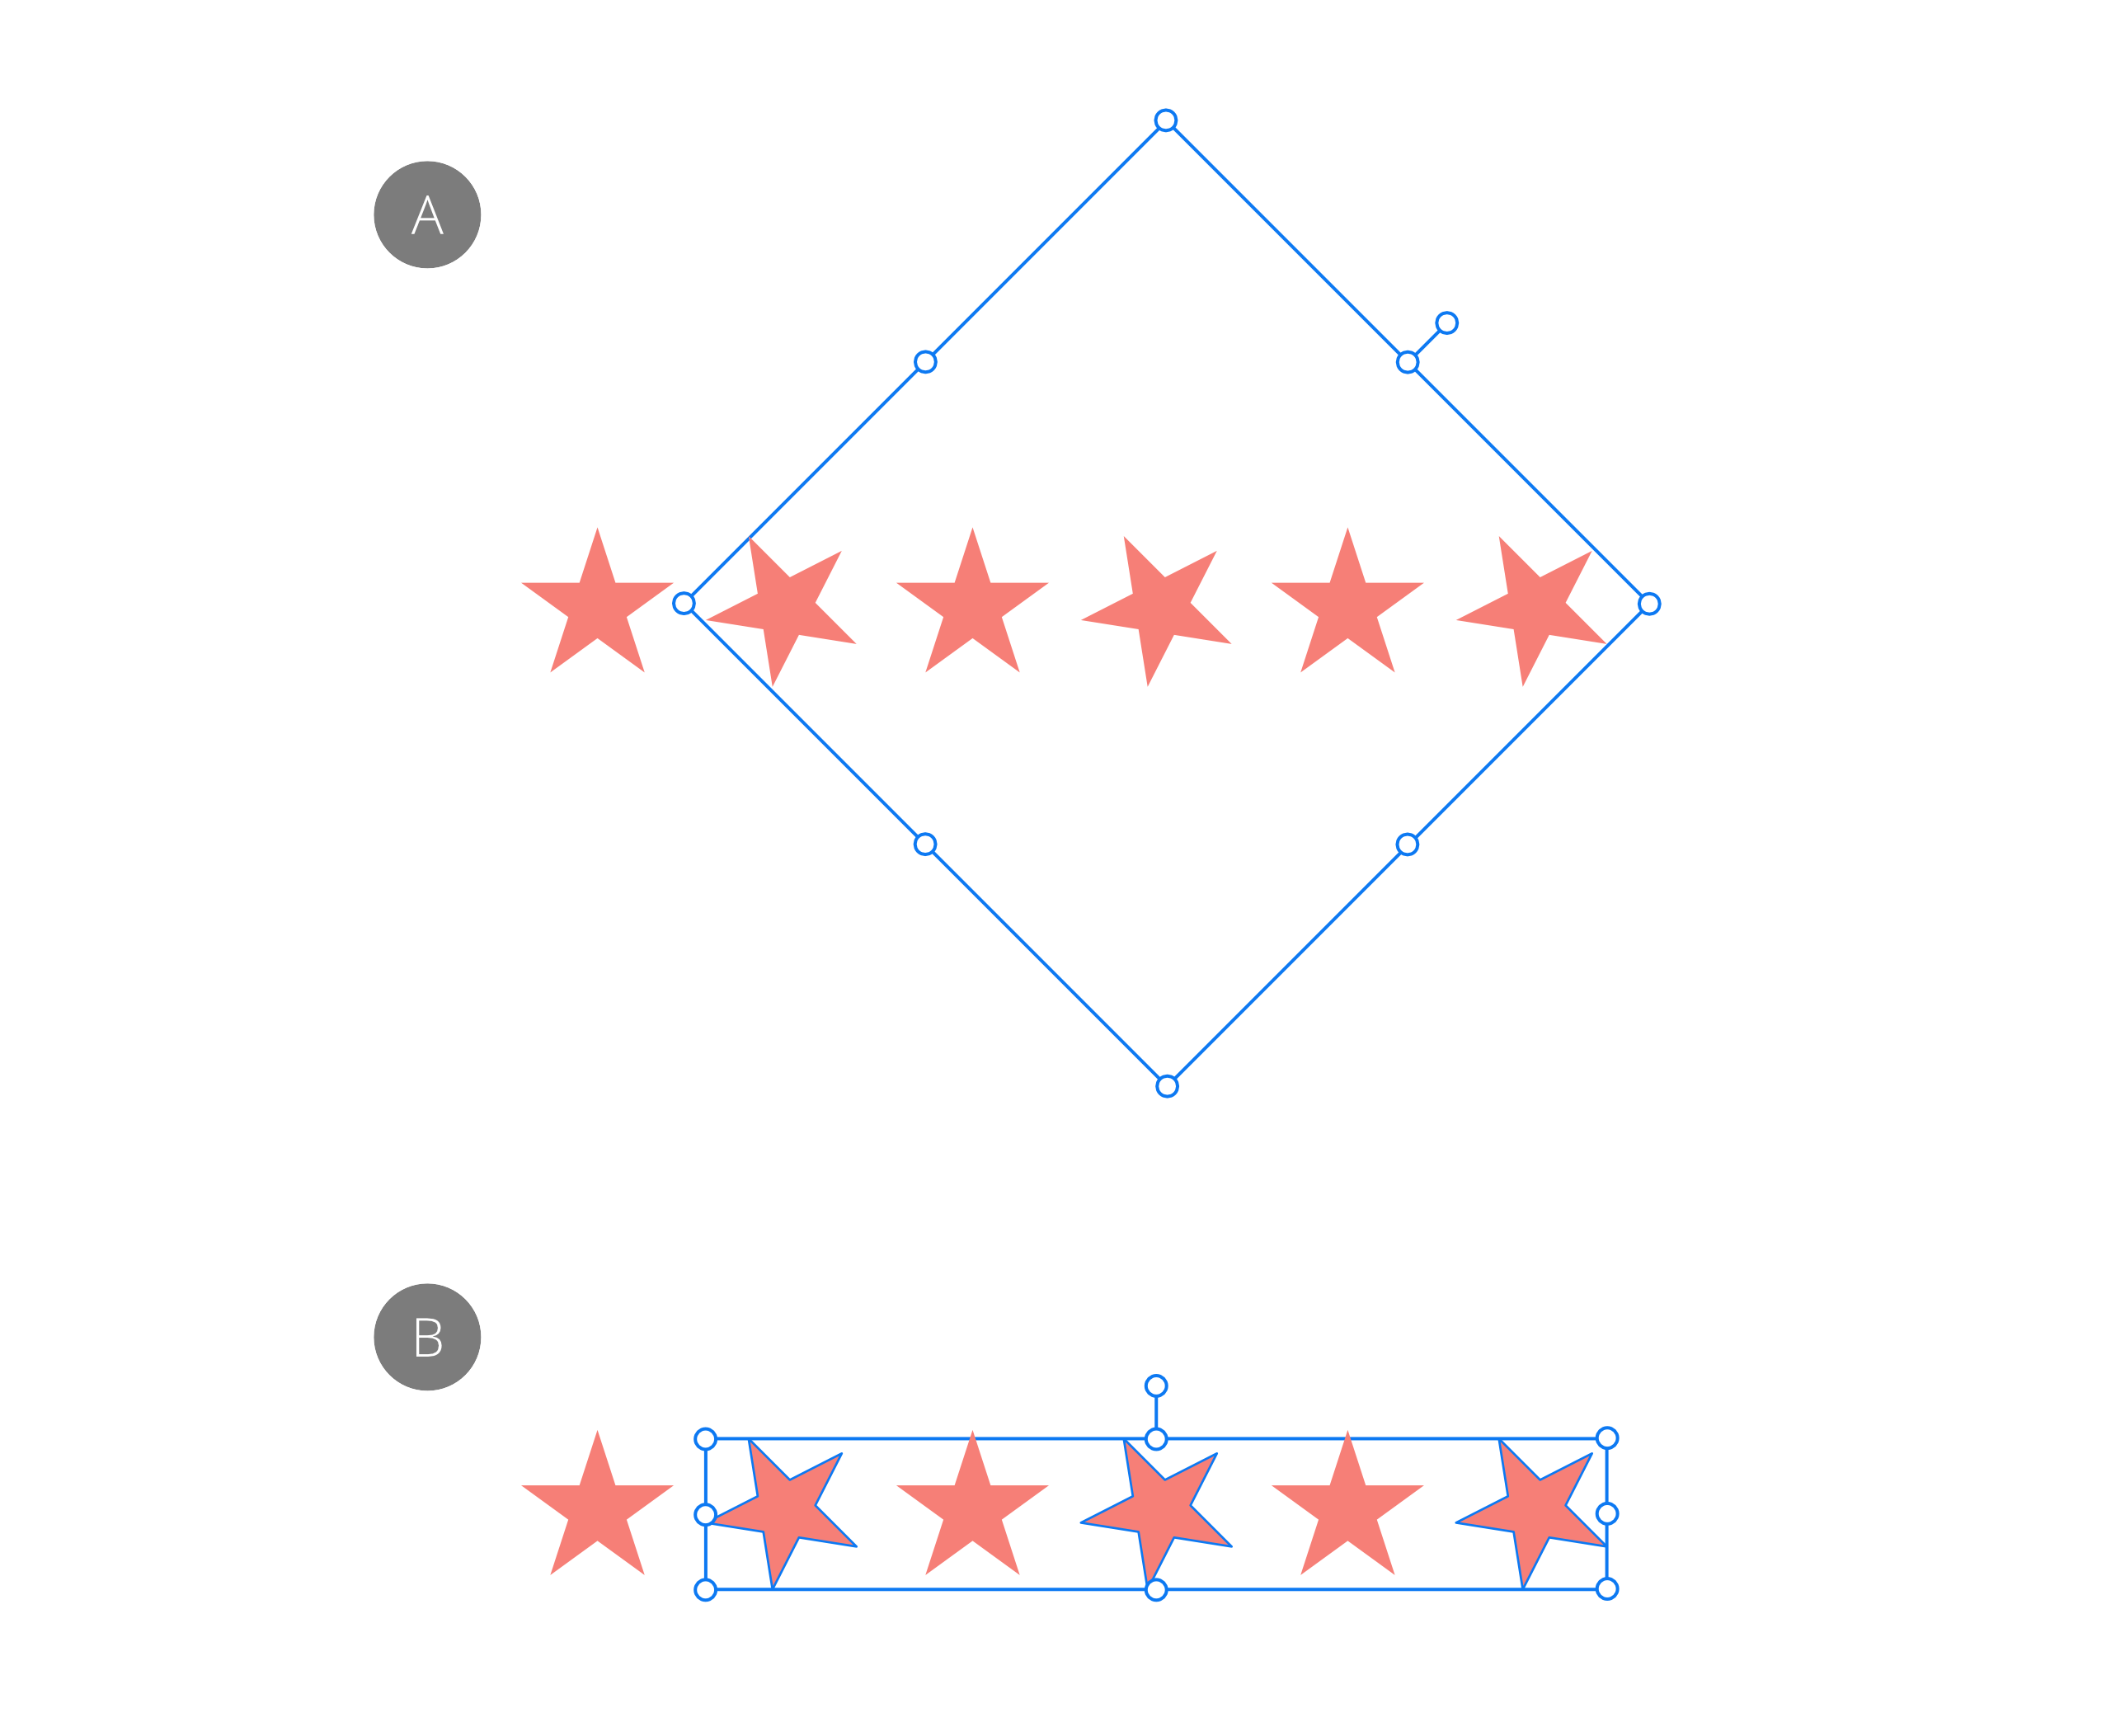
It's possible to permanently set the object's selection box to orient to the page's horizontal and vertical edges. The object is unaffected. When reselecting the items again, the selection box will remain unrotated.
If you're using axonometric grids, the additional selection box type Planar bounds, which matches the current grid, can also be swapped to and be made permanent if needed.
The Select Same command selects all objects in your document that match an attribute on your currently selected object. You can match by Fill Color, Stroke Color, Fill & Stroke Color, Stroke Weight, Transparency, Blend Mode, Shape, Name, or Tag Color. This powerful selection method can assist in making bulk changes to your design all at once (e.g., conversion of objects that share a non-global color to ones that use a global one).
The Select Object command selects all objects of a matching type within your document. For example, you can select all groups, symbols, artistic text, artboards, pixel layers, unfilled objects, transparent objects, and any objects which do not have a stroke, etc.
Both commands also work well in conjunction with each other, allowing you to first group all layers of each fill color (using Select Same) and then select all of the grouped layers (using Select Object), for example, effectively organizing the layers in your image.
Edit All Layers (on the Layers panel) determines the scope of Select Same and Select Object.
When enabled, the commands select matching objects across all artboards in your document. When disabled, they select matching objects only on the current artboard.
Do one of the following:
Do one of the following:
Do one of the following:
Select the object and do one of the following: