The Export Persona is a dedicated workspace for exporting artboards, layers, groups, and objects as slices to different file formats and image sizes simultaneously and, if needed, continuously. You can also export custom drawn slices as well as output Xcode and Spine assets.
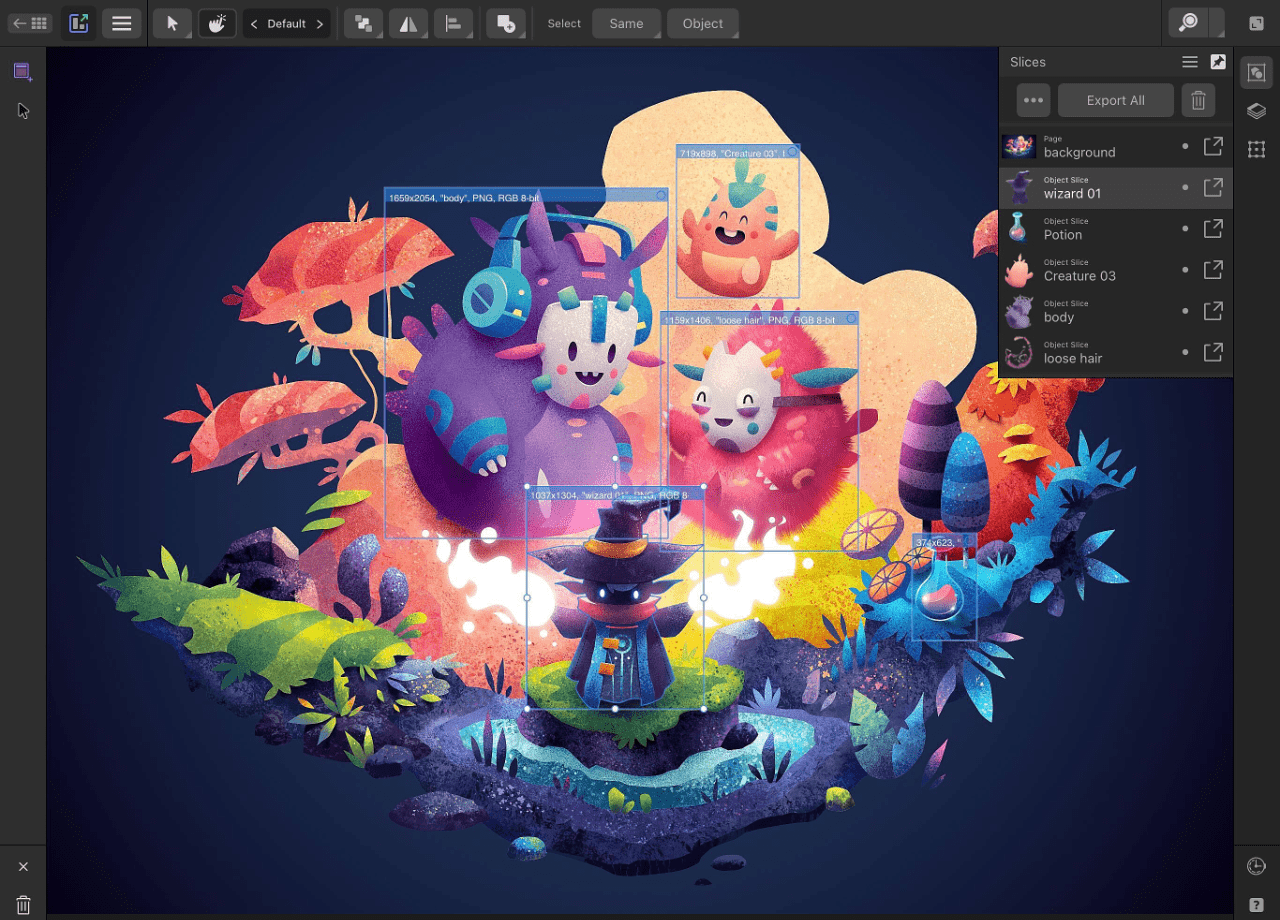
Export Persona showing the Slices panel.
How it works
The Export Persona uses a combination of panels and tools to create slices. Slices are areas of your document which you choose to output.
The Layers panel and Slices panel are used in combination in Export Persona. The Slice Tool is unique to Export Persona and is used to create custom slices.
Using the Layers panel
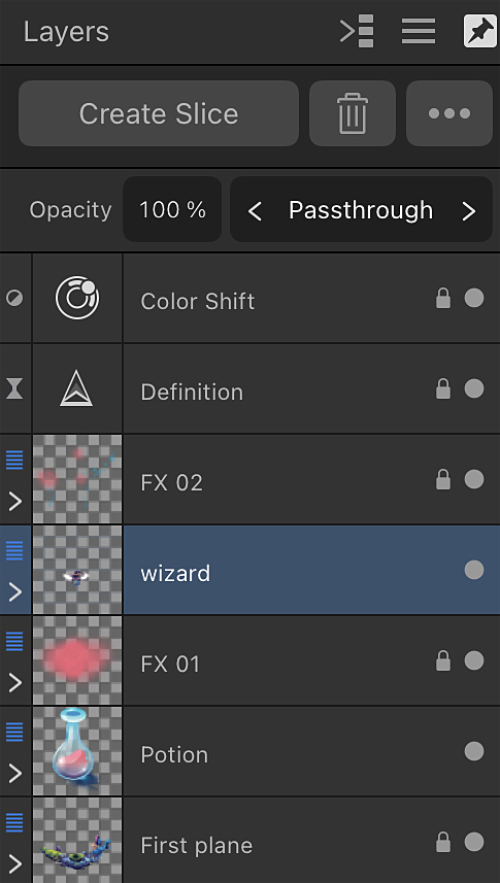
The Layers panel is different from the Layers panel in Designer Persona. It is used exclusively as a precursor for selecting artboards, layers, groups, or objects from which slices can be created, and manually added to the Slices panel, ready for export.
Layers panel in Export Persona.
When you create a slice from a selection on the Layers panel, the slice will automatically size to what is considered to be the extent of the selection. At the top of every slice drawn, you will see the exported resolution, name, format and bit depth. A resized slice created from a Layers panel item can be reset to 'auto-sized' using an Undo gesture.
When a slice created via the Layers panel is exported, only content on the layer from which it was created is included in the output.
Using the Slice Tool
The Slice Tool gives you full freedom to create export areas of all sizes, over any part of your document.
When a slice created with the Slice Tool is exported, content from all visible layers within its area is included in the output.
Using the Transform panel
You can precisely size and position slices created in the Export Persona using the Transform panel. The Transform panel here works in the same way as the Transform panel in Designer Persona.
Using the Slices panel
The Slices panel stores all your slices (from the Layers panel or Slice Tool) ready for export directly from the panel. Each created slice has a default export format (e.g., PNG, JPG, or SVG) associated with it on creation, but you can change the default format or change a selected slice's export format to be different from other slices' formats; each raster export format also lets you export at different size scalings.
Slices panel in Export Persona.
Exported slice dimensions and DPI
When exporting slices via the Export Persona, the slice export size (1x, 2x, 3x, etc.) is linked with your document's DPI. The table below shows how DPI and export size affect export dimensions, using a 64x64 px document as an example.
DPI setting for a 64x64 document
Export dimensions (in pixels); Exported DPI
1x
2x
3x
72
64x64; 72
128x128; 144
192x192; 216
96
64x64; 96
128x128; 192
192x192; 288
144
32x32; 72
64x64; 144
96x96; 216
192
32x32; 96
64x64; 192
96x96; 288
216
21x21; 72
42x42; 144
64x64; 216
288
21x21; 96
42x42; 192
64x64; 288
About continuous export
The Slices panel's Continuous Export and Export All features work in conjunction.
Slices checked for inclusion in exports are re-exported when the document's content changes, or when any slice is transformed or its options are changed.
To set default export options:
On the Slices panel, deselect any selected slices by swiping left or right on them. (Alternatively, tap a position in the document view that contains no slices.)
Tap More.
Tap the left/right navigation buttons to set the default graphic format. (Alternatively, tap the graphic format's name to select from a pop-up menu.)
The settings will be used when your next slice is created.
To set your export folder:
On the Slices panel, do one of the following:
Tap Panel Preferences, then tap Choose Export Folder.
Tap Export All or tap the Export button at the end of a slice's entry.
Navigate to the required folder. (Tap its icon so you're viewing its contents.)
 Exporting using Export Persona