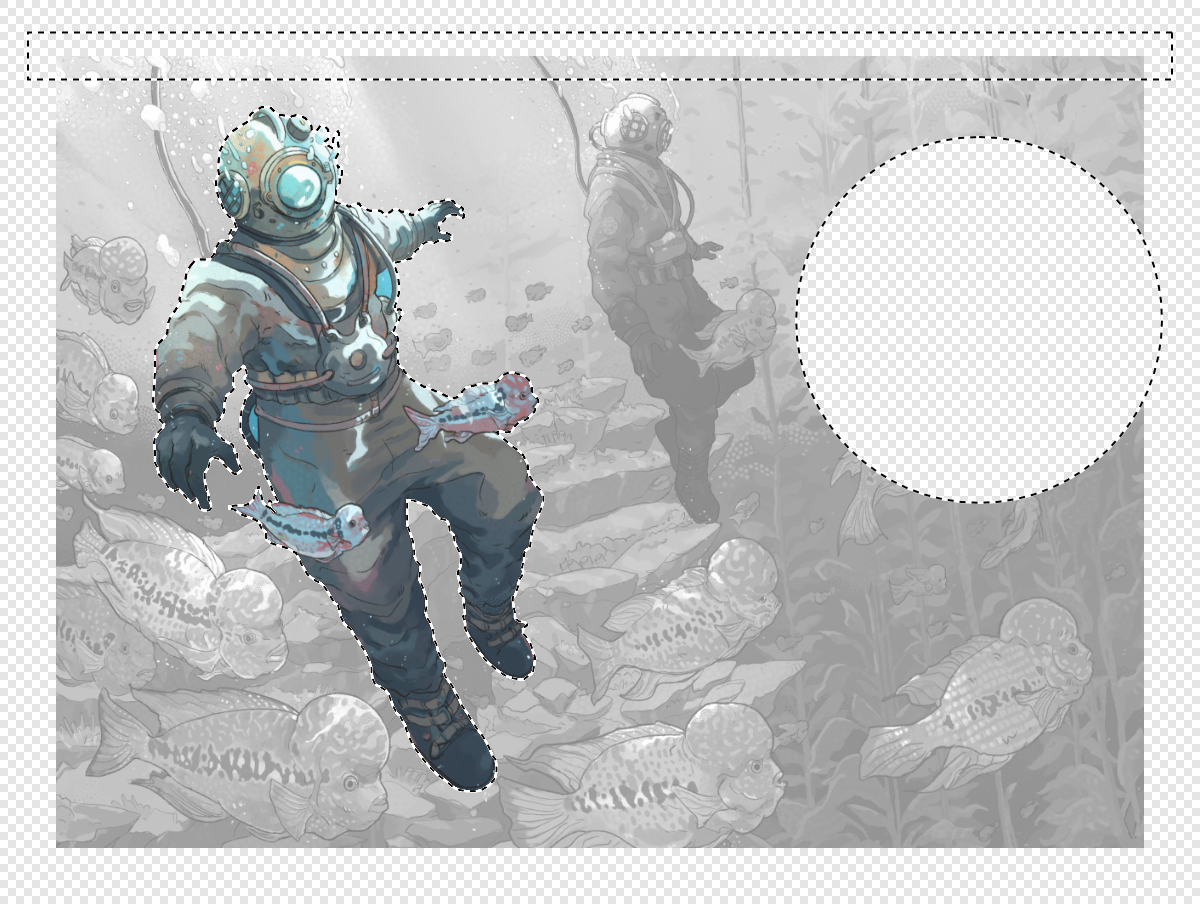
A pixel selection is simply a drawn area on your image (bounded by a flashing dashed line, often called 'marching ants'). Various tools for pixel selections are available in the Pixel Persona.
A selection is created for various reasons:
To limit editing (e.g., painting, applying fills, etc.) to within that selection area only.
To selectively copy pixels.
As a precursor to creating a mask layer.
To draw areas for removal (cutout).
Selection boundaries are defined depending on whether individual pixels are included or excluded.
Once your selection has been created, you can invert it so all included pixels are excluded and vice versa.
Selection tools
There are several tools you can use to create pixel selections:
When working with selections, you may have access to the following Modes which affect how your selection develops:
New—cancels all current selections and creates a new selection.
Add—adds areas to the current selection. If there is no selection in place, a new selection will be created.
Subtract—removes areas from the current selection.
Intersect—a new selection area is created from the overlap between the newly added selection area and the current selection.
To select every pixel in the image:
From the Pixel Persona, do one of the following:
Hold one finger (or swipe three fingers) down on the screen, then release it and select Select all from the pop-up menu.
From the Edit menu, select the same option.
To create a pixel selection using a Marquee Selection tool:
From the Tools panel, select the Rectangular, Elliptical, Row or Column Marquee Tool.
Adjust the settings on the context toolbar.
Drag on your page.
To draw a pixel selection:
From Tools, select the Freehand Selection.
On the context toolbar, choose a selection Type.
Do one of the following:
With Freehand selected, drag on the page to draw the edge of the selection and release to close the selection.
With Polygonal selected, tap to define the beginning of the selection and then tap again for every change in direction.
With Magnetic selected, tap to define the beginning of the selection and then tap again to place a custom node position. Automatic nodes will be placed along distinct image edges as you continue with your selection.
Connect with the selection starting point.
To invert, deselect or reselect, use the same procedure as above. You can also deselect by tapping the Deselect icon at the bottom left of the workspace.
 Creating pixel selections