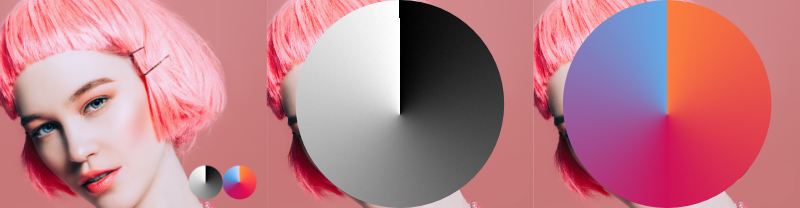
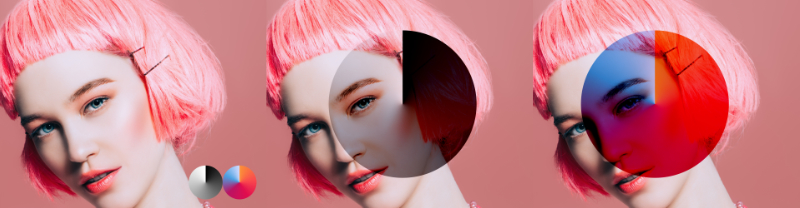
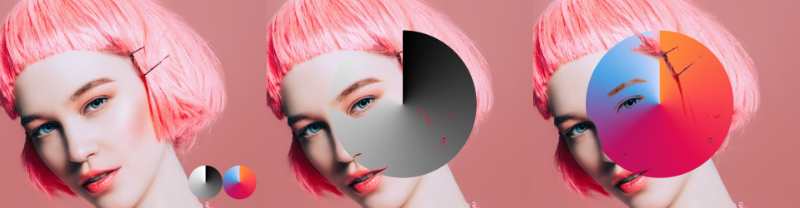
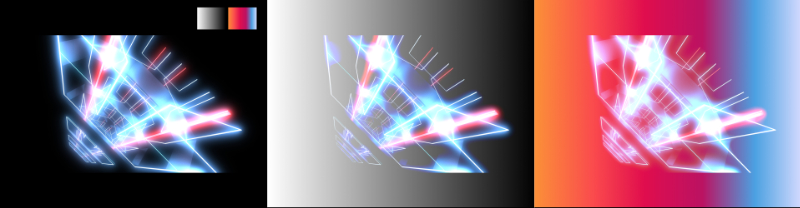
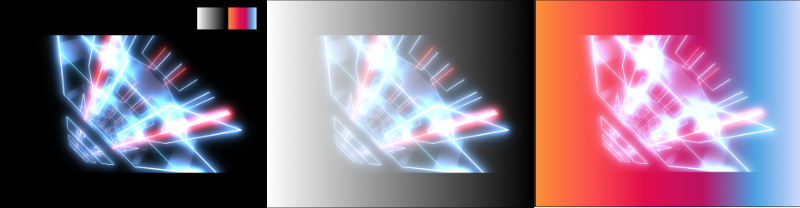
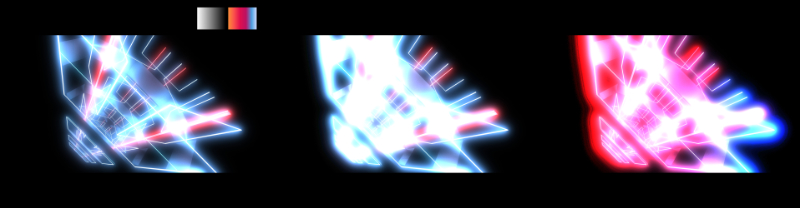
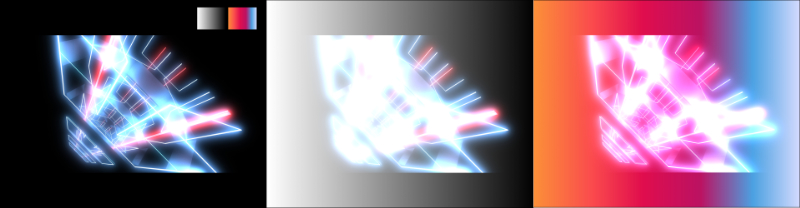
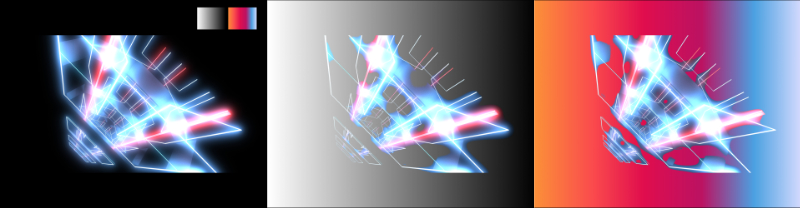
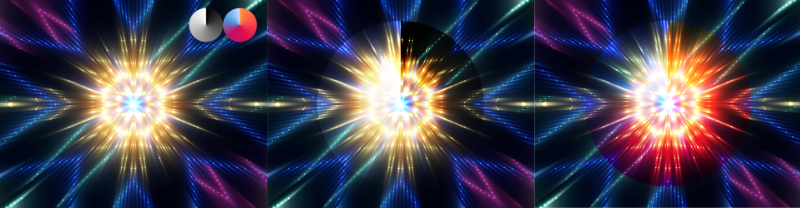
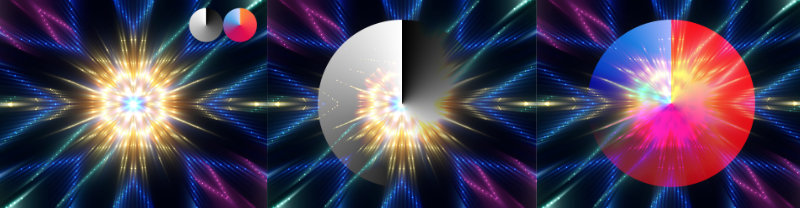
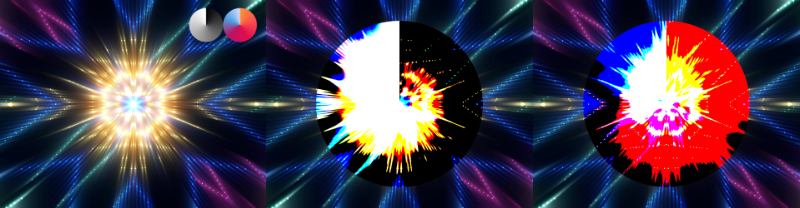
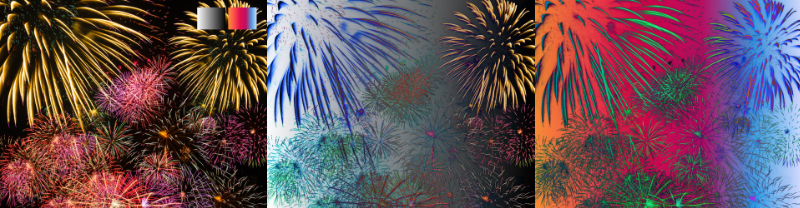
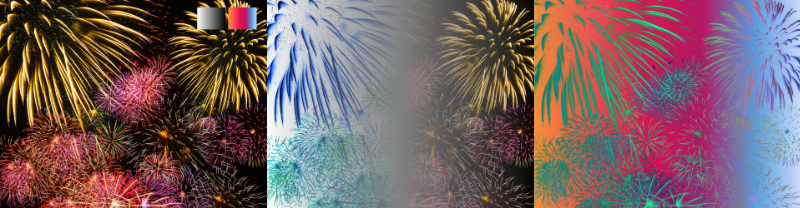
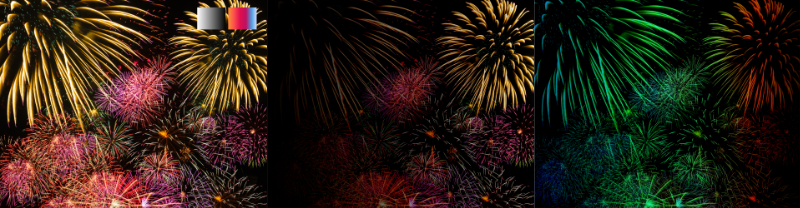
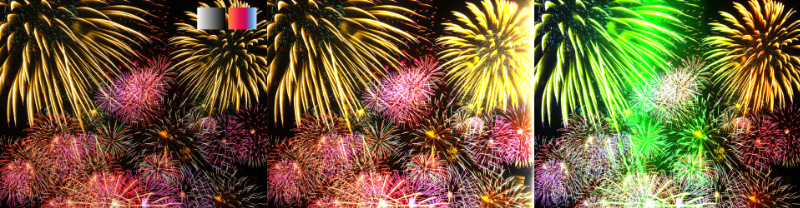
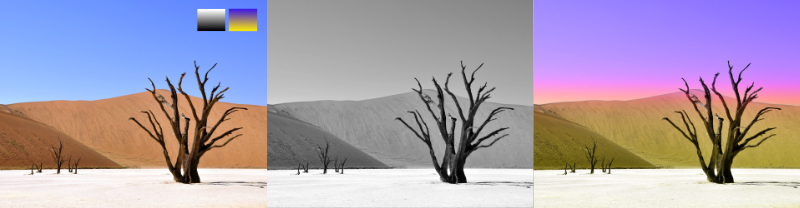
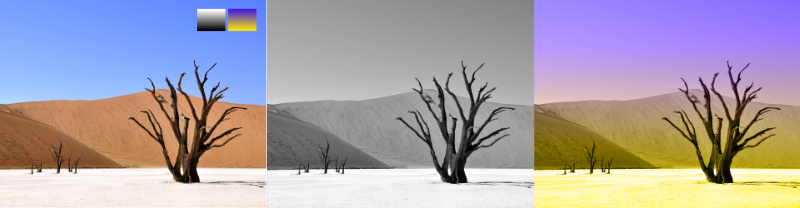
Layer blending
A layer's blend mode determines how the layer or object's pixels blend with the pixels on the layer beneath.

A layer's blend mode determines how the layer or object's pixels blend with the pixels on the layer beneath.
Affinity apps support an impressive selection of different blend modes. They are organised in their respective groups, which initially inform of the effect they add. They are as follows:
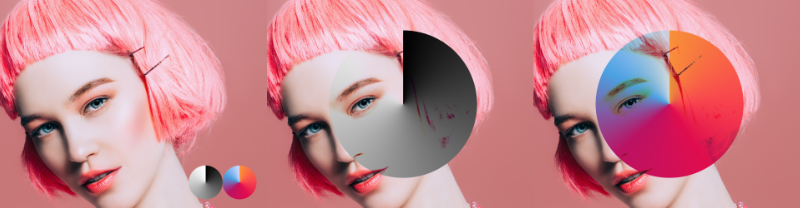
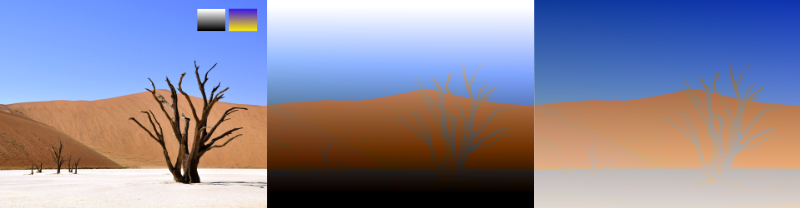
The default and starting mode for layers. It results in fully opaque pixels appearing above the underlying pixels. Use to completely cover the underlying layer's content.
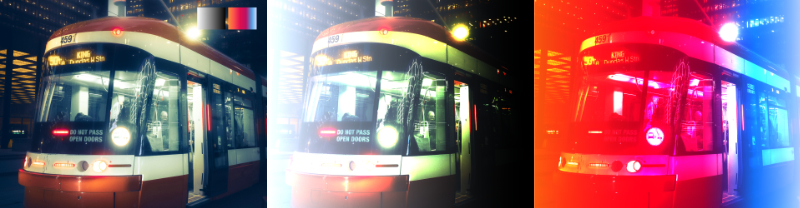
Compares pixels of the active vs the underlying layer(s) and leaves darker pixels visible. Use to create dramatic, moody atmosphere.
One of the most frequently used blend modes in the group. Each pixel of the active layer is multiplied with the pixels of the layer(s) below. Bright pixels are ignored while darker ones are intensified. This results in a darker overall output when compared to the Darken blend mode. Use to create darker outputs with increased contrast.
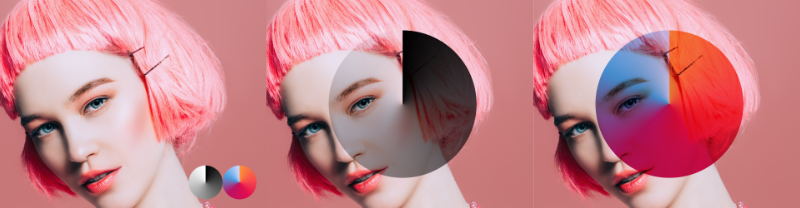
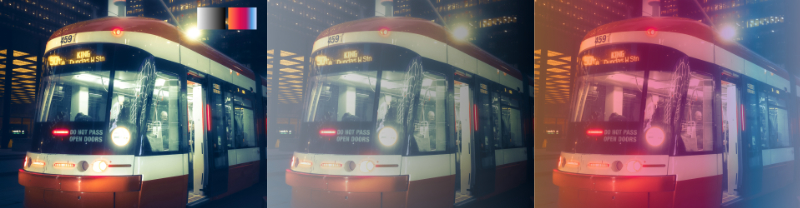
Results in more saturated mid-tones and reduced highlights by intensifying contrast and the underlying layer's colours. Use to exaggerate colours and create highly contrasting scenes.
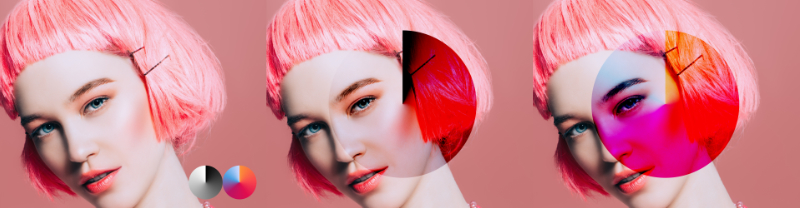
Results in darker output than with Multiply blend mode, yet less saturated than Colour Burn. Lighter pixels of the active layer(s) are unaffected. This mode is ideal for rendering darker tones in the shadows and mid-tones.
Compares the colour values of the active and underlying layer(s) and only retains the darker ones. Use to accentuate the darker tones from both layers.
Results in only the brighter values being retained upon comparing the active and underlying layer(s). Use to add complimentary colour tint to images.
Inverts colours of the underlaying layer(s) and multiplies it with those of the active layer: this results in generating smooth results. It is one of the most commonly used blend modes due to its soft rendering.
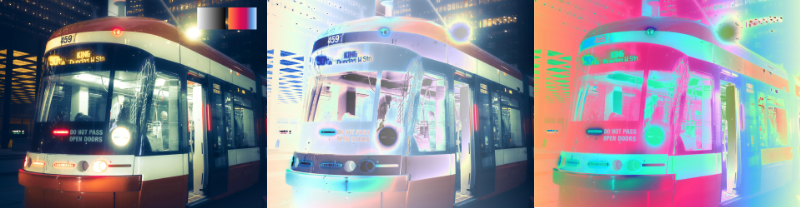
Increases the luminosity of the underlying layer(s) while reducing contrast between both the active and underlying layer(s). It results in a stronger effect than the one produced by Screen with saturated mid-tones and intense highlights. Use to accentuate colour and highlights.
Results in added colour information to both the active and underlying layer(s) and increases overall brightness while not affecting the black tones. Use to reveal brighter tones in images.
Rather than looking at individual colour, this mode uses perceived luminosity from all colour channels to determine which pixel is lighter. It acts as an inverted luminosity mask. Use for faded looks and smooth rendition of highlights in outputs.
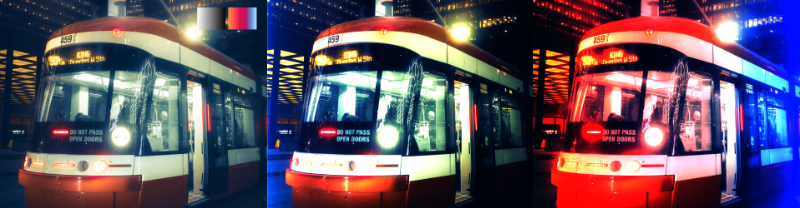
Compares the active and underlying layer(s) and shifts to darker mid-tones if the colours are lighter than 50% grey. Results in darkening the darker pixels of the images and lightening the lighter ones. Use to enhance contrast and saturation.
Results in a more diffused effect from comparing luminance and colour values between the active and underlying layer(s). Use for subtle blending and faded looks.
Results in a dramatic, high-contrast effect. The top layer is used to determine the calculation required for the evaluation of pixels. Its effect can be observed as the opposite of the Overlay blend mode. Use to enhance colour contrast and reduce opacity, as required, to achieve best results.
This blend mode applies the effect of the Colour Burn or Colour Dodge blend mode based on the comparison of RBG channels in the active (top) layer and underlying layer(s). Colour Dodge is applied when the top layer image's values are lighter than mid-grey; Colour Burn is applied when the top layer image's values are darker than mid-grey. Mid-grey serves as a neutral colour, so any pixels with a grey value of 50% are not affected.
Results in increased contrast and highly saturated colours. Use to enhance contrast and colour intensity, though best results are achieved with reduced opacity.
Brighter pixels receive lighter treatment while darker ones get darkened. Results in a stronger contrast in the mid-tones. Use to create a dramatic, enhanced effect.
Results can be compared to a mix of those achieved with the Darken and Lighten blend modes. This blend mode creates distinct boundaries between the dark and light regions. Use to achieve pronounced, yet somewhat faded look.
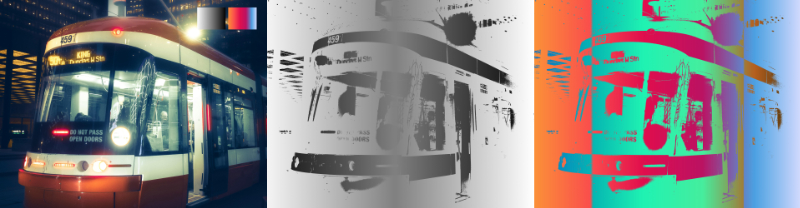
Results in a highly-contrasting effect between pixels (modified by either 0 or 1). The effects can be attributed to the output often observed in comic books or posters where the increase in contrast accentuates colours. Use to posterise or to maximise colour contrast.
Calculates the absolute difference between the active and underlying layer(s). When using this blend mode, similar values cancel each other out. Use to find errors in images.
Results in similar output to the above (Difference) mode, however with a softer effect. Use for soft blending of images consisting of similar luminance values.
Subtracts the top layer's pixel values from the underlying layer, which results in lighter areas becoming brighter whereas the darker areas seeing little to no change. Use to remove or fade the active layer's colours and/or luminosity.
The underlying layers' pixel values are divided by those of the active layer, which usually results in brighter images. The effect of this blend mode is the opposite of the Subtract mode; darker colour values create brighter results while brighter colour values see little to no change. Use to simulate film negative look.
Combine the hue of the active layer with that of the underlying layer(s). Use to exaggerate or create intense colours and to produce vivid, often surreal scenes.
Similar to the Hue blend mode, however here Saturation is the replaced component. Depending on your images' saturation and colours, use this blend mode, as an alternative to the above, and to intensify and exaggerate colours.

Combines the hue and saturation values of the active layer with the brightness of the underlying layer(s). Additionally, only the brightest colours of the underlying layer(s) are retained. Use to stylise images to produce scenes with intensified hue and saturation levels.
Combines the brightness values of the active layer with the brightness of the underlying layer(s). This blend mode's effect is the opposite of the Colour blend mode — it retains the hue and saturation of the underlying layer(s). Use to add detail and textures where colour information of the added image layer is less important.
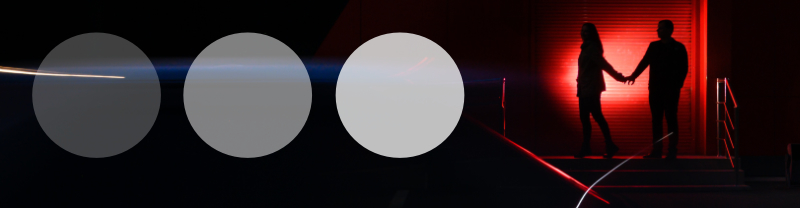
Combines the colour and luminance values of the active and underlying layer(s) in producing a mean average. The result is similar to the one achieved by setting the active layer's Opacity to 50%. Use to simulate simple double-exposure images.
Similar in effect to the Difference blend mode (Inversion group), which may be used as its alternative. Use to produce more contrasting and intense scenes; particularly powerful when working with selections and masking.
Combines the effects of the Hard Light and Hard Mix blend modes (Contrast group) and produces images with preserved darker tones while enhancing the lighter ones. Use as an alternative to control image contrast; the method is particularly useful when combined with manipulating the source layer's graph to reduce highlights output via the Blend Ranges option.
The opposite of the Reflect blend mode, which produces images with preserved lighter tones (while enhancing the darker ones). As above, use to manipulate contrast and combine it with the Blend Ranges to obtain best outcomes.
Inverts pixel values depending on those of the underlying layer's content versus the active layer. Use to create effects similar to those of a two-tone colour grade and posterisation.
Excludes pixels of the underlying layer. Use in combination with layer Opacity to produce faded and transparent outputs or to hide pixels from the layer(s) below the active one.
When adjusting blend opacity, some blend modes (listed below) work best by adjusting Fill Opacity, rather than the layer's Opacity. The Fill Opacity option is available from the Layers panel’s Blend Options option. Fill opacity is essential when using Hard Mix blending in particular.