Warping objects
The Vector Warp feature lets you warp one or more objects non-destructively. A choice of warp presets is available, with any preset being editable using a customizable warp mesh.


The Vector Warp feature lets you warp one or more objects non-destructively. A choice of warp presets is available, with any preset being editable using a customizable warp mesh.
You can warp shapes, straight lines, curves and text by applying a warp preset directly to selected objects. All warp presets apply a mesh to the objects which can be manipulated.
Vector warps can also be symbolized to allow warp edits to update across multiple instances of the same design at the same time. For example, when designing warped logos across artboards.
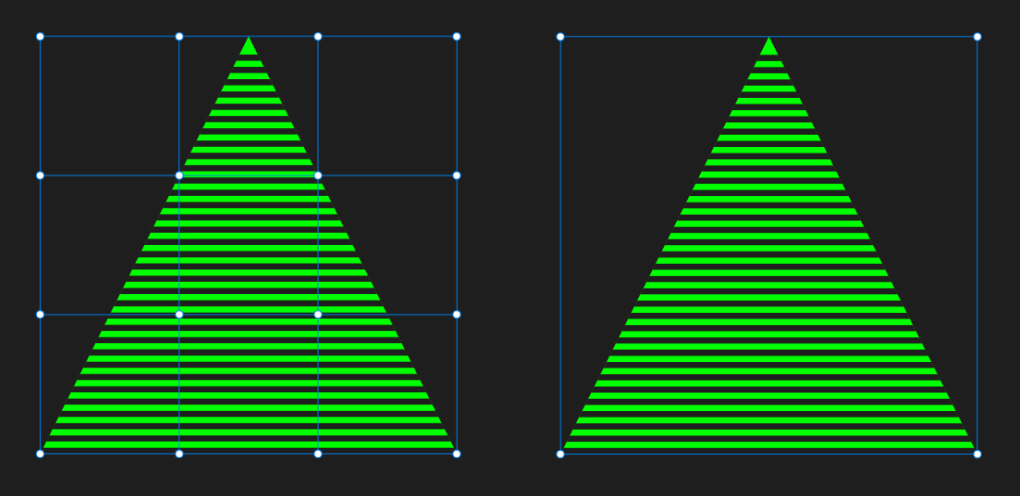
With these warp presets, objects are not initially warped but need to be warped manually. The Mesh preset lets you reposition existing or manually added mesh junctions (circular nodes) as well as their control handles. Quad and Perspective presets let you drag by the mesh's corner junctions and control handles.
The presets differ because the mesh's junctions and control handles are set up specifically for mesh grid, quad and perspective warp design.

Different shaped warp presets can be applied automatically depending on the design you're looking for. They offer familiar and popular warps and can be a good starting point before fine-tuning the warp.

Any warp preset will create a warp group that controls the warp. Contained objects within the warp group remain unaffected, giving the feature its non-destructive behavior.
Warp groups behave much like ordinary groups you'll find in Affinity apps. Any group can be moved on the page, while any contained object can be dragged in or out of the group at any time.
See Editing mesh warps (below) for details of how to move and add mesh junctions, as well as adjust a junction's control handles.
The object is turned into a closed shape made up of curves. For text, each text character is converted to a separate curve. The resulting curves are grouped automatically.
Once warped, you can edit the warp using the Node Tool in a similar way to editing a curve, except you are actively warping as you edit, as opposed to reforming a curve or shape. Editing will let you reposition one or more junctions, adjust any selected junction's control handles, add junctions or reposition a mesh patch (the area enclosed by four mesh junctions).
You can use various techniques for making multiple selections of junctions. This allows you to warp from multiple points in one operation. Selection methods include:
When you reposition junctions you can make use of two types of snapping, i.e.
Any contained object in a warp group can be edited independently of the group and other grouped objects. For example, you can fix a typographic error or rename the warped text at any time, or recolor a specific object.
Do any of the following within the warp's outline:
The new mesh junction can then be:
Do any of the following: