About view modes
Vector
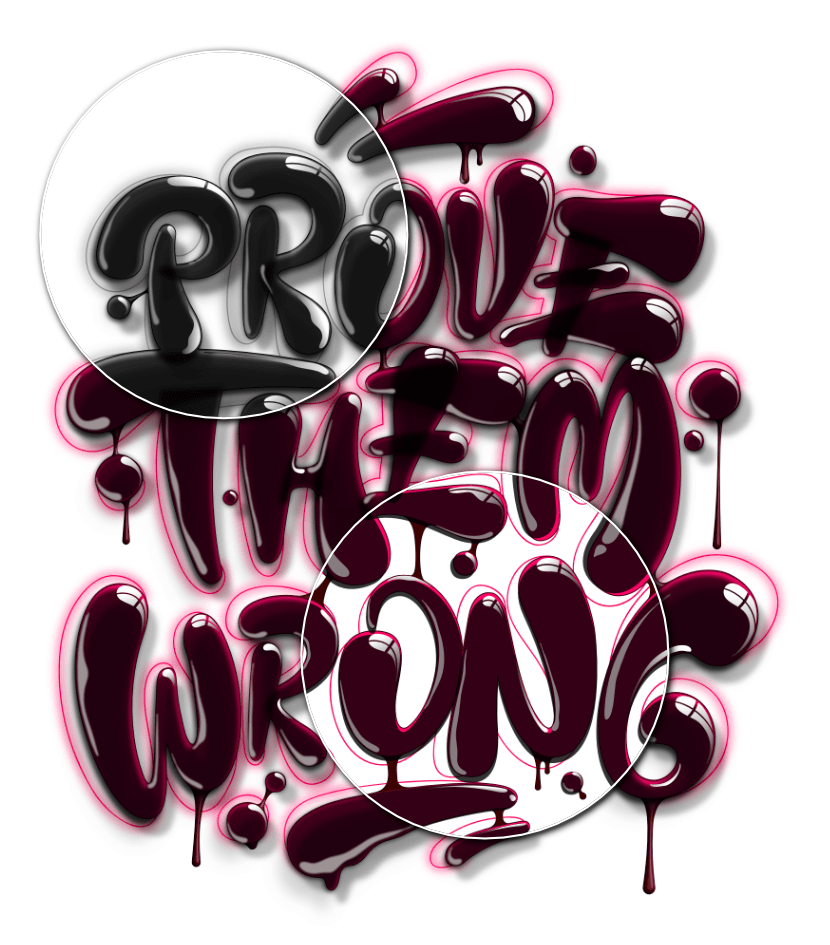
Pixel
Retina pixel
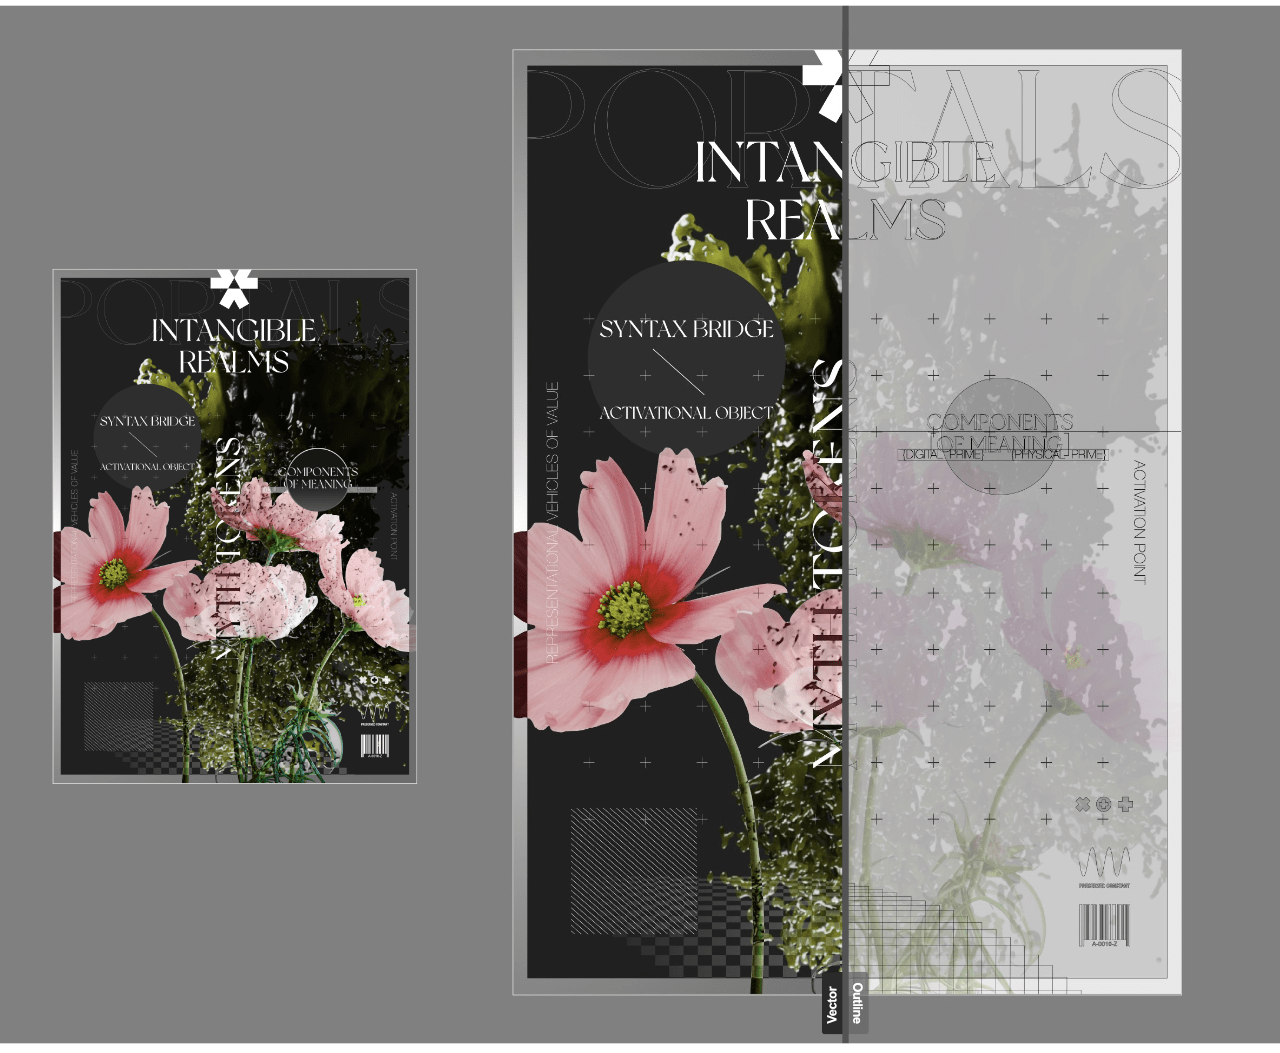
Outline (wireframe)
X-ray (wireframe)
Hairline

The view mode is made up of two distinct components:
- how objects are displayed on screen, and
- how your project page is presented.
Pixel view mode
During design, vector objects are presented as if they are constructed from individual pixels. This is an accurate representation of how your design will appear once exported and viewed as an image.
Retina pixel view mode
As for Pixel mode above, but represents how your design will display on retina and high DPI displays.
Vector view mode
Drawn objects are displayed as vectors by default. This means that, regardless of the current zoom level, objects (and applied effects) are always presented with smooth vector edges and transitions.
X-ray (wireframe) view mode
As for Outline view mode, but page objects still display their fills at reduced opacity. On more complex designs, perhaps when zoomed in, this helps to interpret the view better.
Outline (wireframe) view mode
During design, page objects are presented as paths only (with no fills or strokes). All otherwise obscured paths are exposed, and selection behavior changes so grouped objects can immediately be selected just like ungrouped ones. In complex designs, this can be used to more easily target unlocked and locked objects for selection.
Hairline view mode
For CAD documents, Hairline mode displays designs as CAD apps would display them. All lines are displayed as thin lines so line weights are ignored, regardless of zoom level.
View mode options
These are not modes but additional options that can be applied to any view mode.
Grayscale
This gives the option of viewing your document in grayscale. This is useful when evaluating contrast and dynamic range more easily.
Hide Effects
This hides any layer effects applied to your document. It helps to improves performance on more complex documents where extensive layer effects are used.
You can apply different option settings to different sides of a split view.
Views
You can switch from the default single view to split view to compare any two combinations of view modes.
Single View
Presents the selected mode in isolation on a single page.
Split View
Simultaneously presents two modes side-by-side on the same page, allowing for a visual comparison to be made. A sliding divider can be repositioned to view different areas of the design in either mode. Either view is selectable, allowing you to set different combinations of view modes.
Clip to Canvas
This option, set by default, restricts the document view, so you can only see objects which are placed on the page. If objects extend beyond the page, the area which lies on the page is visible while the area which lies on the pasteboard is hidden. Objects which are entirely on the pasteboard are hidden.
When Clip to Canvas is switched off, the pasteboard is visible, as are all the objects placed on it.
Clip to Canvas can be used in conjunction with any of the above view options.