Autoflowing images and documents
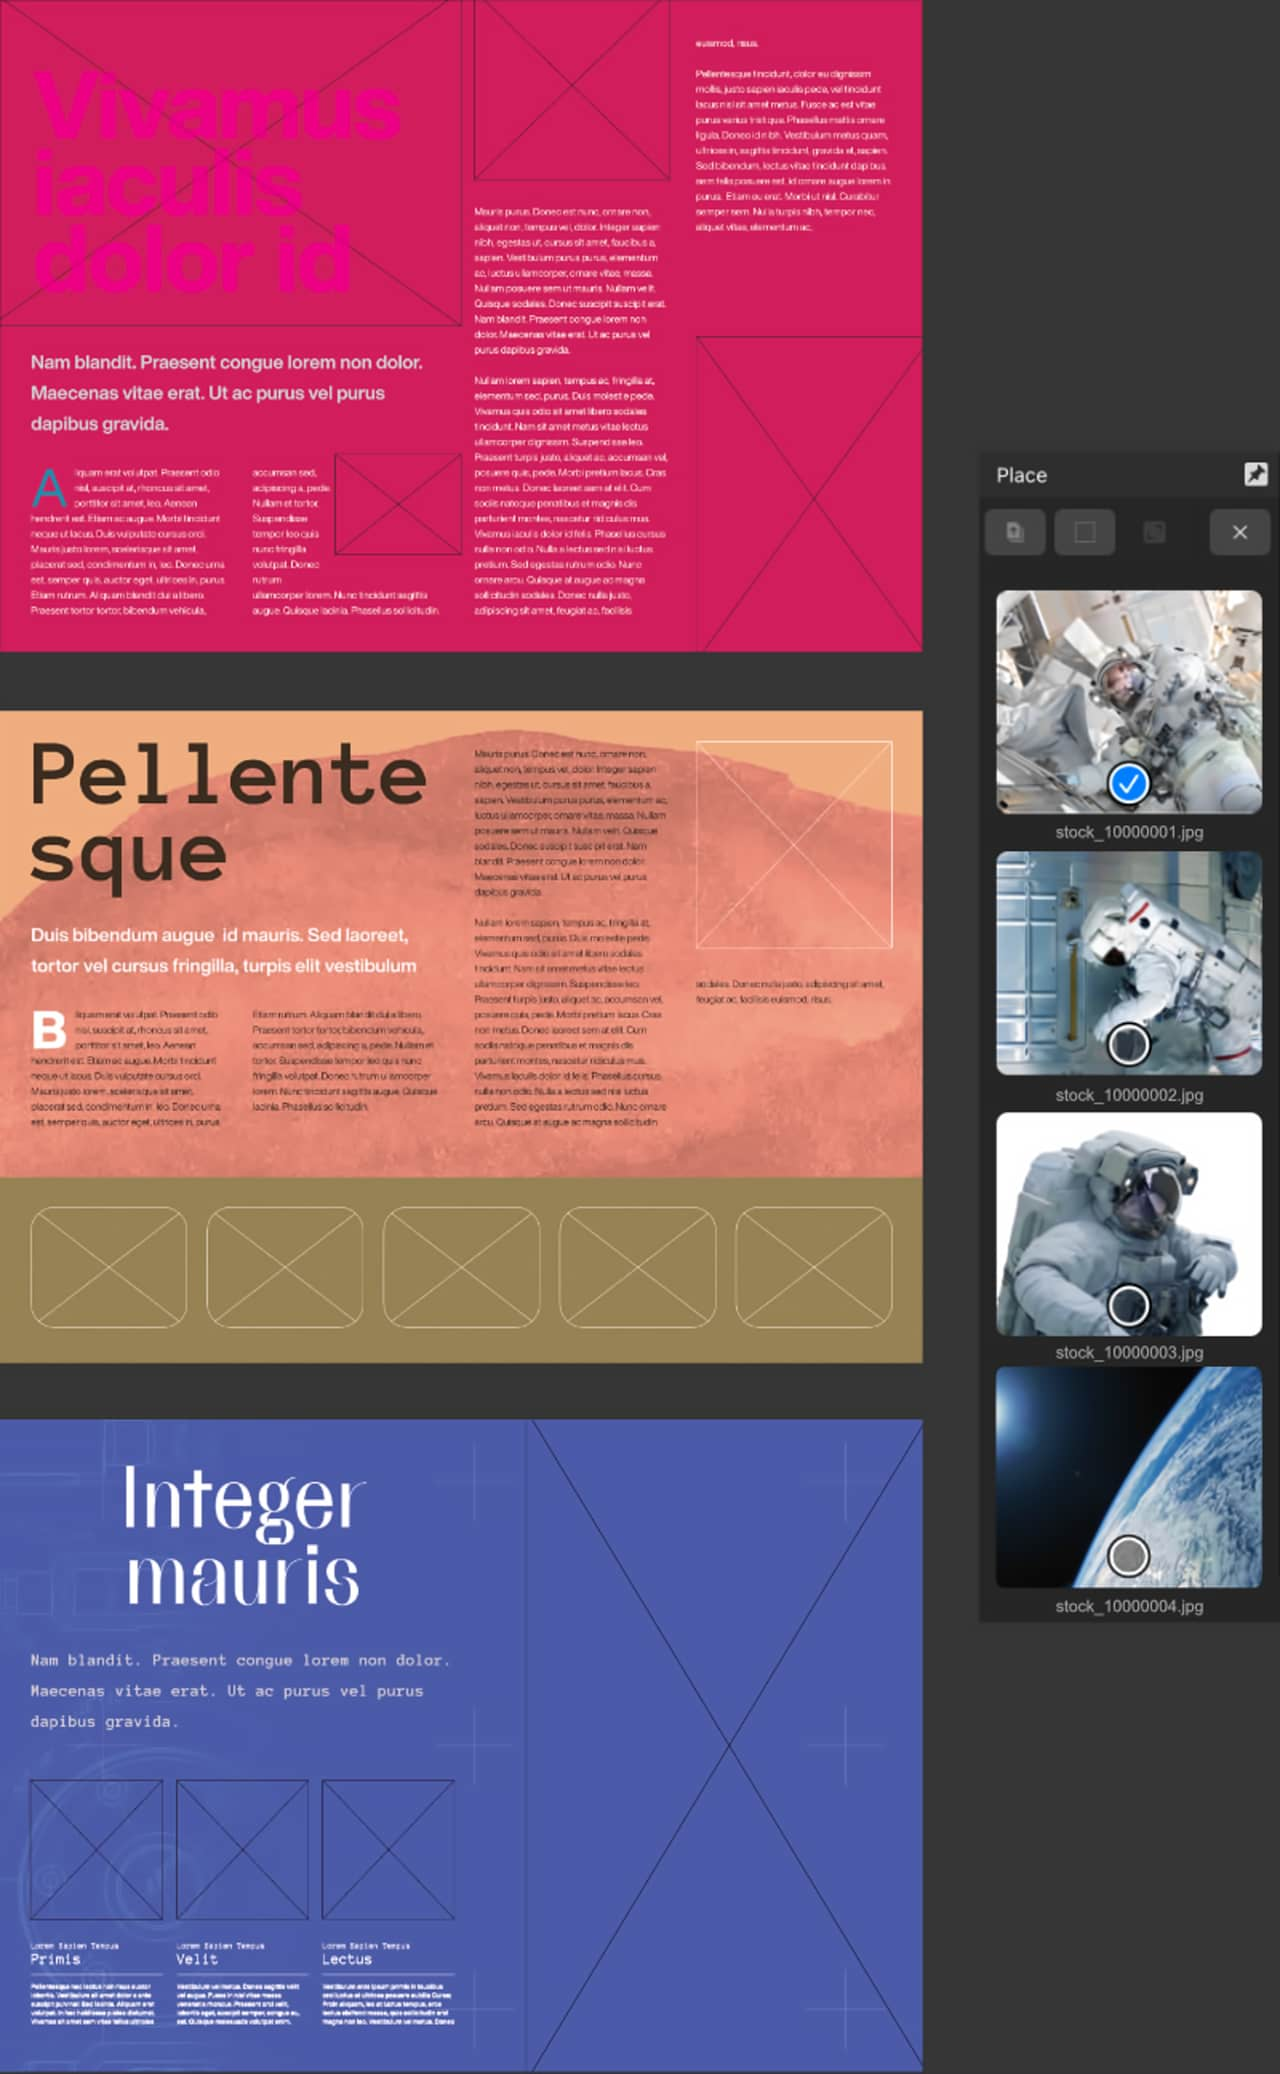
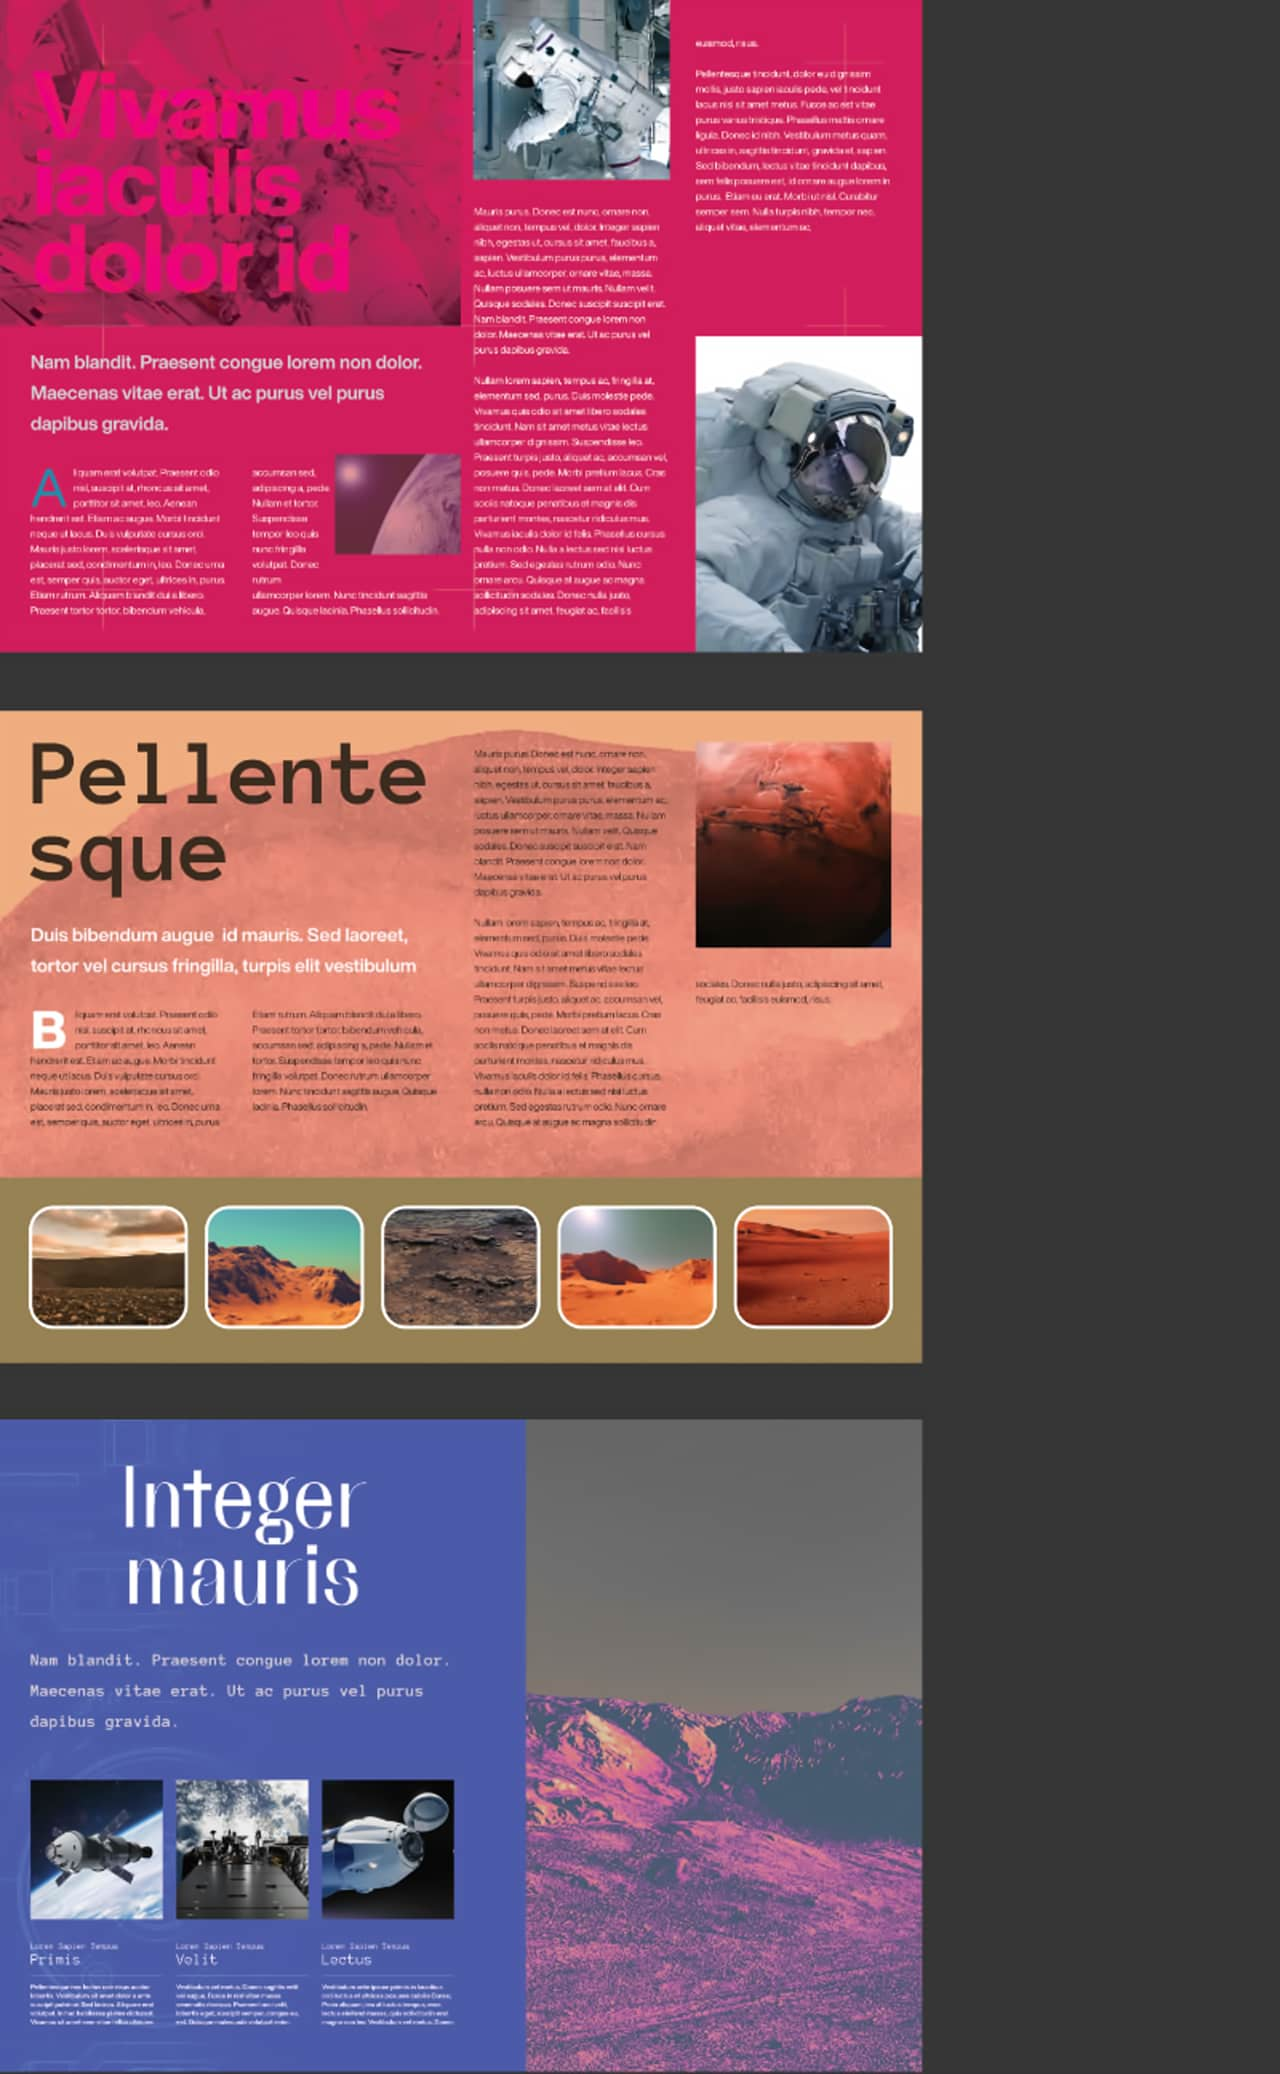
Autoflow allows you to place multiple images or documents with one tap or drag. It can be used to quickly place:
- multiple images, framed or unframed.
- multiple pages from one or more multi-page documents.


Autoflow allows you to place multiple images or documents with one tap or drag. It can be used to quickly place:


You might use autoflow to place images in repeating page layouts—either a single layout or a sequence of different layouts—such as for a lookbook or similar image gallery.
If there are insufficient pages in your document to accommodate all items, autoflow adds more pages and, if you choose to place in picture frames, it clones the layout of picture frames from existing pages to the new pages the necessary number of times. The pages remain fully and independently editable after autoflow.
Autoflow is initiated by selecting two or more items on the Place panel and then interacting with the document view. The interaction you choose determines autoflow's behavior and results:
1 Picture frames on the starting page that are lower in the layer stack than the one tapped are ignored. To populate all empty picture frames on the starting page, ensure you tap the one that is bottom-most in the layer stack.
From the pop-up dialog, do one of the following: