Layer clipping

Clipping involves positioning one object inside another, creating a parent - child layer relationship. The path of the parent object becomes the new boundaries for the child object. Any areas of the child object which lie outside the parent object's path are masked (hidden).

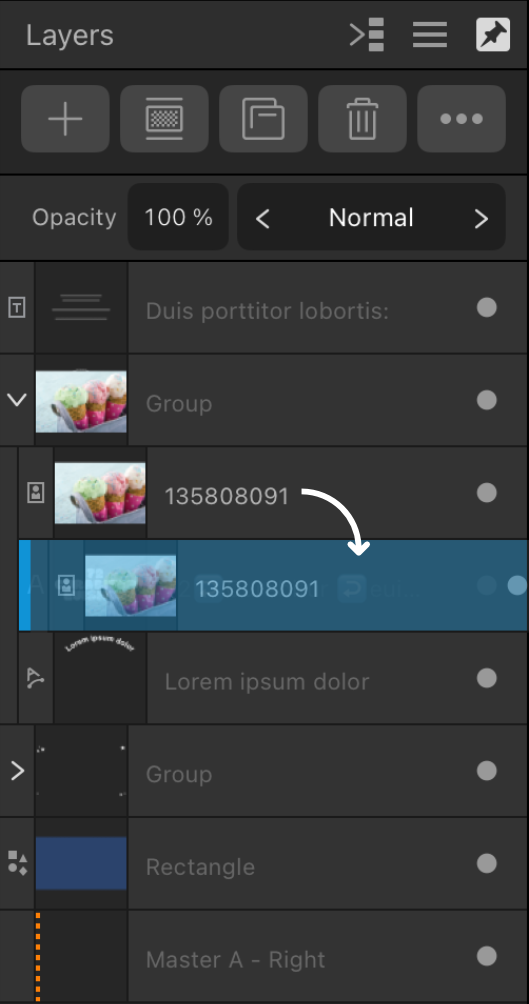
Clipping can also be used to confine an adjustment or mask to a single layer or layer group.

Before clipping
After clipping
An image clipped inside artistic text to give it texture.
Clipping in Layers panel
Layers panel showing the parent-child relationship of the above clipped image being created.

About clipping

Any object can act as a parent or child in clipping relationships. Therefore both vector objects and pixel layer content can be either clipped or clipping objects.

When scaling a parent object, child (clipped) objects scale to maintain the correct aspect ratio. Scaling a clipped object has no effect on the parent object. A clipped object can be edited independently from its parent, e.g. adjusting color, opacity, and/or blend mode.

To clip an object manually:
  1. In the document view, position the object to be clipped so it overlaps the object which will perform the clipping.
  2. On the Layers panel, drag the object to be clipped on top of the object which is to perform the clipping, then drop.

The clipped object is nested within the clipping object on the Layers panel, i.e. it has become a child of the clipping object.

To clip an object on creation:
  1. On the page, select the object which will perform the clipping.
  2. On the Edit menu's Insertion Targets section, select Insert Inside.
  3. Draw your object over the selected object to auto-clip.
Expand To select clipped objects:

Do one of the following:

The clipped object can now be moved and edited as needed.

To select a clipping object:

Do one of the following:

Expand To remove clipping from an object (unclip):
Move Options To resize an object without scaling its child layer content:

SEE ALSO: