Grouping objects
Objects can be grouped together to assist with design composition. One or more groups can also belong to a 'parent' group.

Objects can be grouped together to assist with design composition. One or more groups can also belong to a 'parent' group.

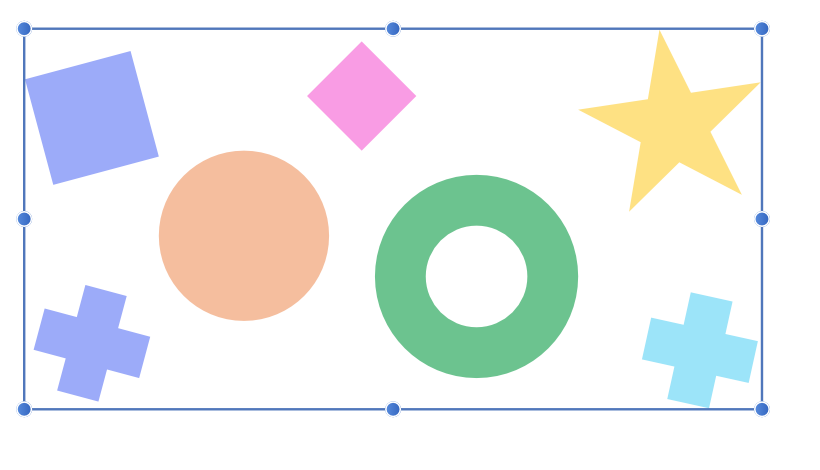
Grouped objects remain together so they can be easily selected, moved, copied, and edited as if they are a single object.
Groups, and nested groups, can be broken apart at a later date into their separate components or objects. Ungrouping can be activated on individual groups, or across multiple or nested groups using a single command.
Furthermore, a group can be converted to layer at a later date (if needed) to assist with design organization.
Resizing a group will maintain the aspect ratio by default, the opposite of resizing an individual object. Use the to size unconstrained.
You can enable Ask for name when creating Layers and Groups setting to be prompted to name them upon creation. This is found in the Settings (or Preferences)>User Interface section.