Optical alignment
Optical alignment uses preset or custom rules for aligning characters at the start and end of paragraph text as well as at tab stops.

Optical alignment uses preset or custom rules for aligning characters at the start and end of paragraph text as well as at tab stops.
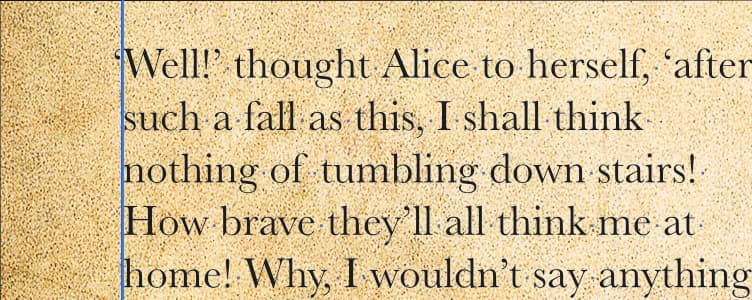
Optical alignment is typically used to introduce hanging punctuation where punctuation marks are outdented at the start and end of paragraph text.
As a result, the feature is best configured for a base paragraph style (e.g., Base), with the option of manual fine tuning via the Character panel as needed. This will automatically apply relevant optical alignment rules when characters such as “ and ‘ are typed at the start and end of paragraph text (at Left Indent or Right Indent) or at tab stops. This is without manual selection of the character itself.
Two types of optical alignment are possible: 'Manual' where a lookup table of rules is used and 'Font' where the font itself provides optical alignment control. The latter is applicable to fonts that have been designed with in-built optical alignment capabilities—this is emergent technology.
This invokes all the listed alignment rule presets, plus any added custom optical alignment rules.