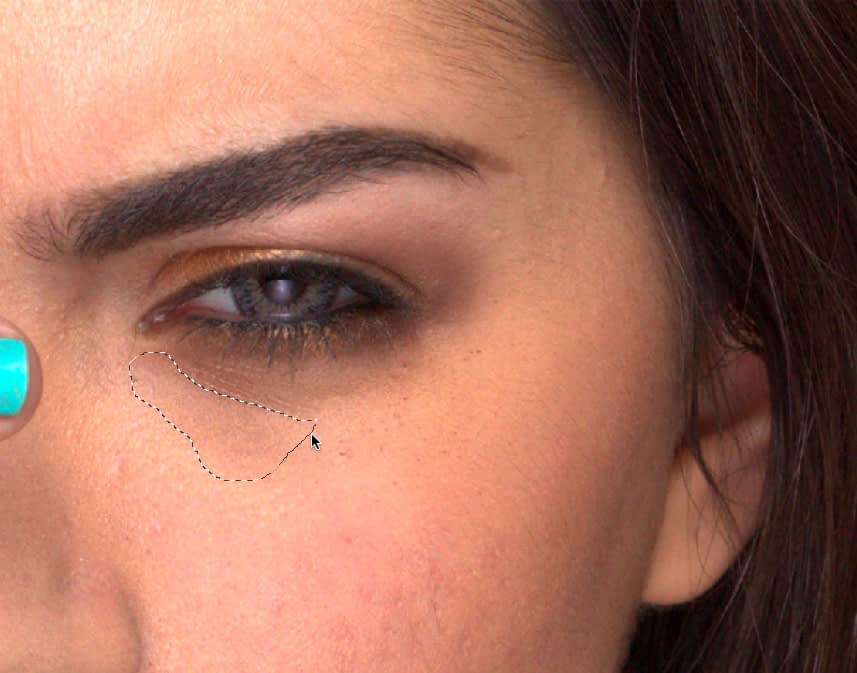
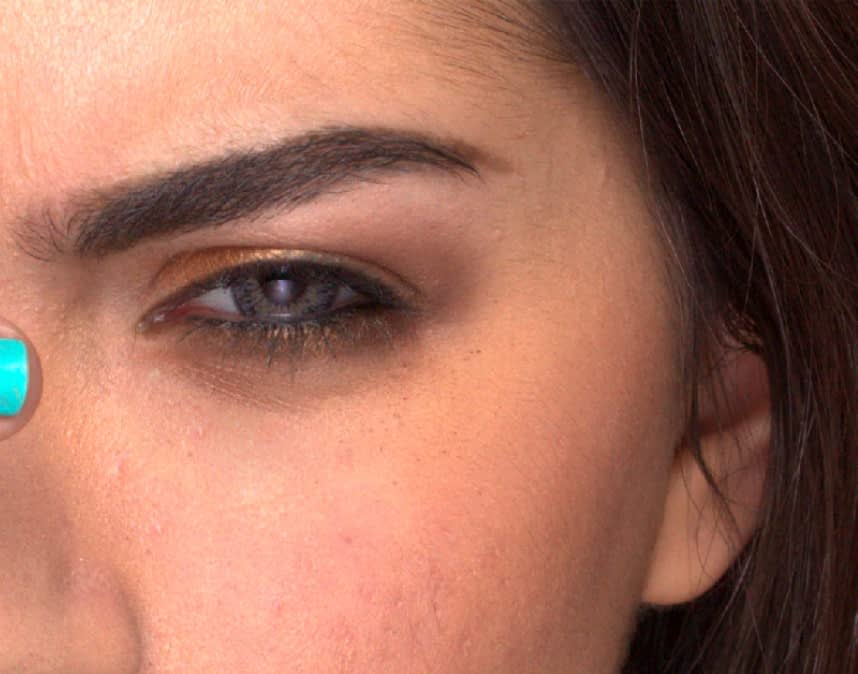
Patching
Patching is a retouching technique which involves replacing an undesirable pixel region with a patch (a drawn freehand selection area) made up of pixels sourced from another, more suitable, part of your image or another document.


Patching is a retouching technique which involves replacing an undesirable pixel region with a patch (a drawn freehand selection area) made up of pixels sourced from another, more suitable, part of your image or another document.


Patching, like healing, blends the target pixels with the sample pixels by matching the texture, tone, and transparency of the sample pixels with the target pixels. For effective results, colors in the source and target areas should vary slowly to help create a seamless boundary that blends into the target's surroundings.
Take care to avoid including in your source sharp edges where color changes dramatically, which can introduce unwanted color tinges at the target.
When patching, the context toolbar offers options to apply only the texture of the source to the target, and to apply a level of transparency so the target and source pixels are blended together.
The selection can act as any of the following:
As Target—pixels are modified based on the properties of the source pixels. These pixels are sourced from under the cursor anywhere outside the selected area.
As Source—pixels are used to modify the target area(s) selected.
For both, the sample can be scaled or rotated before or after it has been applied.