Working in Develop Persona
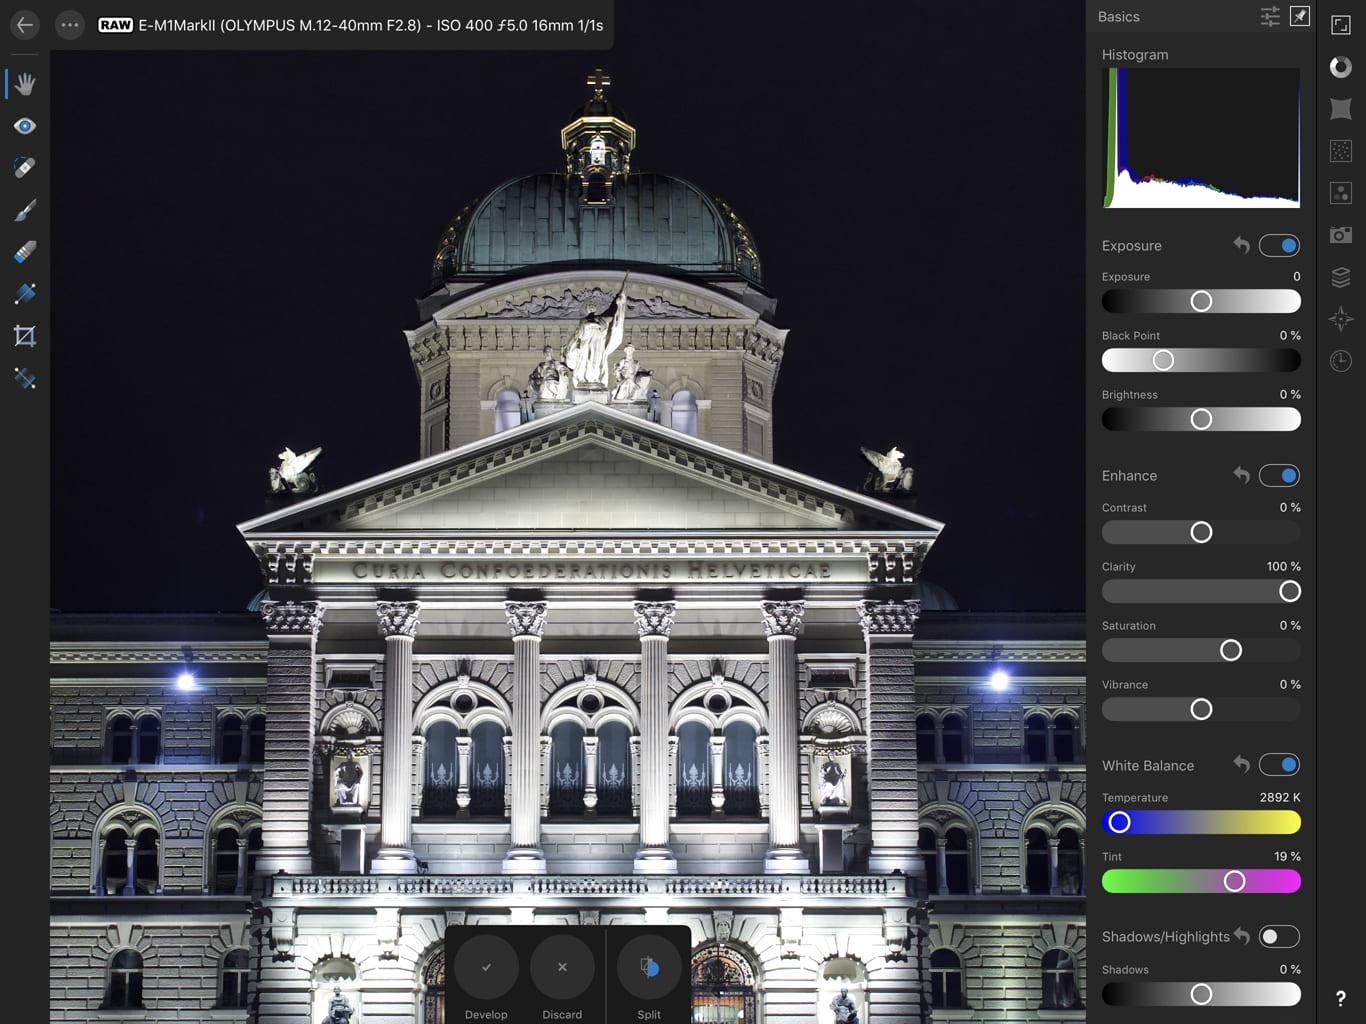
If a supported raw file format is opened in Affinity Photo, it will automatically display in Develop Persona. You can then process the image using the dedicated adjustments, Studios and tools.
Develop Persona gives you access to the following:
- Tonal adjustments using the Basic and Tones Studios.
- Sharpening and Noise adjustments using the Details Studio.
- Lens correction adjustments using the Lens Studio.
- Overlays for applying adjustments to specific brushed image regions.
- Crop Tool for cropping your image.
- Blemish Removal Tool for correcting image imperfections.
- Metadata Studio for GPS Location and A/F region display.
At any point while working with an image or any selected pixel layer, you can switch to Develop Persona to make use of its unique features.
Choosing between RAW engines
The Develop Assistant provides a choice between Apple (Core Image RAW) and Serif Labs engines for processing RAW images.
Apple's engine provides the benefits of predetermined behaviors for demosaicing, lens correction, noise reduction, cropping and more.
Serif Labs' engine allows for greater manual configuration. You can specify luma and chroma noise reduction separately or disable noise reduction altogether, override lens correction, and benefit from superior demosaicing.
Apple's engine crops to whatever aspect ratio was selected in camera and so was written into the image's metadata, even if the camera sensor's aspect ratio is different. Data outside of the crop area may be removed during RAW processing. The Serif Labs engine doesn't destructively crop images, so all sensor data remains available.
Split view options
There are a variety of split view options available in Develop Persona's View Tool which give you the opportunity of seeing how your processed image compares to the original raw data.
Syncing
While applying adjustments, you can update the 'Before' and 'After' view to give you a more focused representation of the applied changes.
Show Clipping
An incorrect level of exposure within an image can lead to pixels 'falling out' of the viewable intensity range. This results in the loss of detail in areas of shadow, highlights, or midtones and is known as clipping.
In Develop Persona, you have the ability to display Clipped Shadows, Clipped Highlights and/or Clipped Tones directly on the image. This can help you identify areas which need correcting as well as preventing overenthusiastic modifications which result in clipping.