Stitching panoramas
Multiple images can be stitched together to create a wider and taller scene, referred to as a panorama. A basic requirement is that the series of images overlap horizontally or vertically.
The benefits of creating a panorama are:
- Capturing a much wider view of a scene.
- Producing higher resolution images than can be achieved with just one exposure; useful for printing large images and other large size applications.
You can create multiple panoramas simultaneously from your image collection. Each detected panorama is stitched and previewed, before you create your panorama(s) by preview selection. A new document is created per panorama.
Individual Images
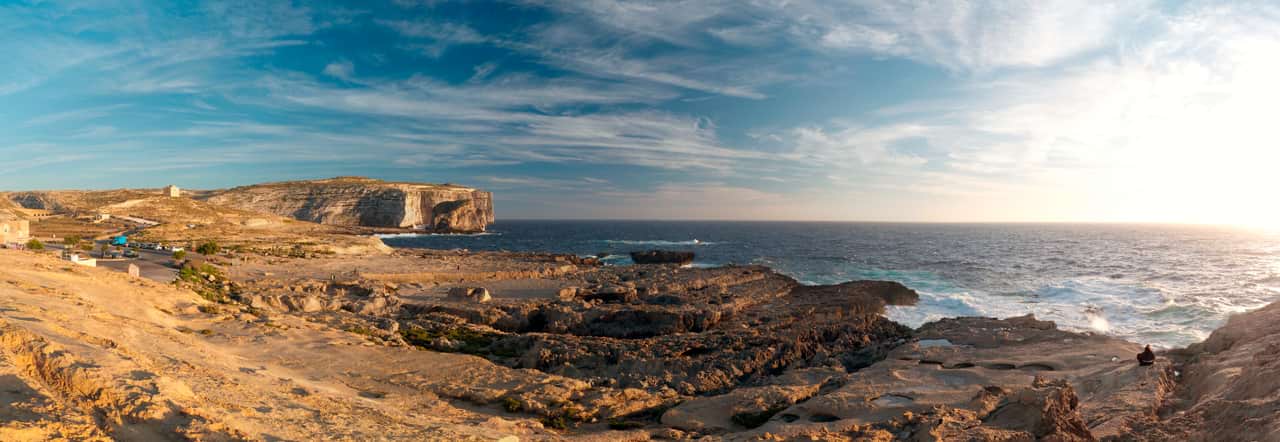
Final Panorama