Sampling (or picking) colors

The act of color picking lets you sample colors within Affinity Photo 2, then use them throughout your design.
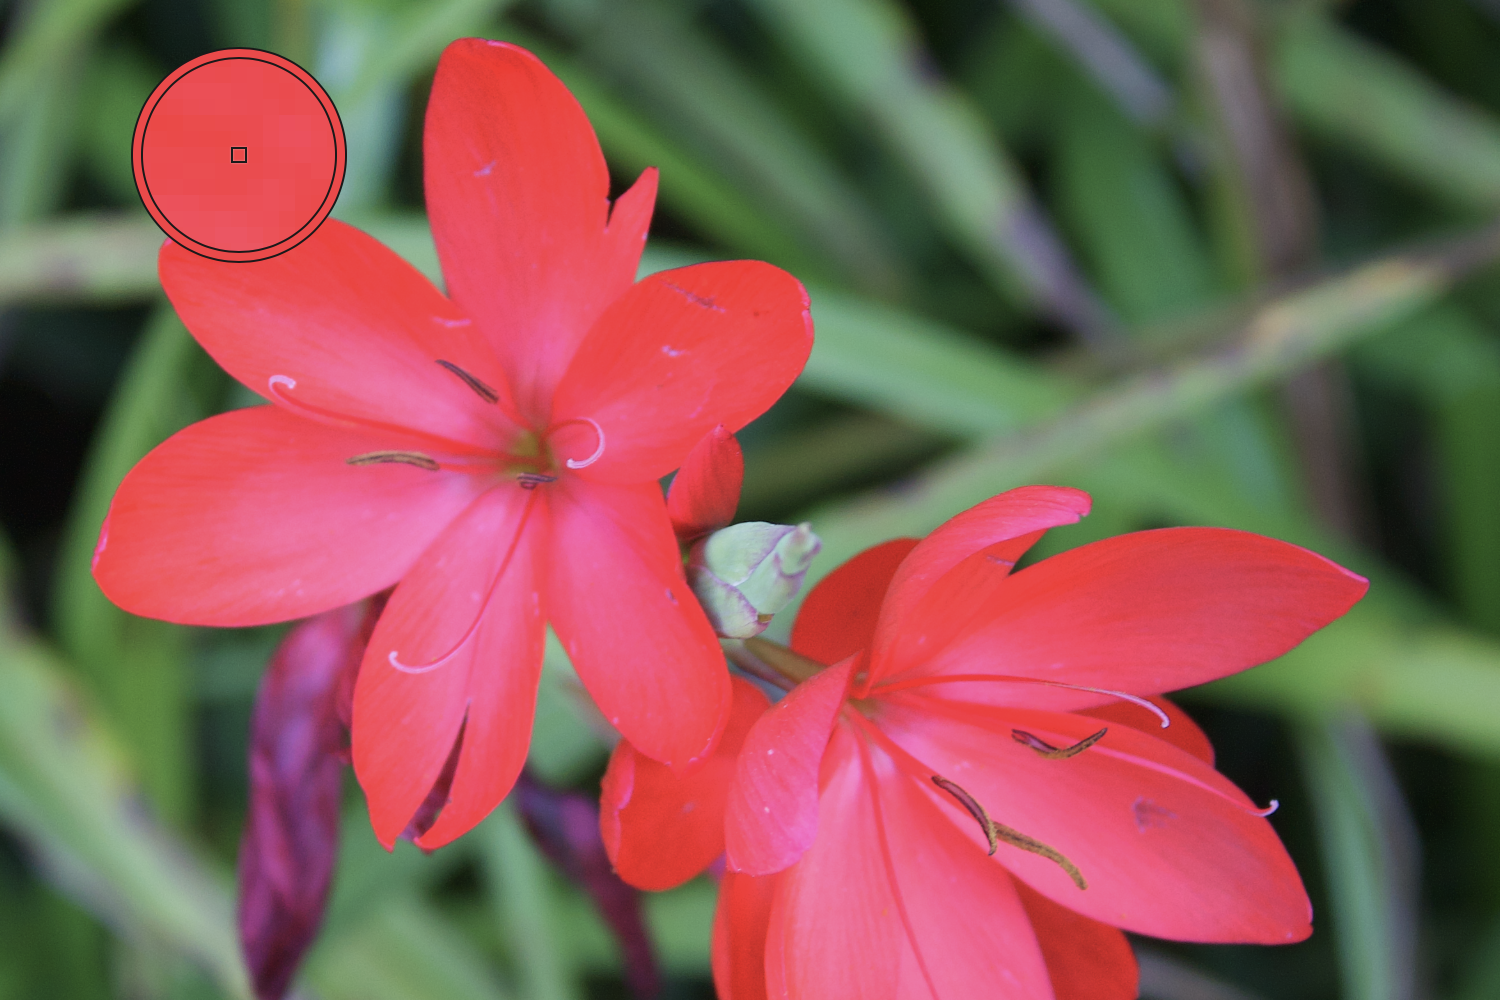
Sampling colors

About sampling colors

Color sampling appears in two slightly different forms within Affinity Photo 2. It exists as a panel 'component' as well as a standalone tool.

Both versions function in slightly different ways:

Regardless of which you use, a sampled color is stored and applied from the swatch next to the color picker's icon in the Color panel.

Color Picker Tool To use the Color Picker Tool:
  1. From the Photo Persona, select Color Picker Tool.
  2. Adjust the settings on the context toolbar. Radius lets you sample from a single point or from a color-averaging area.
  3. Do one of the following:
    • Tap to pick up any color on the page.
    • Drag to select any color under a magnifier.
color picker To use the panel's color picker:
To apply a sampled color to an object:
  1. On the Color panel, tap a color selector to set where you want to apply color.
  2. Tap the swatch next to the color picker icon.
Color Picker Tool Auto-apply To automatically apply a sampled color to an object:
  1. On the Color panel, tap a color selector to set where you want to apply color.
  2. From the toolbar, select the Color Picker Tool.
  3. On the context toolbar, ensure Auto-apply is enabled (default).
  4. Do one of the following, to apply to selected objects:
    • Tap on a color on the page.
    • Drag to select any color under a magnifier anywhere within the document view.

SEE ALSO: