Accessibility

Certain settings and preferences in Affinity Photo 2 can be adjusted to help make the workspace more accessible, improving visibility of designs, readability of text, and adjustability of tool handles.

Customizing the UI appearance

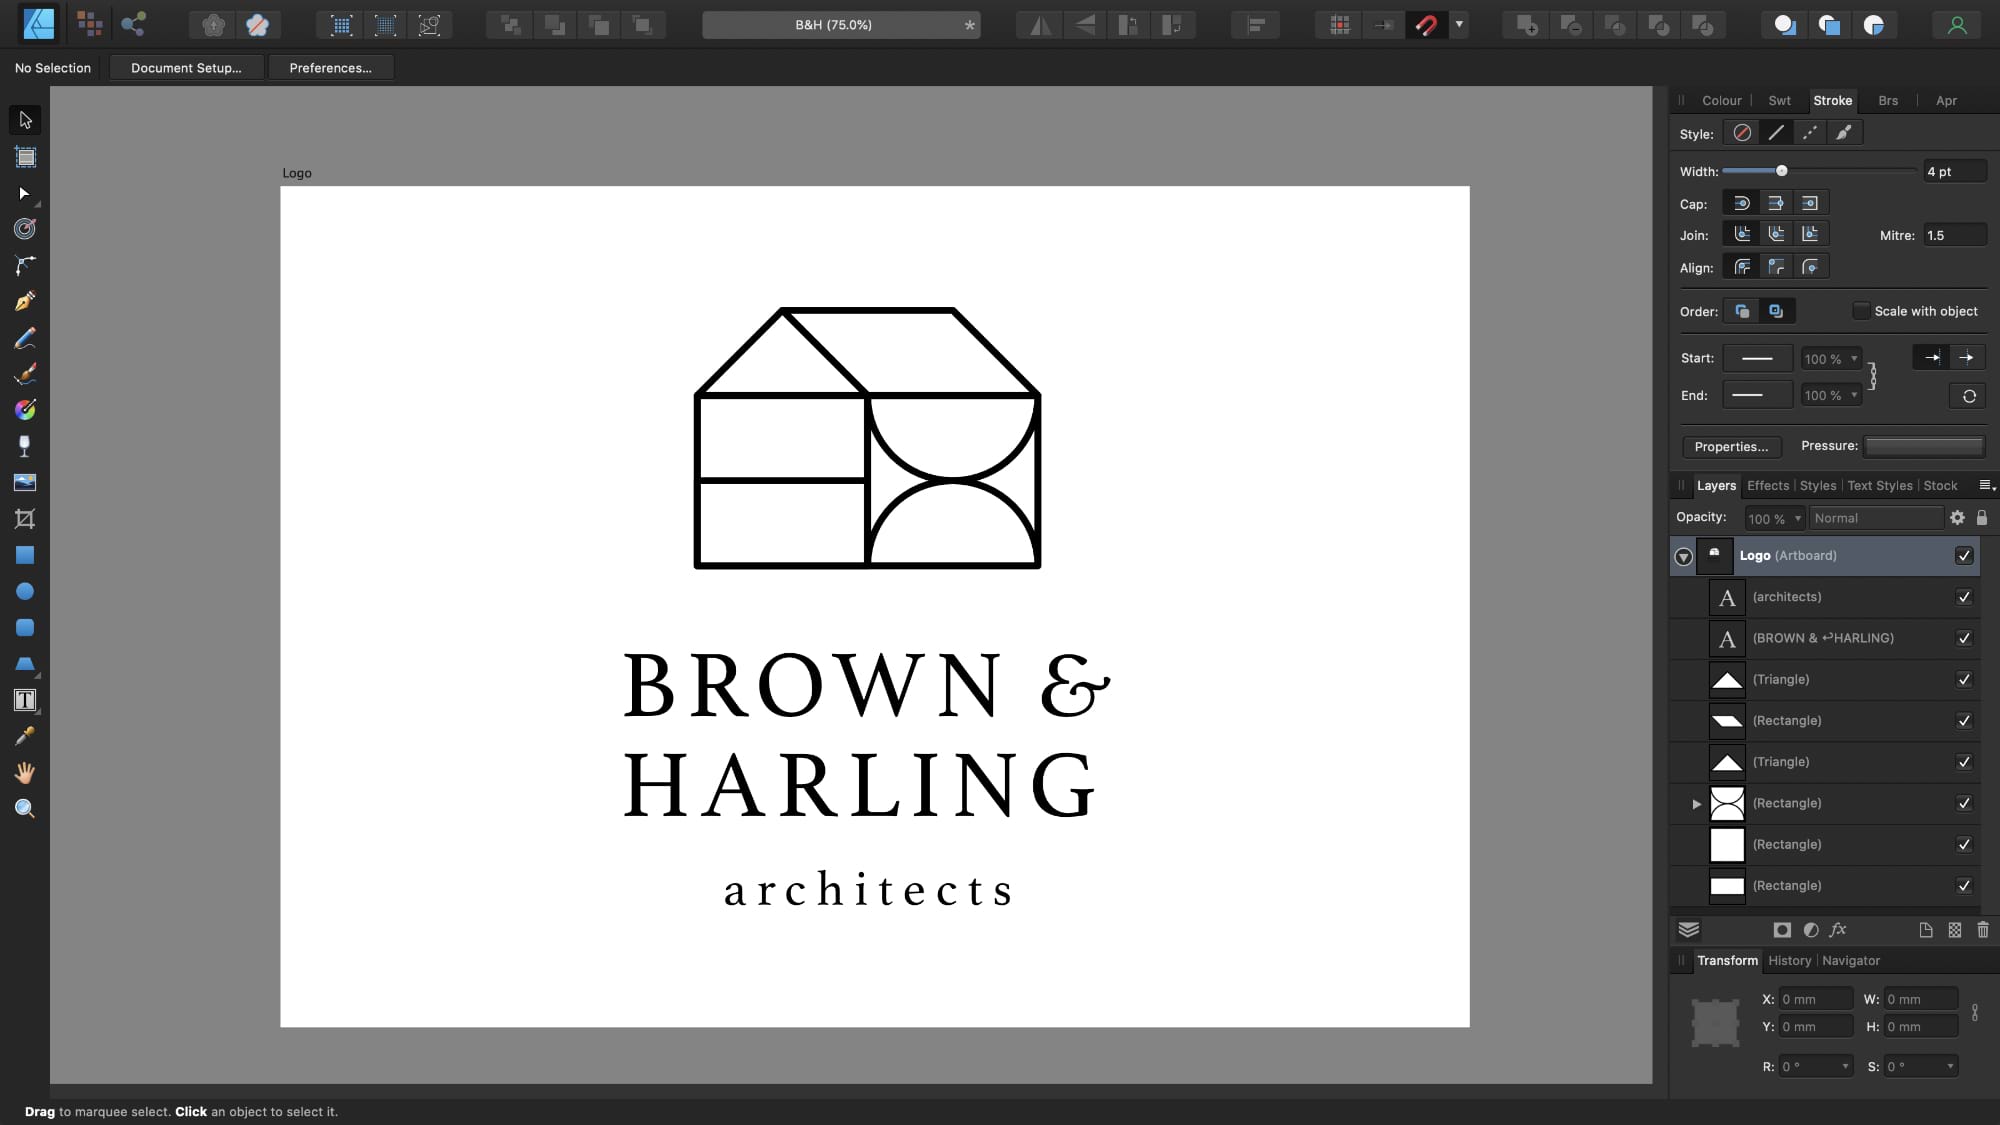
From the app's settings, you can change the UI style, as well as the UI background, artboard background gray level or UI gamma level, adjusting the contrast to improve visibility.
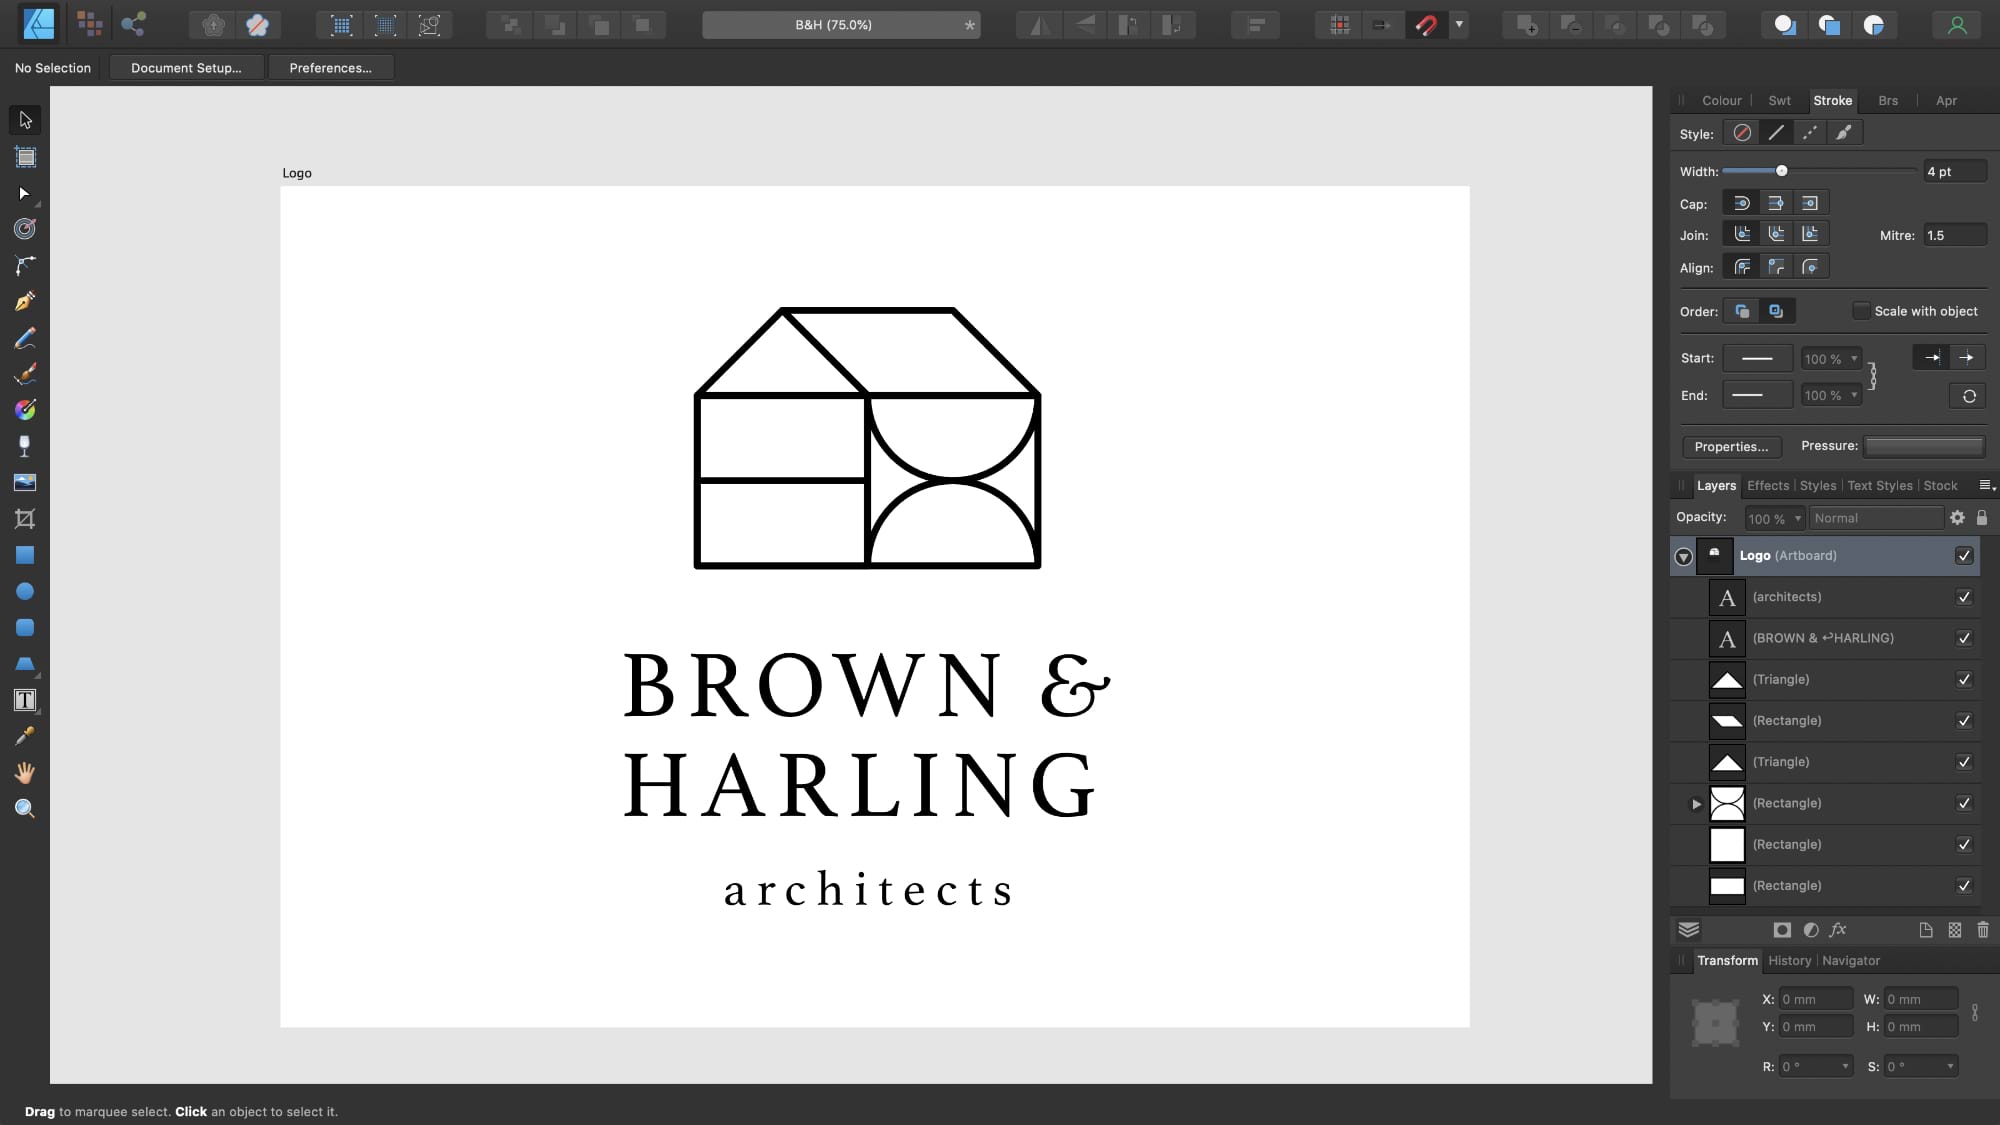
Contrast before
Contrast after
To change the UI from dark to light (or vice versa):
  1. Choose Affinity Photo 2>Settings (or >Preferences).
  2. Choose Edit>Settings (or >Preferences).
  3. Click the User Interface label.
  4. For UI Style, choose either Dark or Light.
To change the UI background, Artboard background or Gamma level:
  1. Choose Affinity Photo 2>Settings (or >Preferences).
  2. Choose Edit>Settings (or >Preferences).
  3. Click the User Interface label.
  4. Drag the sliders to set the Background Grey level, Artboard Background Grey level and/or UI Gamma level.

Customizing the UI font size

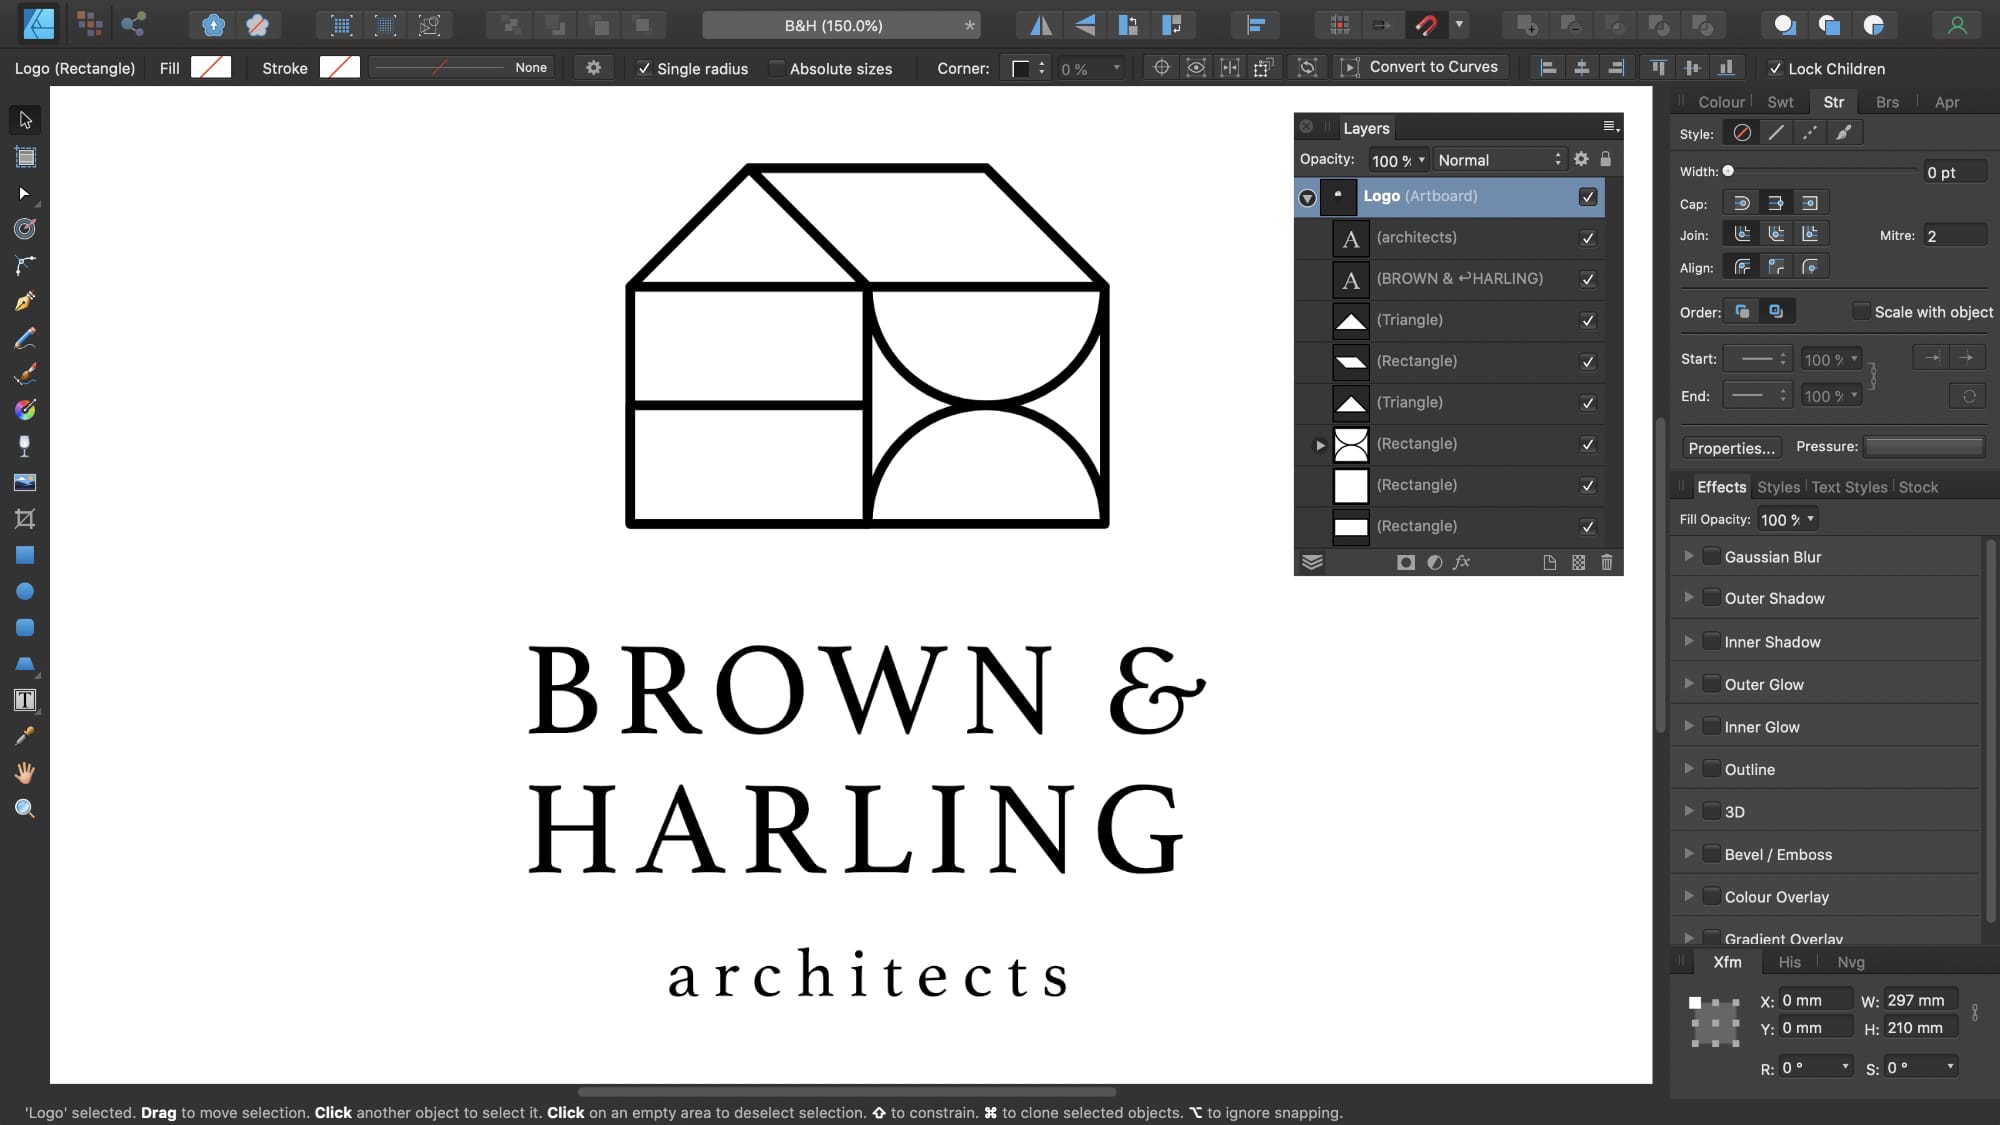
The UI font size can be increased via the app's settings to improve readability of text throughout the app.
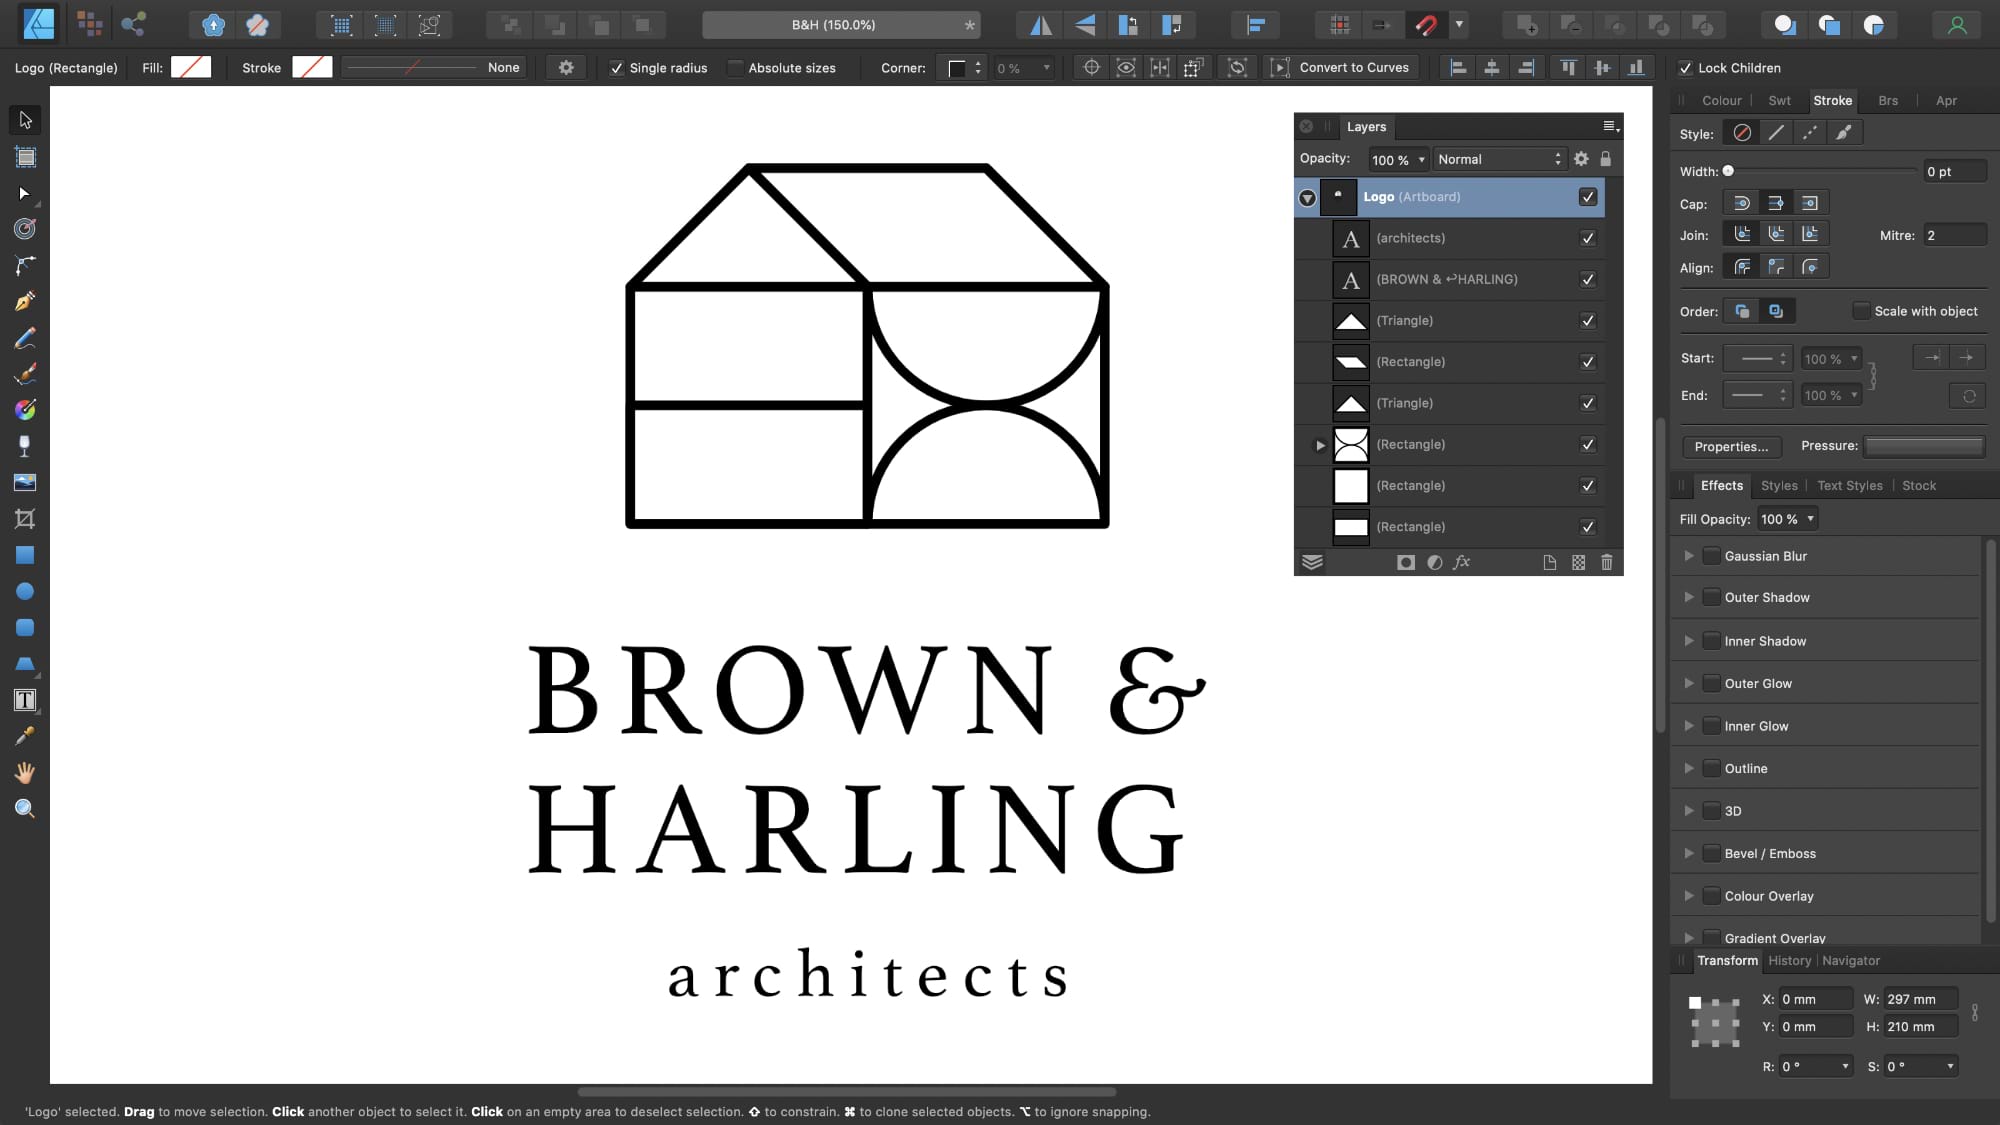
Font size before
Font size after
To change the UI font size:
  1. Choose Affinity Photo 2>Settings (or >Preferences).
  2. Choose Edit>Settings (or >Preferences).
  3. Click the User Interface label.
  4. For UI Font Size, choose either Default or Large.

Customizing tool handle sizes

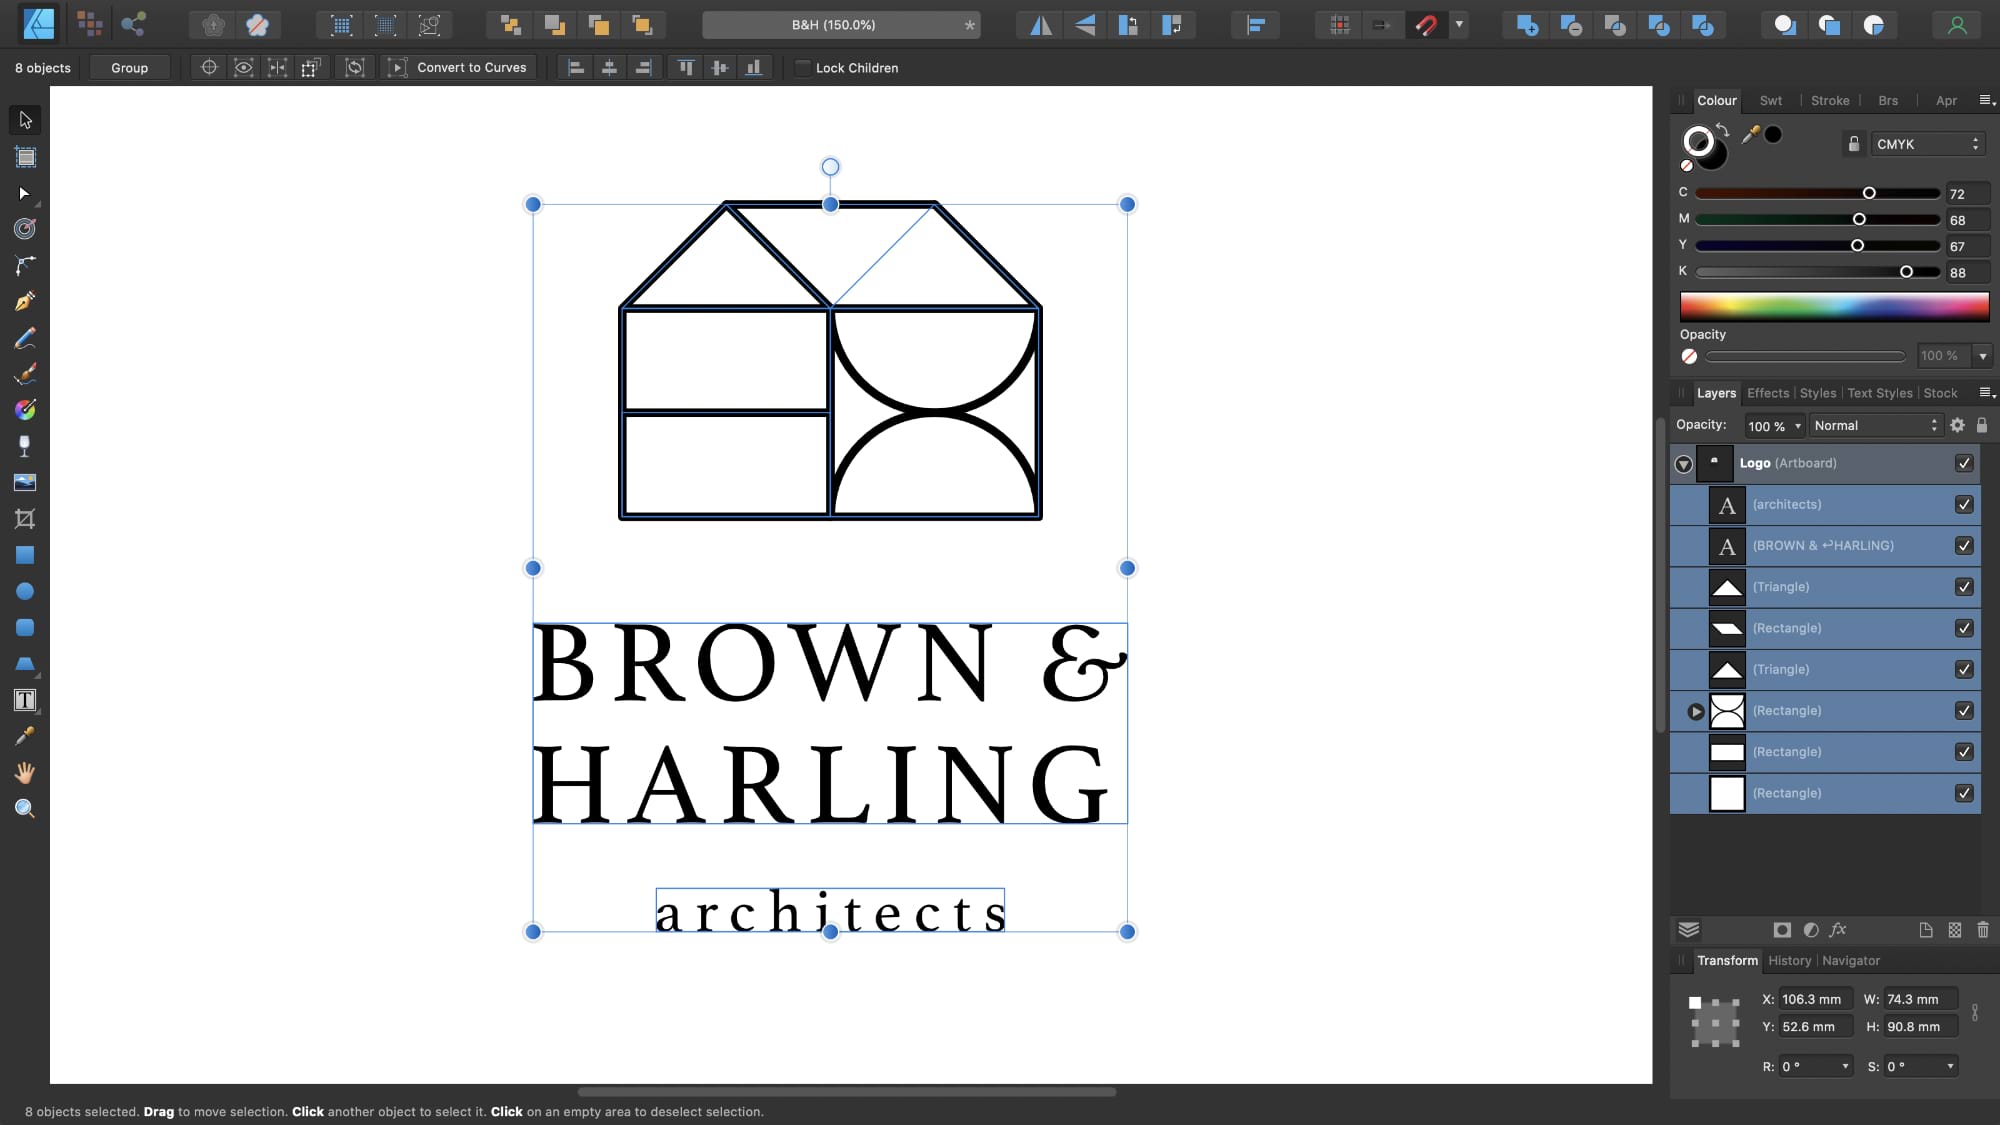
Tool handle sizes can be increased and decreased via the app's settings, making them more visible and easier to select.
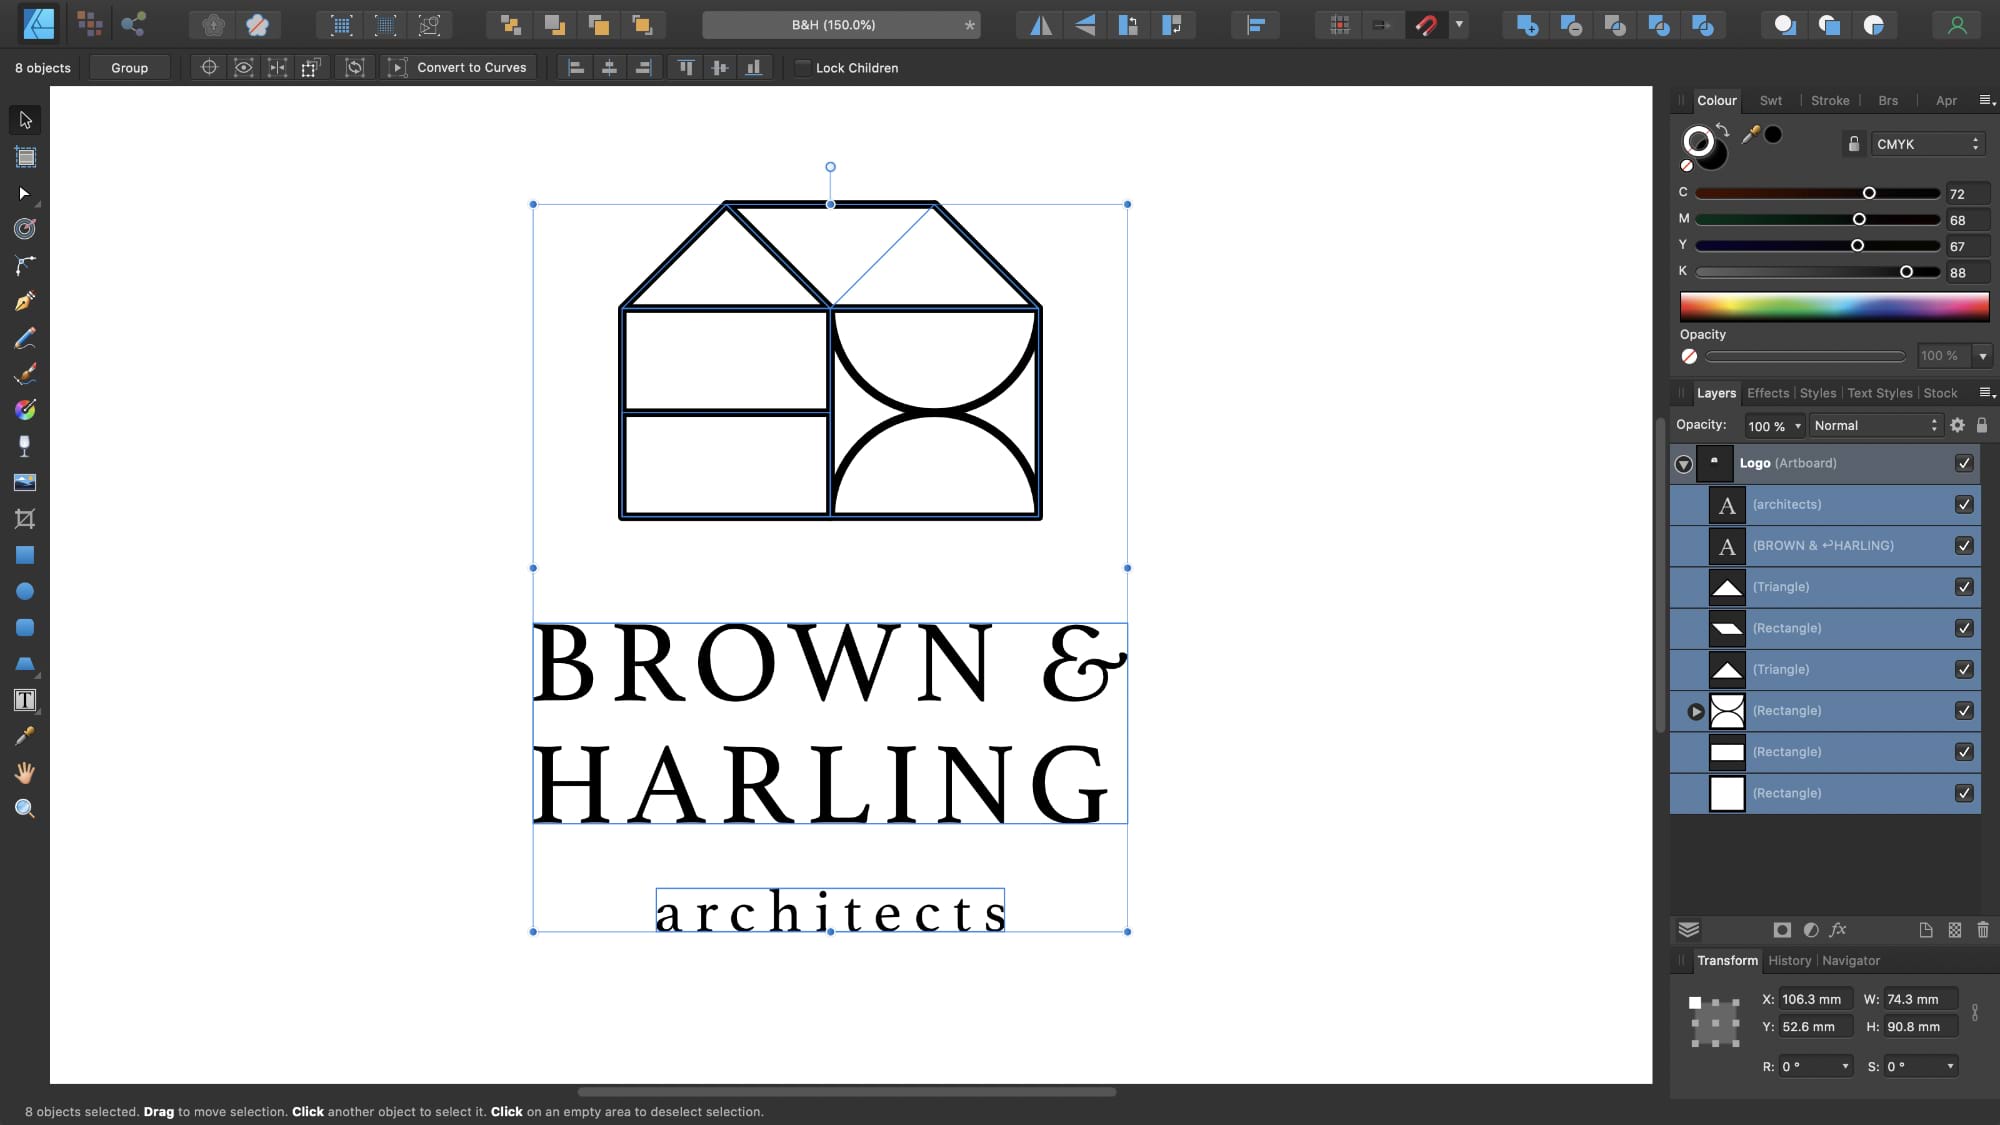
Tool handle size before
Tool handle size after
To adjust tool handle sizes:
  1. Choose Affinity Photo 2>Settings (or >Preferences).
  2. Choose Edit>Settings (or >Preferences).
  3. Click the Tools label.
  4. Select your preferred Tool Handle Size setting.

SEE ALSO: