
Once a selection has been created, you can refine its edges to ensure your selection is as accurate as needed.
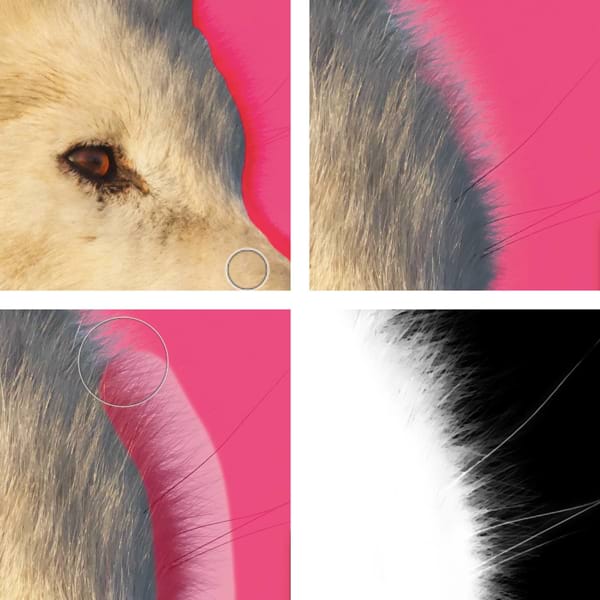
For very fine selection, e.g. of hair against a colored background, use an adjustment brush as part of the refinement to 'brush-in' fine detail.
The following settings can be adjusted from the dialog:
The size of a brush (when using the Matte option) determines what is taken into consideration when Affinity Photo evaluates the apointed areas. Use a brush size that allows the app to recognize the differences between pixels and don't be afraid to paint your strokes to cover both the areas you'd like to select and those you'd like to exclude as this aids calculations.
Selection and Mask are ideal when applying adjustments and filters after refining the selection area. New layer and New layer with mask are suited to cutting out and compositing; color 'decontamination' is also used for achieving high-quality cut-out results.
In Affinity Photo, smoothing the edges of your selection can be performed via the dedicated in-dialog slider.

As you increase the slider value, you’ll notice the amount of details included (left) and excluded (right) from the selection. The setting takes effect by evaluating edge pixel data and delivering a softer result as you increase the pixel value, which is great for at least a couple of scenarios: one, where you need the selected object to fade into the underlying image; or two, whereby you’d like for it to stand out with solid, more defined edges.
Feathering the edges of your selection can be performed by either adjusting the dedicated in-dialog slider, or setting the brush mode to Smooth.

The Feather brush mode allows for the borders of your selection to be smoother, even more refined with edge pixels progressively blurred as you increase the brush size. In addition, you can modify these edges further by experimenting with the Feather slider in the dialog – the brush mode works in tandem with the slider to deliver the desired effect.
Brush size can be adjusted mid-stroke with the [ and ] keys.
To better visualize the effects of feathering refinements, change the Preview mode to Black and white.
If you selected New layer with mask output option the first time you refined the selection, simply right-click on the mask in the layers panel and select Refine Mask. If however your output was either to Selection or New Layer, and you haven’t deselected your object yet, use the same Refine button on the context toolbar, as before.