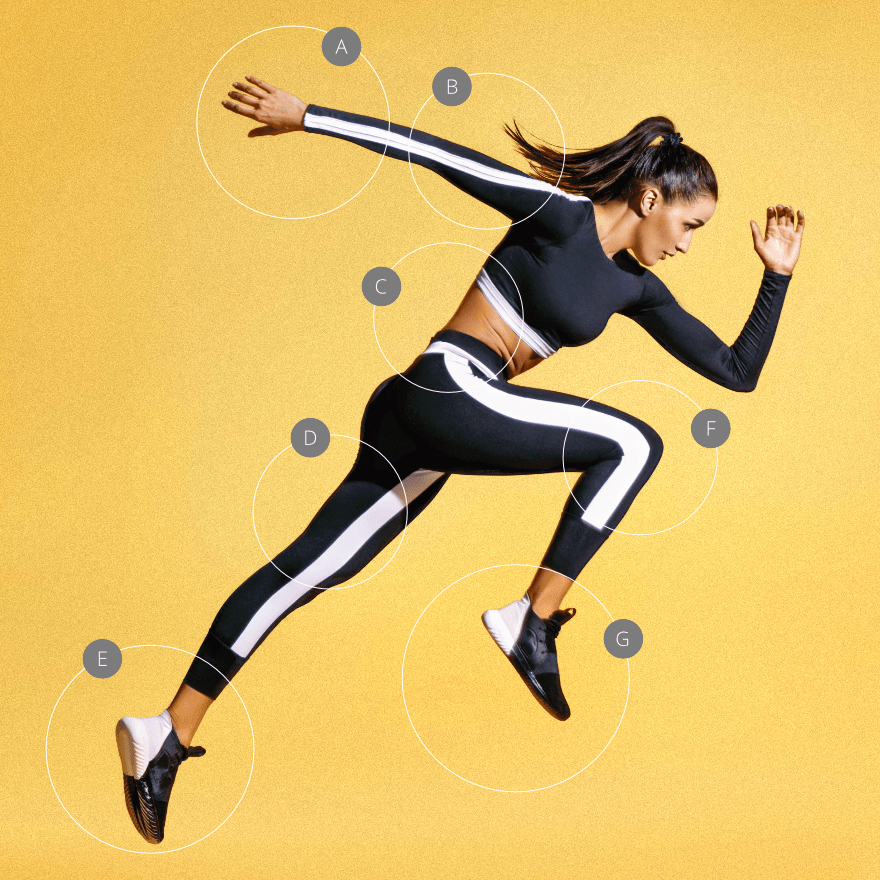
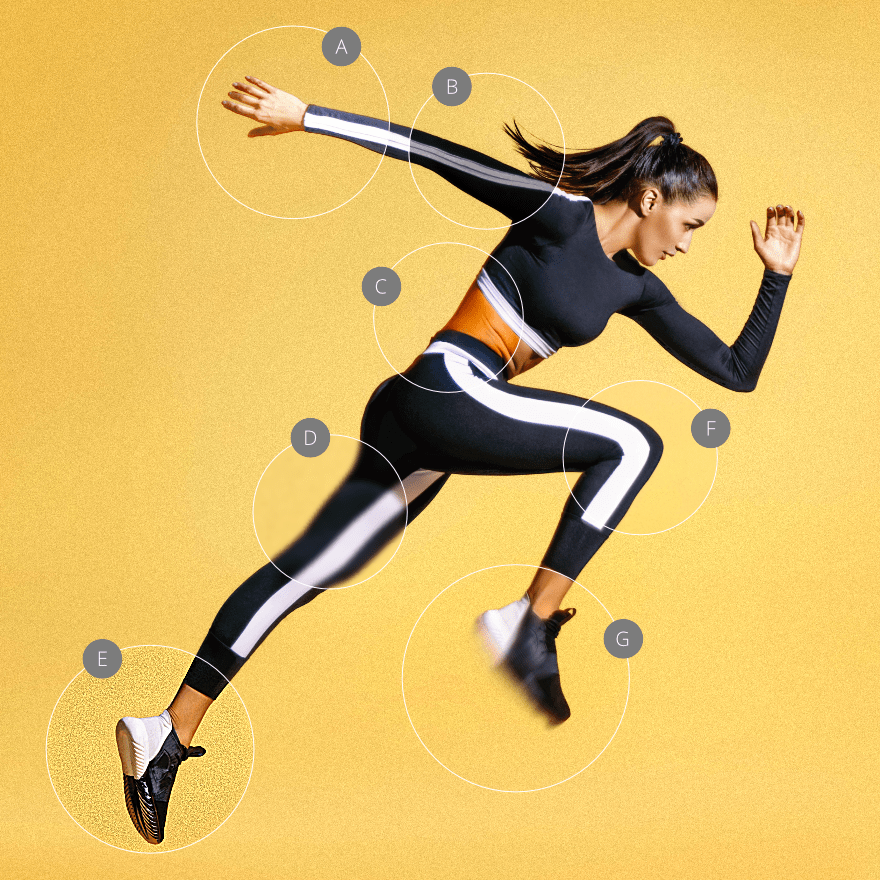
Retouching
Retouching techniques utilize a selection of brush-based tools for focused color and tonal adjustment.


Retouching techniques utilize a selection of brush-based tools for focused color and tonal adjustment.


In contrast to the adjustment layers, the retouch brushes apply modifications to a selected pixel layer, thereby affecting individual pixels on the layer.
The retouch brushes provide the opportunity for precision work in editing images and pixel layers. For example, the Dodge Brush Tool is ideal for lightening areas of shadow within a photo while leaving other areas unaffected.
Dodging adjusts the exposure under the brush stroke to lighten the painted area. This has the opposite effect to Burning.
Burning adjusts the exposure under the brush stroke to darken the painted area. This has the opposite effect to Dodging.
Sponging lets you increase or decrease the color saturation under the brush.
Blurring reduces the contrast between pixels under the brush stroke, thereby softening the edges of the painted area. This has the opposite effect to Sharpening. Blurring does not smear color within the painted area like Smudging.
Sharpening increases the contrast between pixels under the brush stroke, thereby enhancing the edges of the painted area. This has the opposite effect to Blurring.
Painted pixels are blended together to reduce noise under the stroke.
Smudging is a technique which allows you to blend pixels within an image. The brush 'picks up' color from the click point and 'drags' it in the brush stroke direction.