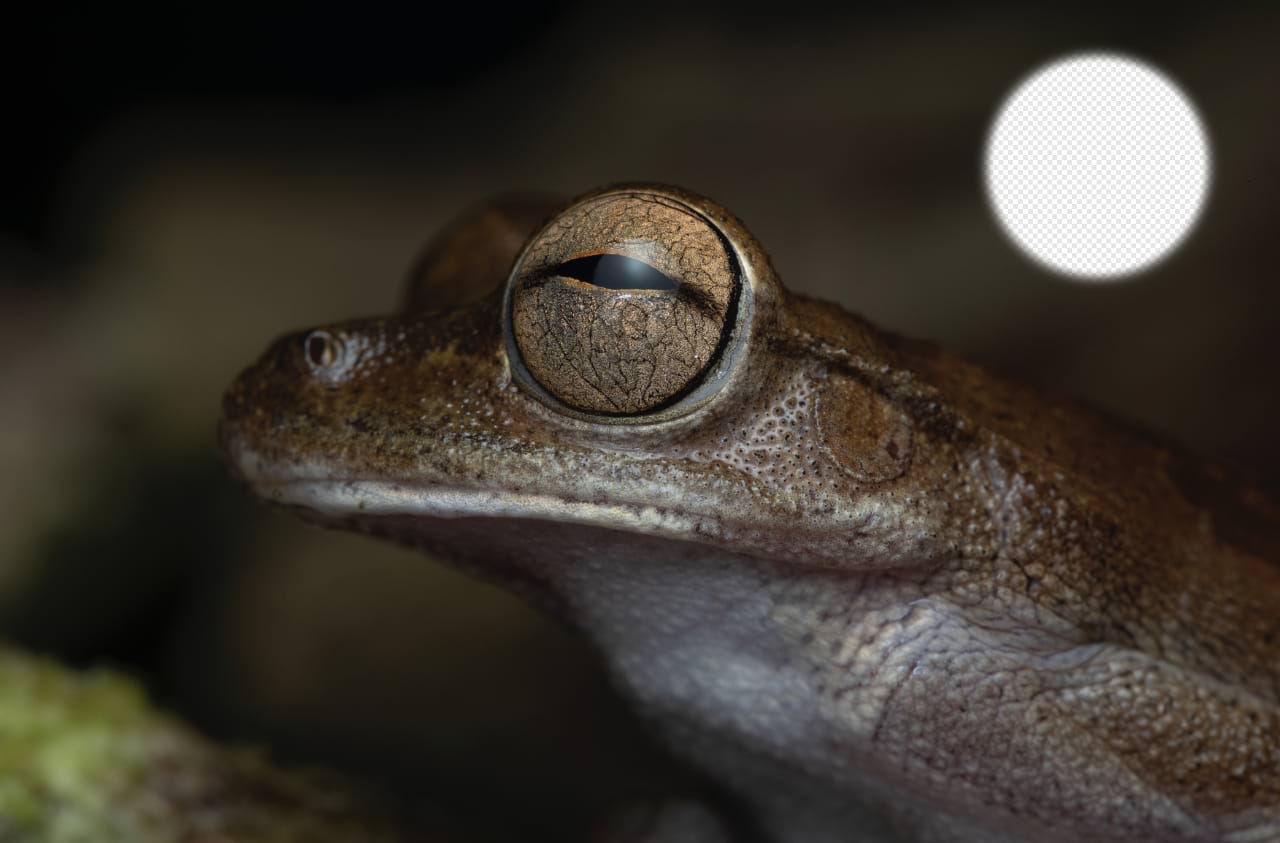
You can erase from any area of your photo using the Erase Brush Tool. Erased pixels become transparent.
Settings
The following settings can be adjusted from the context toolbar:
Width—the brush (stroke) size in pixels. Type directly in the text box or drag the pop-up slider to set the value.
Opacity—how see-through the brush is. 100% opacity erases pixels completely on the first pass. A lower opacity only partially erases the pixels.
Flow—how fast the brush effect is applied (1% is very slow, 100% is immediate). Type directly in the text box or drag the pop-up slider to set the value.
Hardness—how hard the edges of the brush are. The brush appears softer as the percentage decreases. Type directly in the text box or drag the pop-up slider to set the value.
More—click to display the Brushes dialog to access advanced brush settings.
Force pressure to control size—Click to control brush size with pressure if using a pressure-sensitive device. This overrides brush defaults.
Stabiliser—enables stroke stabilisation using either a Rope stabiliser or Window stabiliser mode; the former drags the stroke end by a 'rope' to smooth the stroke but lets you introduce sharp corners at increasing rope Length (radius) values by redirecting the slackened rope; the latter will smooth the stroke by averaging sampled input positions within a Window whose size is configurable.
Symmetry—when set to greater than 0, repeats the brush stroke around a number of axes (defined by the symmetry value). The centre axis point can be repositioned by click-dragging it.
Mirror—with symmetry enabled, causes brush strokes to be mirrored along the X and Y axis.
Lock—when checked, prevents the symmetry line from being moved.
Wet Edges—builds paint up along the edges of your pixel brush stroke, producing a watercolour effect. Check Custom and either apply a preset Standard profile or draw a custom profile using the chart; both subtly changes how watery the stroke appears.