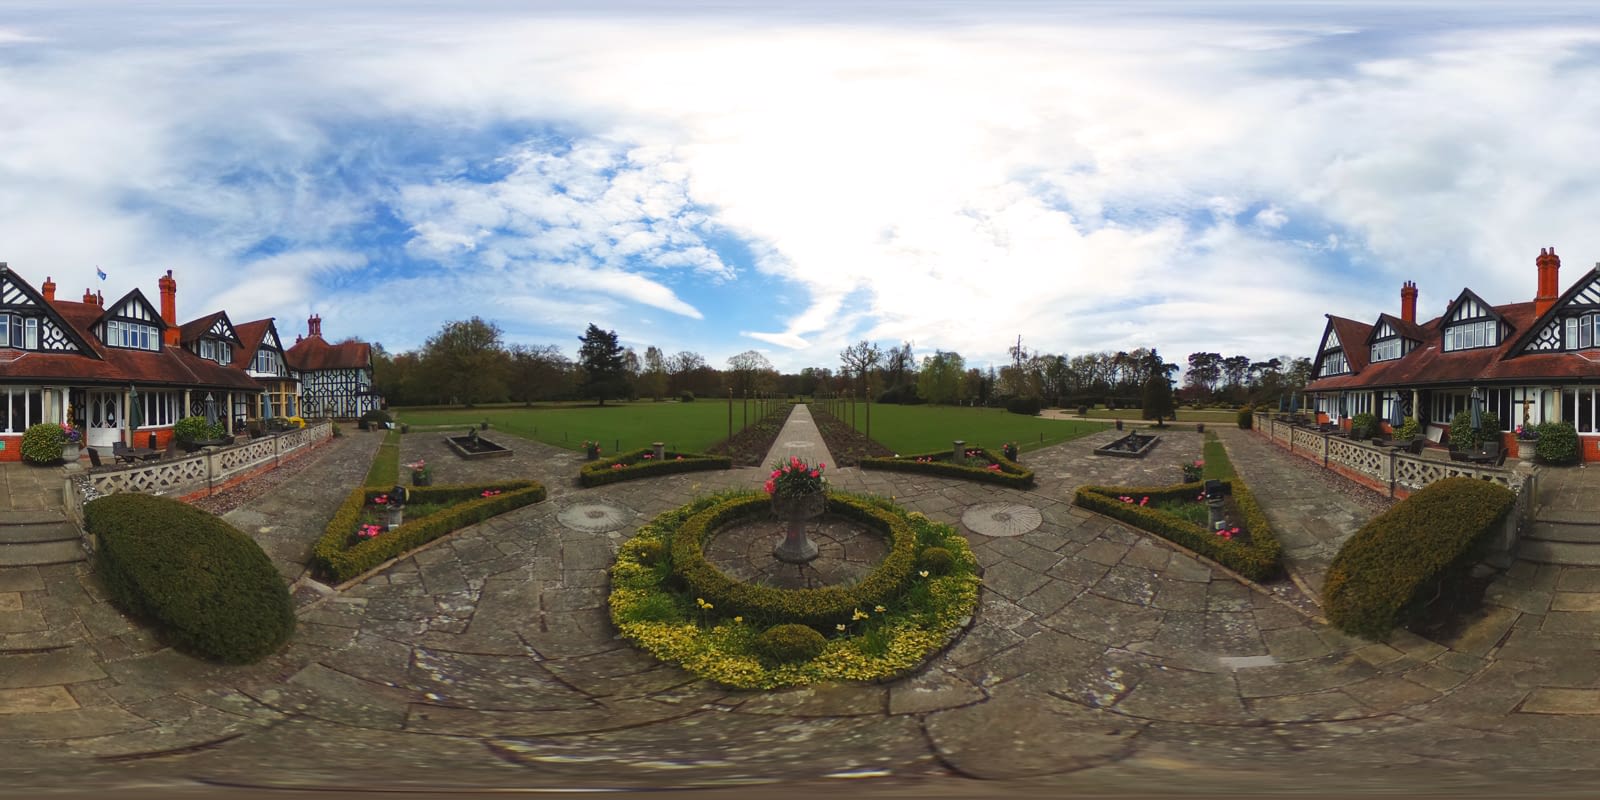
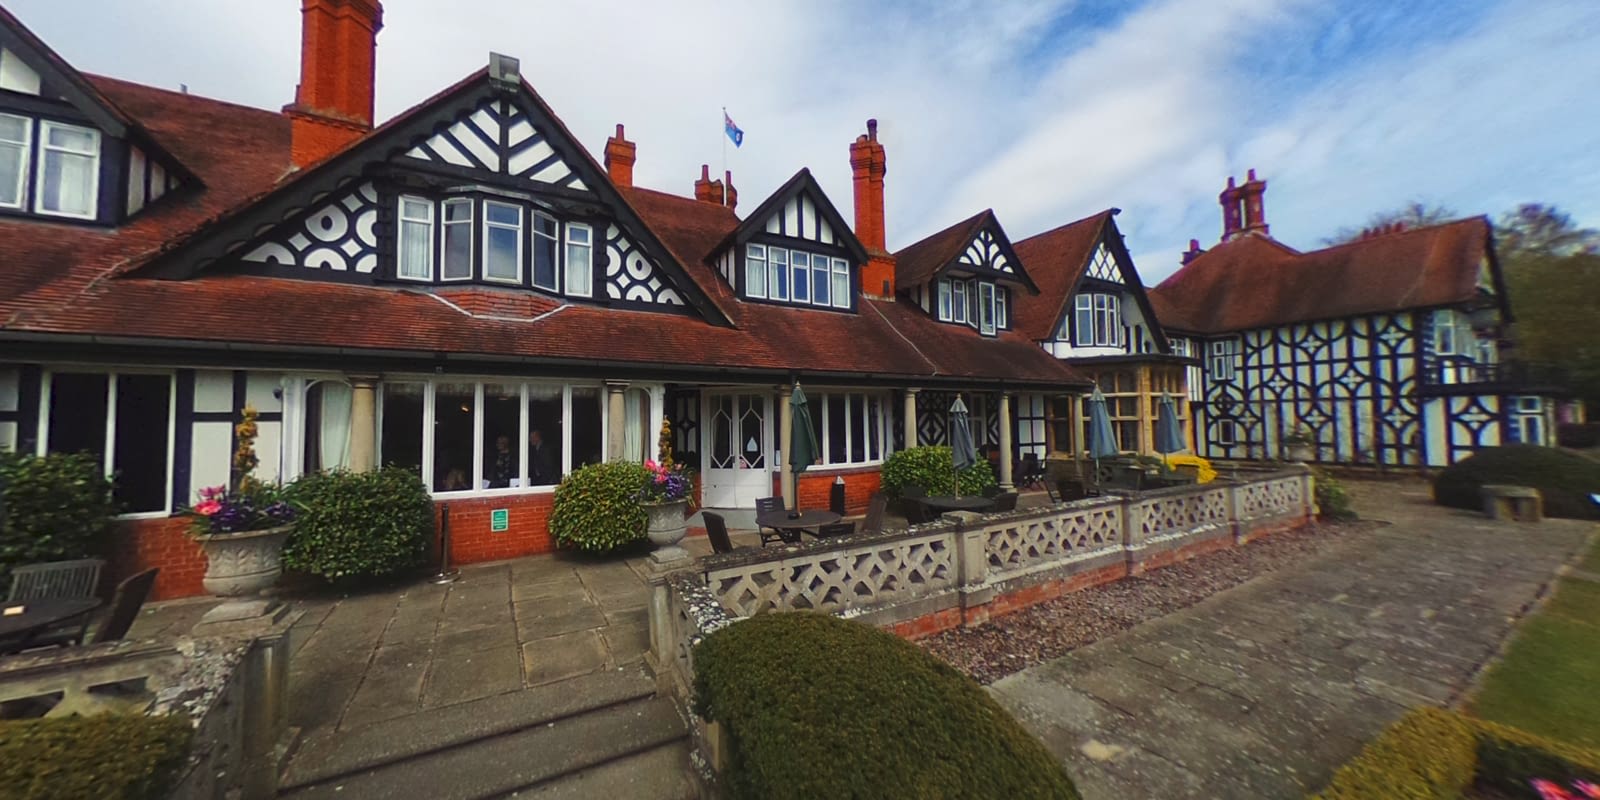
Equirectangular projection

Before
After
Before: Unmapped equirectangular image (360x180). After: Projected image.

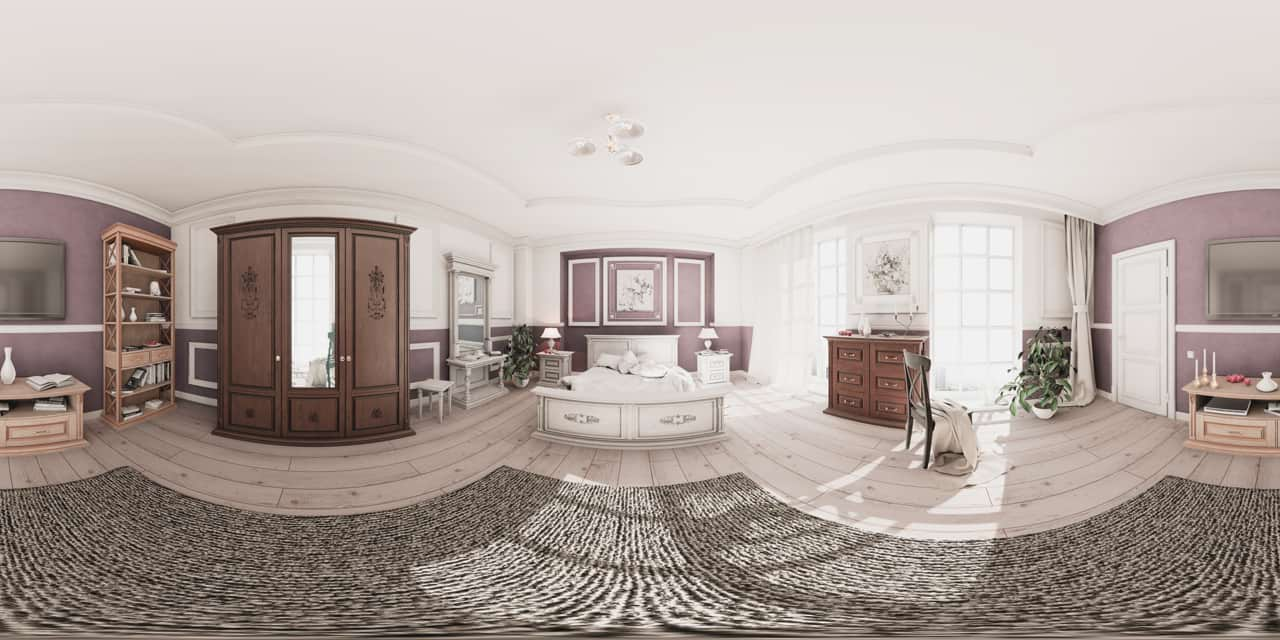
Equirectangular images, typically 360x180 panoramas, can be mapped to a live projection in Affinity Photo 2 and edited whilst they are being projected. This allows for instant feedback of detailed retouching, brush work and masking—all operations that would be difficult on an unmapped equirectangular image.

To edit an equirectangular image in live projection:
  1. With an equirectangular image layer selected, from the Layer menu, choose Live Projection>Equirectangular Projection.
  2. The image layer will then enter live projection and the Edit Live Projection Tool will be automatically selected.
  3. Use the Edit Live Projection Tool to navigate around the image until you settle on an area you wish to edit.
  4. Using the appropriate tools, make your edits.
To pan around an image in live projection:
  1. If you choose another tool when panning in live projection, you will temporarily leave the Edit Live Projection Tool.
  2. To pan around the image again, either:
    • Choose the Move Tool, then from the context toolbar, select the Edit Live Projection Tool.
    • From the Layer menu, choose Live Projection>Edit Live Projection (you can also use the keyboard shortcut listed for this option).
To add additional layers in live projection view:
  1. Whilst in live projection view, you can add content to the projected image such as text, images and brush work on new layers.
  2. Add your new layer content. For example, you could add some Text at the Nadir (bottom pole) with a copyright notice.
  3. Position and rotate the layer as you wish using the Move Tool. You can also match perspective by using the Perspective Tool.
  4. With the new layer selected, from the Layer menu, choose Merge Down. This will merge and rasterise the layer into the main equirectangular image layer.
  5. Once the content is merged, you can pan around the live projection by choosing the Move Tool, then selecting the Edit Live Projection Tool from the context toolbar.
To straighten an image:
  1. Whilst in live projection view, you will see Straighten on the context toolbar.
  2. To straighten the horizon of the equirectangular image, either click-drag the Straighten value box or click once and enter a new value in degrees.
To change an unmapped image's centre point:
  1. Whilst in live projection view, you will see Centre Coordinate System on the context toolbar.
  2. To change the middle origin point of the unmapped image, pan the view around and choose a new view point. Click Centre Coordinate System, then from the Layer menu, choose Live Projection>Remove Projection. The unmapped image's centre point will now have changed.
To exit live projection and convert the image back to equirectangular mapping:
  1. Converting your image layer back to its original equirectangular mapping will allow you to export and share it—some image hosts support 360 image projection, or alternatively you can implement a Javascript/WebGL-based viewer on your own web pages if you wish.
  2. To clear the live projection, select your image layer, then from the Layer menu, choose Live Projection>Remove Projection.

Examples

Editing in live projection view
Removing the tripod at the Nadir (bottom pole) using the Inpainting Brush.
Before
After
Before: The original equirectangular image. After: Using live projection to compose a scene from a certain area of the 360 image.