Gradient editing

The Gradient Tool does a great job in drawing a simple color gradient across layers (pixel layers, fill layers, adjustment layers, live filter layers, layer masks) as well as vector and text content. However, you might want to apply a more complex fill, introducing more than two colors along the gradient path, adjust where each color is positioned and/or control color transitions. You can do this in two ways.
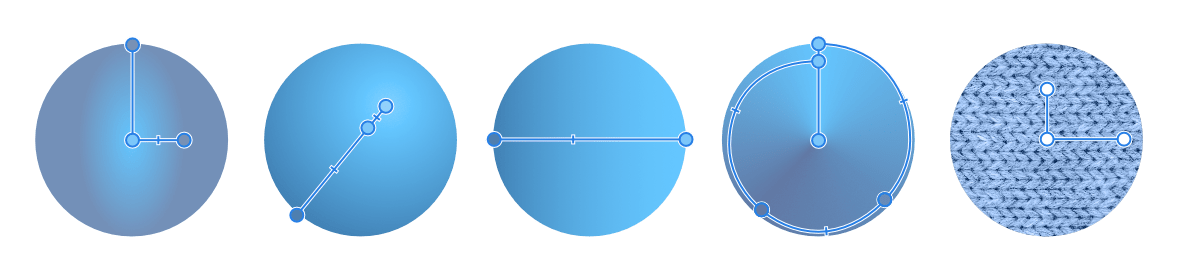
Using the former, you modify the gradient by eye; the latter lets you design with precision and absolute control.

If you apply a gradient directly to your image's layer you'll destroy the layer content. Instead, apply gradients to a separate pixel, fill, adjustment, filter, mask or vector layer. With Fill layers, your gradient path will additionally remain editable.

Color gradient examples

(From left to right) Elliptical, Radial, Linear, Conical, and Bitmap fill types applied to a basic shape.
Fill Tool To use the Gradient Tool:
  1. Make a selection.
  2. Select the Gradient Tool from the Tools panel.
  3. From the context toolbar, select either 'Stroke' or 'Fill' from the Context pop-up menu.
  4. From the context toolbar, select a fill type from the Type pop-up menu.
  5. Drag the cursor across the object's stroke or fill depending on what you selected previously.

    Hold down the to constrain the angle of the gradient path to 45°.

To create a bitmap fill:
  1. Make a selection.
  2. Select the Gradient Tool from the Tools panel.
  3. From the context toolbar, select Bitmap from the Type pop-up menu.
  4. A file browser window will appear, allowing you to select a file to use as a bitmap fill.
  5. You can adjust the scaling and rotation of the image by clicking and dragging on the canvas or by dragging one of the axis nodes. Hold down the to constrain the angle to 45°.
  6. Clicking and dragging on the middle node allows you to reposition the image on the layer.
To modify a gradient (directly on a layer):

With the Gradient Tool selected, click the content with a gradient fill applied and then do any of the following:

To modify a gradient (via the tool's context toolbar):
  1. With the Gradient Tool selected, click and drag on the page.
  2. Deselect any selected stops after applying the gradient and select the color swatch from the context toolbar.
  3. Click the Gradient option which lets you modify your gradient using the following settings:
    • Type—determines the gradient type (linear, elliptical, etc.) via a pop-up menu.
    • Position—controls the position of the stop along the gradient from left (0%) to right (100%), with 50% representing the central point.
    • Mid Point—adjusts the spread of colors between the selected color stop and the stop to its right.
    • Color—click the color swatch to display a pop-up panel where you can modify the selected stop's color (including noise value).
    • Opacity—controls how see through the stop is. 100% represents fully opaque, 0% represents fully transparent.
    • Insert—adds a new stop between a selected stop and the stop to its right. The stop adopts the color at its new position.
    • Copy—duplicates the selected stop, positioning it between the selected stop and the stop to its right.
    • Delete—removes the selected stop from the gradient.
    • Reverse—the gradient is reversed, i.e. like a mirror image.

SEE ALSO: