 Painting pixel selections
Using the Selection Brush Tool you can define a selection by painting on your page.
Using the Selection Brush Tool you can define a selection by painting on your page.
By default the Selection Brush Tool is set to expand the selection to include similar colour value pixels to those selected, even if these are not directly painted. In other words, the selection will grow up to high contrast edges within the image.


The number of pixels selected is determined by the size (width) of the brush in two ways:
This makes selecting an area of similar colour and tone effortless.
As an alternative to the expansion method detailed above, the Selection Brush Tool also has a non-expansion method of selection. This method will only select pixels which are under the brush when the stroke is painted. To use this method, clear the box next to Snap to edges.


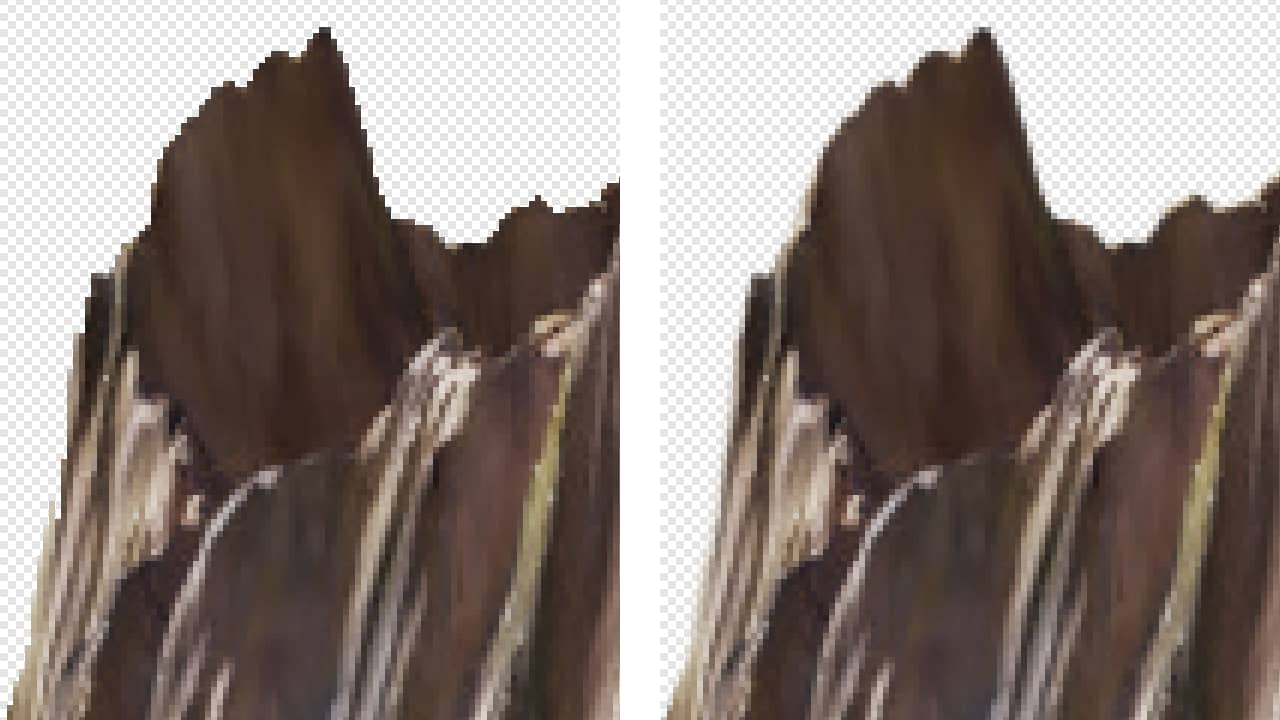
Pixels along the edge of a selection made using the Selection Brush Tool are fully opaque by default, which may result in a ragged edge when the selection is, for example, used as a mask or to composite a cut-out against a new background.
If the area being selected has a relatively simple edge, turn on Soft edges on the context toolbar and then make your selection. The tool will antialias the selection's edge; some pixels will be semi-transparent, giving an appearance that is less sharp yet often more desirable.

For complex edges, such as finely detailed hair or fur, better results can be achieved using the tool's Refine option.
With the Selection Brush Tool selected:
With the Selection Brush Tool selected, do any of the following:
See the note below for details.