Frequency separation

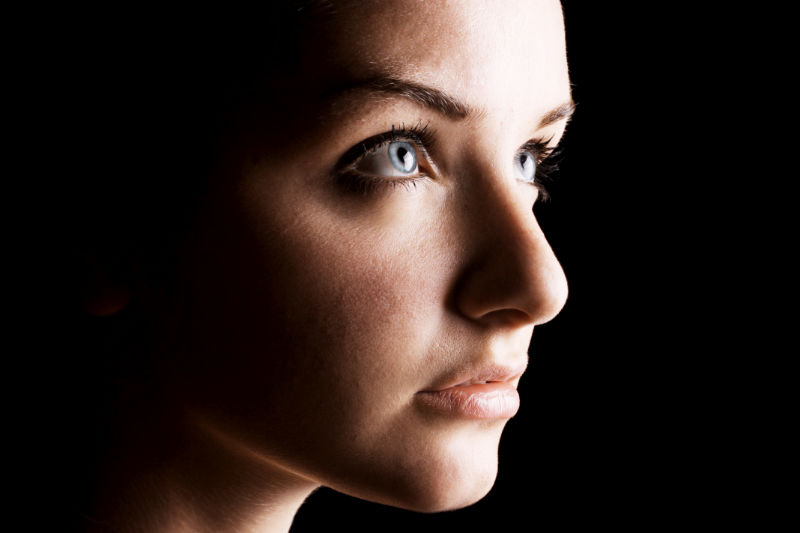
Frequency separation allows you to retouch texture and tone/colour independently for powerful portrait retouching.

Before
After
Before and after retouch on high and low frequency layers.

Frequency separation

Although the term frequency separation is initially intimidating, the concept is straightforward. By automatically separating your image colour/tone and texture into separate low and high frequency layers, respectively, you'll be able to retouch colour/tone and texture independently.

To apply frequency separation:
  1. From the Filters menu, select Frequency Separation.
  2. Drag on either high or low pass preview panes, to set the Radius (or use the slider in the dialog); this sets the balance between texture and tone. Set the value so the image's Low Frequency preview blends image colour and tone but without losing major features within it.
  3. (Optional) From the dialog, choose a Method to blur the low frequency layer:
    • Gaussian (Default): this offers a smooth blur using a weighted average.
    • Median: this blurs by broadening colour regions; it retains edges better than Gaussian blur.
    • Bilateral: this blurs while retaining areas of high contrast at image edges. Use the Tolerance slider with this blur to control how much major features are preserved when applying subsequent brush strokes.
To retouch colour or tone:
  1. From the Layers panel, select the Low Frequency layer.
  2. Apply retouch tools to the layer as appropriate.
To retouch textures:
  1. From the Layers panel, select the High Frequency layer.
  2. Apply retouch tools to the layer as appropriate.

SEE ALSO: