 To draw precise curves with the Pen Tool:
- Select the Pen Tool.
- On the context toolbar, tap one of the modes:
- Pen Mode—drag on the page to create repeated nodes; repositioning the displayed control handles at each node defines the shape of the next segment as you lay down nodes.
- Smart Mode—tap repeatedly on the page to lay down each node; a best fitting curve is created without need for control handle adjustment.
- Polygon Mode—tap repeatedly on the page to lay down each node; a line is created with sharp nodes made up of straight segments.
- Line Mode—drag on the page to create a simple single-segment straight line.
- To terminate the curve without closing it, either double-tap the last drawn node or choose the Deselect icon at the bottom left of the workspace.
To continue an existing curve:
- Tap once on the final node on the path that you want to continue editing.
- Continue to place new nodes as needed.
 To close curves to create a custom shape:
Do one of the following:
- With the curve selected with the Pen or Node Tool, tap Close on the context toolbar.
- When creating the curve with the Pen Tool, tap on the starting node to join it to the final node and create the shape.
To simulate pressure-sensitive pen strokes:
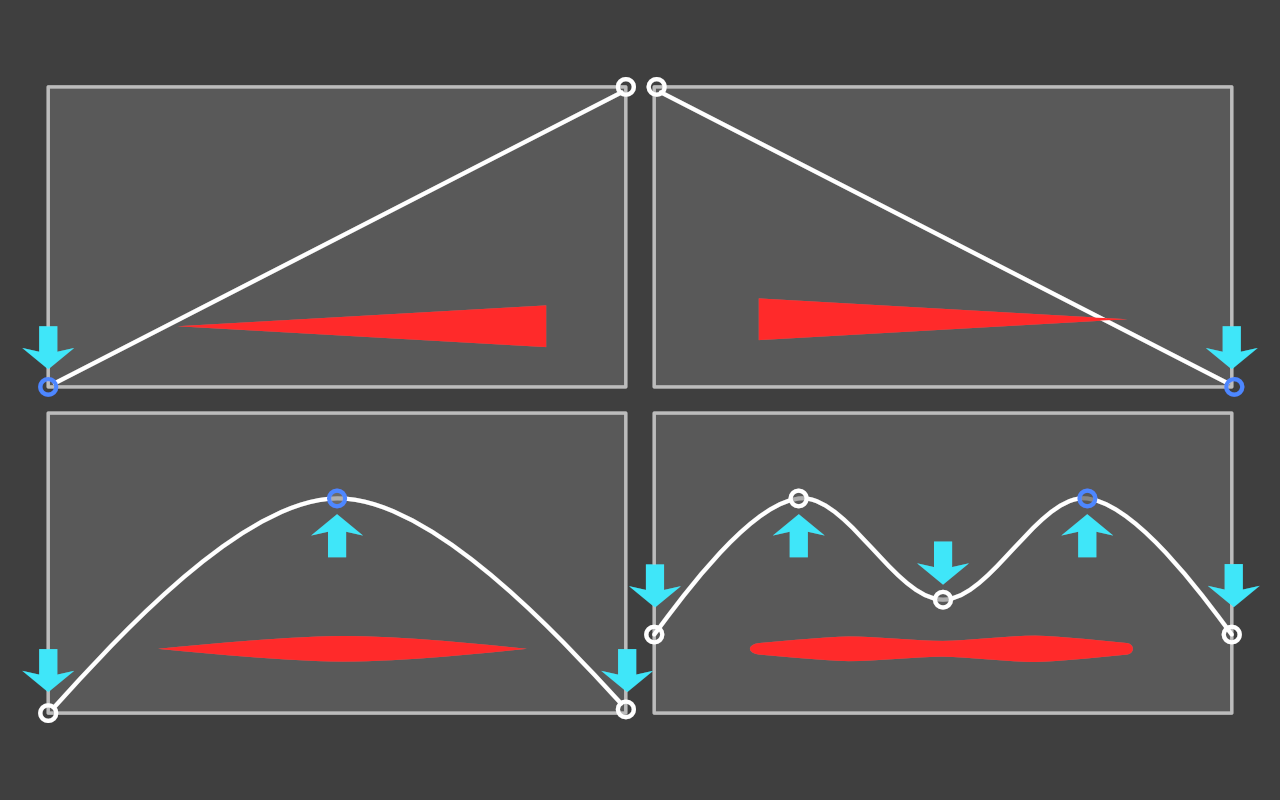
- On the Stroke Studio's pressure profile chart, select an end node on the profile's line and drag it vertically to a new position; nodes can be added by tapping on the line and then positioned freely to form a curve.
- Repeat for other nodes as needed.

To add arrowheads to a stroke:
- With a line or curve selected, from the Stroke Studio, select an arrowhead style from the Start and/or End pop-up dialogs (found in Advanced settings).
- Choose where to position the start and end styles from
 Place arrow within the line and
  Place arrow at the end of the line.
 - With arrowhead styles selected, you can then enter a percentage to the Start and End styles to adjust the size of your selected arrowheads in proportion with the stroke width.
