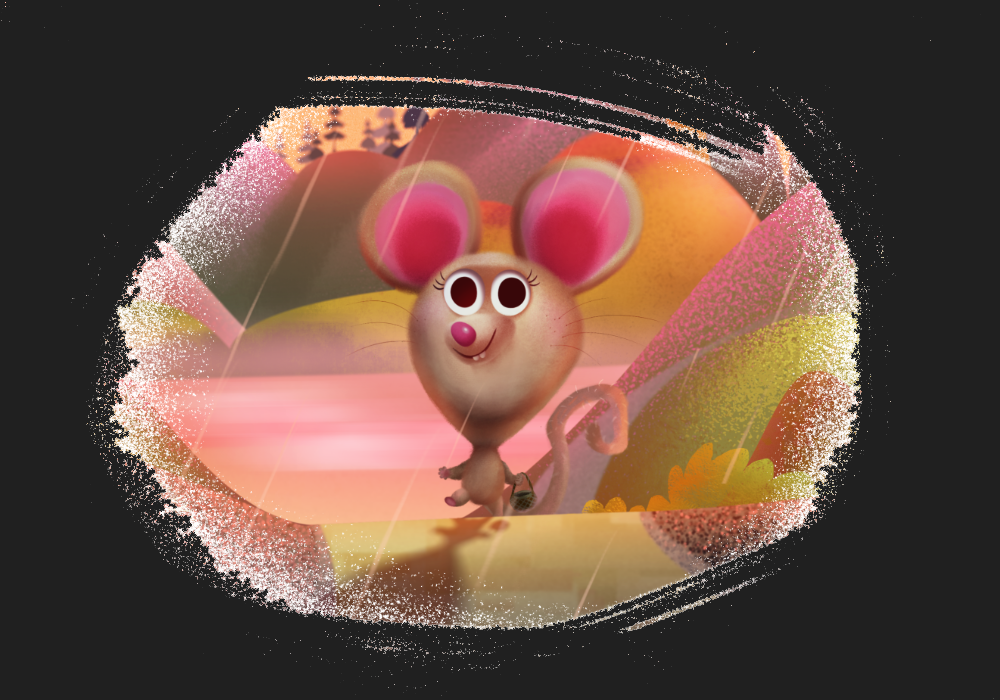
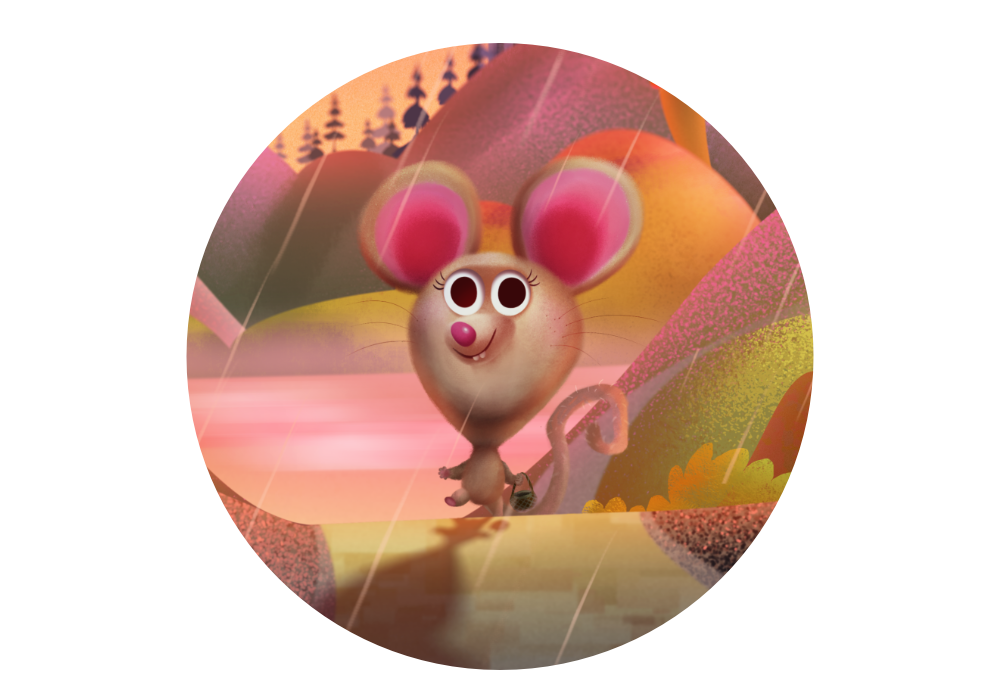
A layer mask is used to reveal a portion of a layer while the rest of the layer remains hidden. This means that you can use a mask layer to 'delete' areas of a layer that you don't want.
In Affinity Designer, two types of masking are possible: pixel masking and vector masking.
Masks are applied as a separate layer, allowing them to be freely edited and moved. Mask layers affect any layer below them within the same parent layer. They can also be clipped to individual objects so that only that object is affected.
Adjustment layers also have mask layer properties. Areas of an adjustment layer can be revealed or hidden in the same way as with a mask layer.
Once a mask layer is created, you can apply different levels of grayscale or opacity to the mask layer—apply White (or 100% Opacity) to reveal; apply Black (or 0% Opacity) to conceal; apply intermediate grayscale levels for partial masking. Try drawing a gradient (with Fill Tool) across a mask layer and assign different grayscale levels or opacity to end stops to experiment.
Mask layers can have a unique blend mode assigned.

On the Layers panel, do one of the following:
Tap Add and then tap Mask Layer.
The added mask will hide areas outside a selection (if a selection is in place) or display the entire layer (if no selection is in place).
Tap Add and then tap Empty Mask Layer.
The added mask will hide the entire layer regardless of any selection in place.
The masking object is clipped to the target object using a "crop to top object" operation.
The masking object can be a group of objects which will remain as independent objects after masking; the group can be expanded/collapsed and its objects will remain editable.
On the Layers panel: