Using multiple strokes and fills

From the Appearance panel, you can add a number of separate strokes and fills to any selected object. These can be gradients or solid colors. This combined with the ability to alter the transparency and blend mode for each stroke and fill applied, can be used to produce a range of different color interactions between upper and lower strokes and fills.

Strokes and fills listed in the Appearance panel are arranged by z-order (like layers in a layer stack) and can be dragged and dropped to reposition them within the panel.
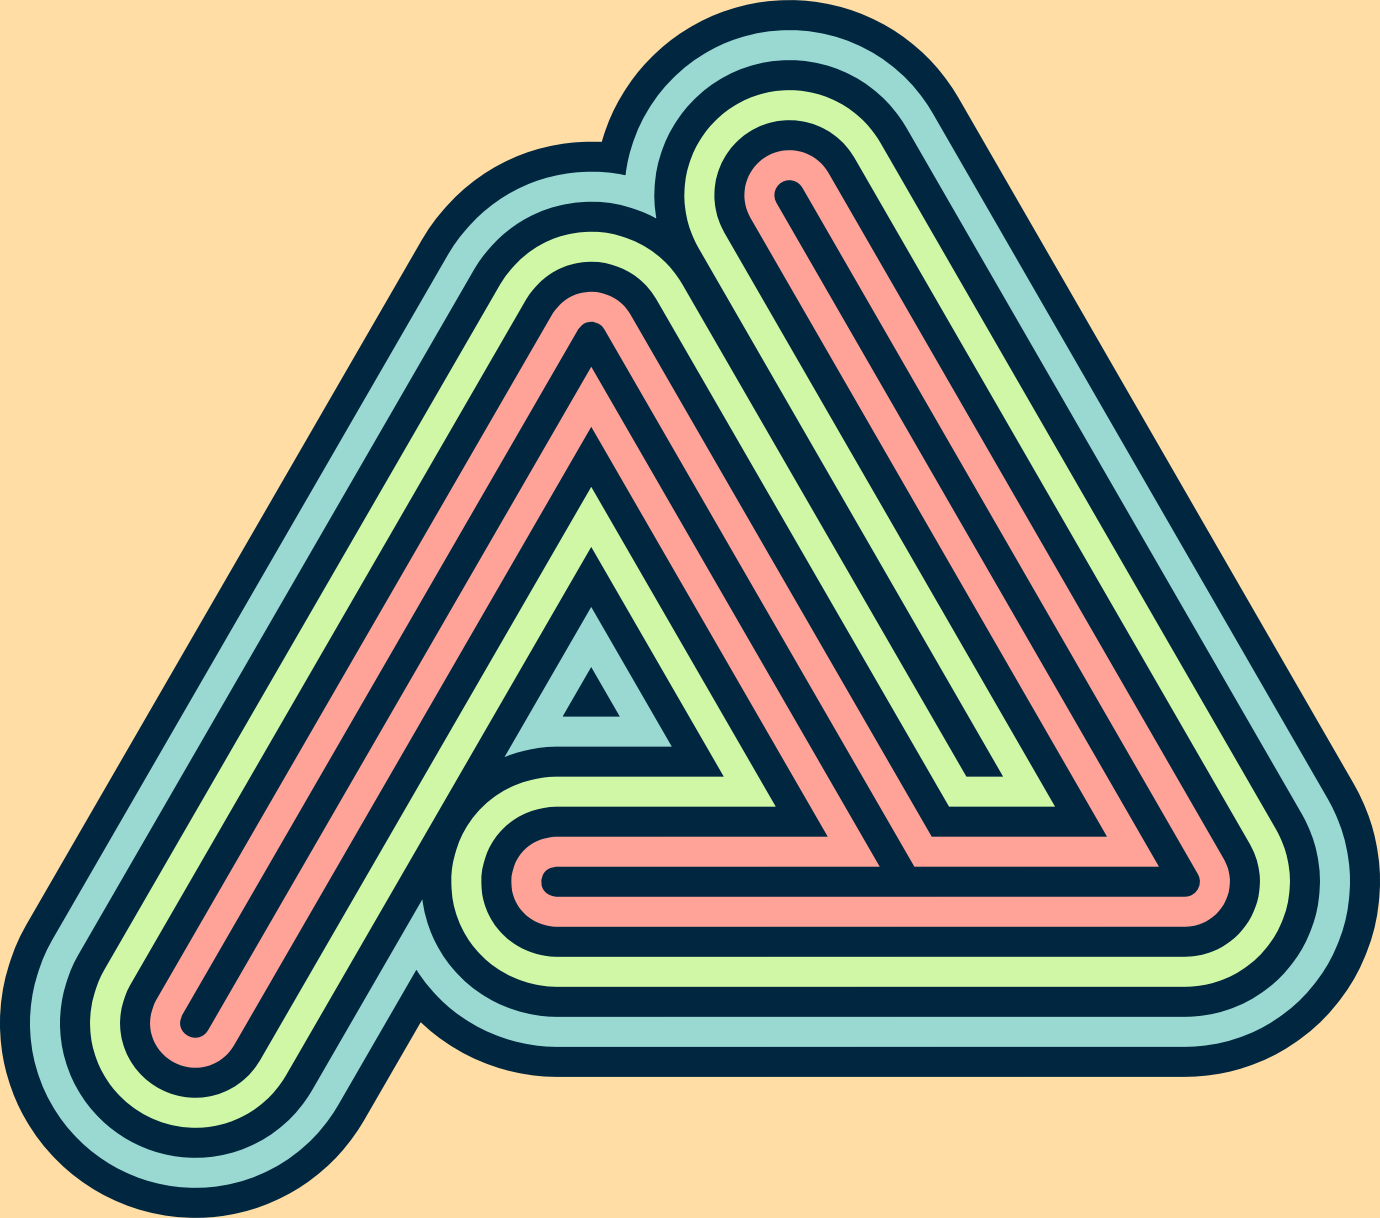
Multiple strokes and fills
Add Stroke Add Fill To add additional strokes or fills:
  1. With an object selected, tap the Appearance panel.
  2. From the panel, select Add Stroke or Add Fill.
To edit a stroke or fill:
  1. Select the stroke or fill in the Appearance panel. A circular marker appears before the stroke or fill entry to indicate it is active.
  2. Do one of the following:
    • Color panel To change the stroke/fill color only, tap the Color panel's icon and choose a color from the panel.
    • Color panel To change the stroke/fill color luminance only, swipe up/down on the Color panel's icon.
    • Color panel To apply a gradient to the stroke or fill, select the Gradient Tool and drag a gradient across the object; change the gradient type (e.g., from linear to radial) on the context toolbar. Use the Color panel to recolor the stops or alter their opacity.
    • Stroke panel To change stroke width, swipe up/down on the Stroke panel's icon.
    • Options Tap the Options button, then use the color and blend mode pop-up menus to change the properties of the stroke or fill.
To reorder strokes and fills:

SEE ALSO: