Adding objects by shape building
Shape building adds separate shapes together to make more complex shape designs using the Shape Builder Tool. It can also be used to delete shape areas.

Shape building adds separate shapes together to make more complex shape designs using the Shape Builder Tool. It can also be used to delete shape areas.
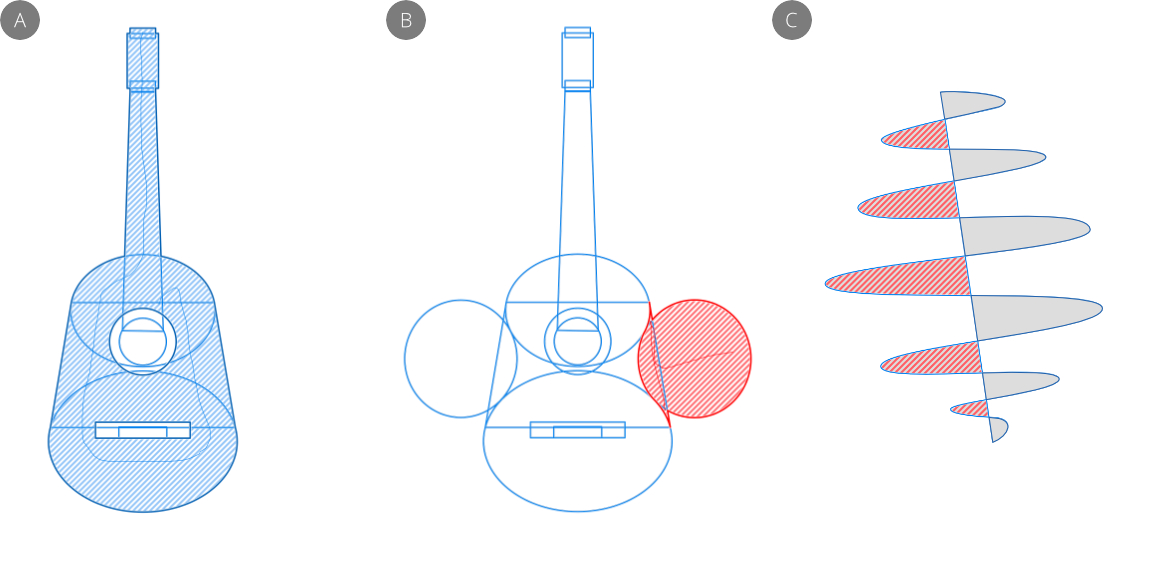
Shape building lets you add geometric and closed shapes into a single, identifiable real-world shape, e.g. a guitar, steam train silhouette, celtic knot, etc. You can also delete unwanted areas that result from overlapped shapes for interesting cutout effects. Open filled and unfilled curves can also have concave or enclosed areas deleted.
The tool works by making an in-tool selection of 'candidate' shape areas for shape building, then either adding the selected areas together to form a new shape or removing selected areas.
Objects need to be previously selected prior to shape building. Typically, drag a marquee over the shapes you want to work with. You can then choose which objects will be shape building candidates by dragging across shape areas in different ways, i.e. using a freehand line, straight line or selection marquee.
The default tool behavior is to build up a selection of candidate shape areas, then once you're happy with your selection you can add or delete them in a final operation. This offers maximum flexibility and experimentation while shape building in advance of committing to your changes. Alternatively, you can take an 'as-you-go' approach to shape building where different Action modes will add, delete or create areas immediately using the different drag methods mentioned previously.
When adding areas, the object style (fill/stroke color, layer effects and stroke properties) from the heavily outlined area you drag from (or marquee select from) is carried over by default; dragging from outside the area will pick up the currently set default stroke/fill instead. You can disable this by unchecking Use style from first selected area on the tool's context toolbar. Instead, the currently set default stroke/fill will be applied to the newly created area.