Pressure sensitivity

Affinity desktop apps offers complete flexibility when using pen tablets or Force Touch-enabled devices for real pressure-sensitive drawing and painting. If you prefer a mouse or trackpad (not Force Touch), Affinity apps offers simulated pressure sensitivity.

Affinity desktop apps offer complete flexibility when using pen tablets for real pressure-sensitive drawing and painting. If you prefer a mouse, Affinity apps offers simulated pressure sensitivity.

Whether you're using vector-based Pen, Pencil or brush tools, or pixel-based brush or retouch tools, you can simply connect your device and you're ready to go.

For mouse users, Affinity apps let your mouse become velocity sensitive by default. The same tools can be used but with simulated pressure sensitivity based on the speed (velocity) of your mouse movements.

While you get the response you need from either input, you'll still be able to fine-tune settings for pressure/velocity.

If you want to create a custom pressure profile that can be applied to a previously drawn stroke, you can design it and apply it from the Stroke panel. This can be optionally saved as is, or modified before saving.

Pressure sensitivity while painting

Pressure-sensitive painting is governed by the brush controller which is set to automatic by default—it senses the type of input device and varies brush size, flow, etc. as you paint according to a particular input:

If set to 'None', the brush is always a fixed size, flow setting, etc. Otherwise, the brush stroke properties will vary from a minimum to maximum amount (e.g. the full brush width).

Jitter options

To create a custom pressure profile:
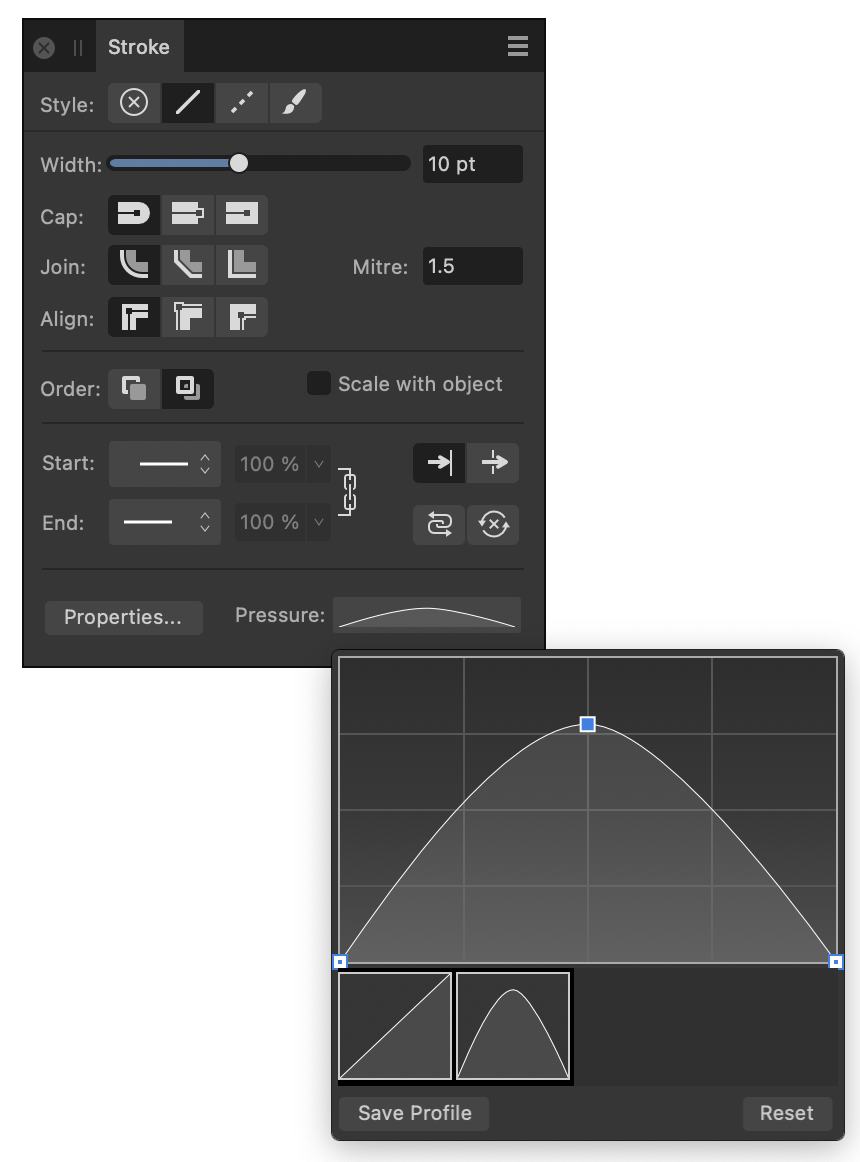
  1. On the Stroke panel, click the Pressure input box.
  2. Manipulate the chart by moving the square pressure points to form the desired pressure profile. (See examples below.)
  3. Begin drawing your strokes.
Pressure profile
Uniformly reducing stroke width using locked points (A), linear tapering of stroke (B; unlocked by -drag or second click then drag), tapering of stroke at both ends (C; a combination of A and adding a new point by clicking) and modulating stroke width (D; a combination of A and adding multiple points).
Point type Description
Pressure end node deselectedEnd point (deselected)—drag to move both end points up/down at the same time
Pressure end node selectedEnd point (selected)—drag to move both end points up or down at the same time or click to move the end point independently of the other end point
Pressure added node deselectedAdded point (deselected)— drag to reposition the point which becomes selected
Pressure added node selectedAdded point (selected)—drag to reposition the already selected point
To save a pressure profile:
To apply a custom pressure profile to a selected stroke:
  1. From the Stroke panel, click the Pressure option.
  2. Select a custom profile from below the chart. The chart will update, showing the chosen profile.
Custom pressure profile
To reset the pressure profile:

The profile reverts to its default.

SEE ALSO: