Draw pencil lines
Use the Pencil Tool to apply pencil lines, giving a hand-drawn effect to your design. A range of settings can be enabled to fine-tune the pencil stroke's appearance.

Use the Pencil Tool to apply pencil lines, giving a hand-drawn effect to your design. A range of settings can be enabled to fine-tune the pencil stroke's appearance.


Sculpting allows you to modify the pencil stroke when the stroke is still being drawn or if it is reselected again for further editing. Two techniques are possible:
You can also perform advanced editing of the pencil stroke with the Node Tool. For example, node and control handles can be repositioned.
Affinity Designer's stroke stabiliser smooths pencil lines as you draw, helping you to produce a more aesthetically pleasing stroke.
A Rope stabiliser or Window stabiliser mode can be used; the former drags the stroke end by a 'rope' to smooth the stroke, but lets you introduce sharp corners at increasing rope Length (radius) values by redirecting the slackened rope; the latter will smooth the stroke by averaging sampled input positions within a Window whose size is configurable.

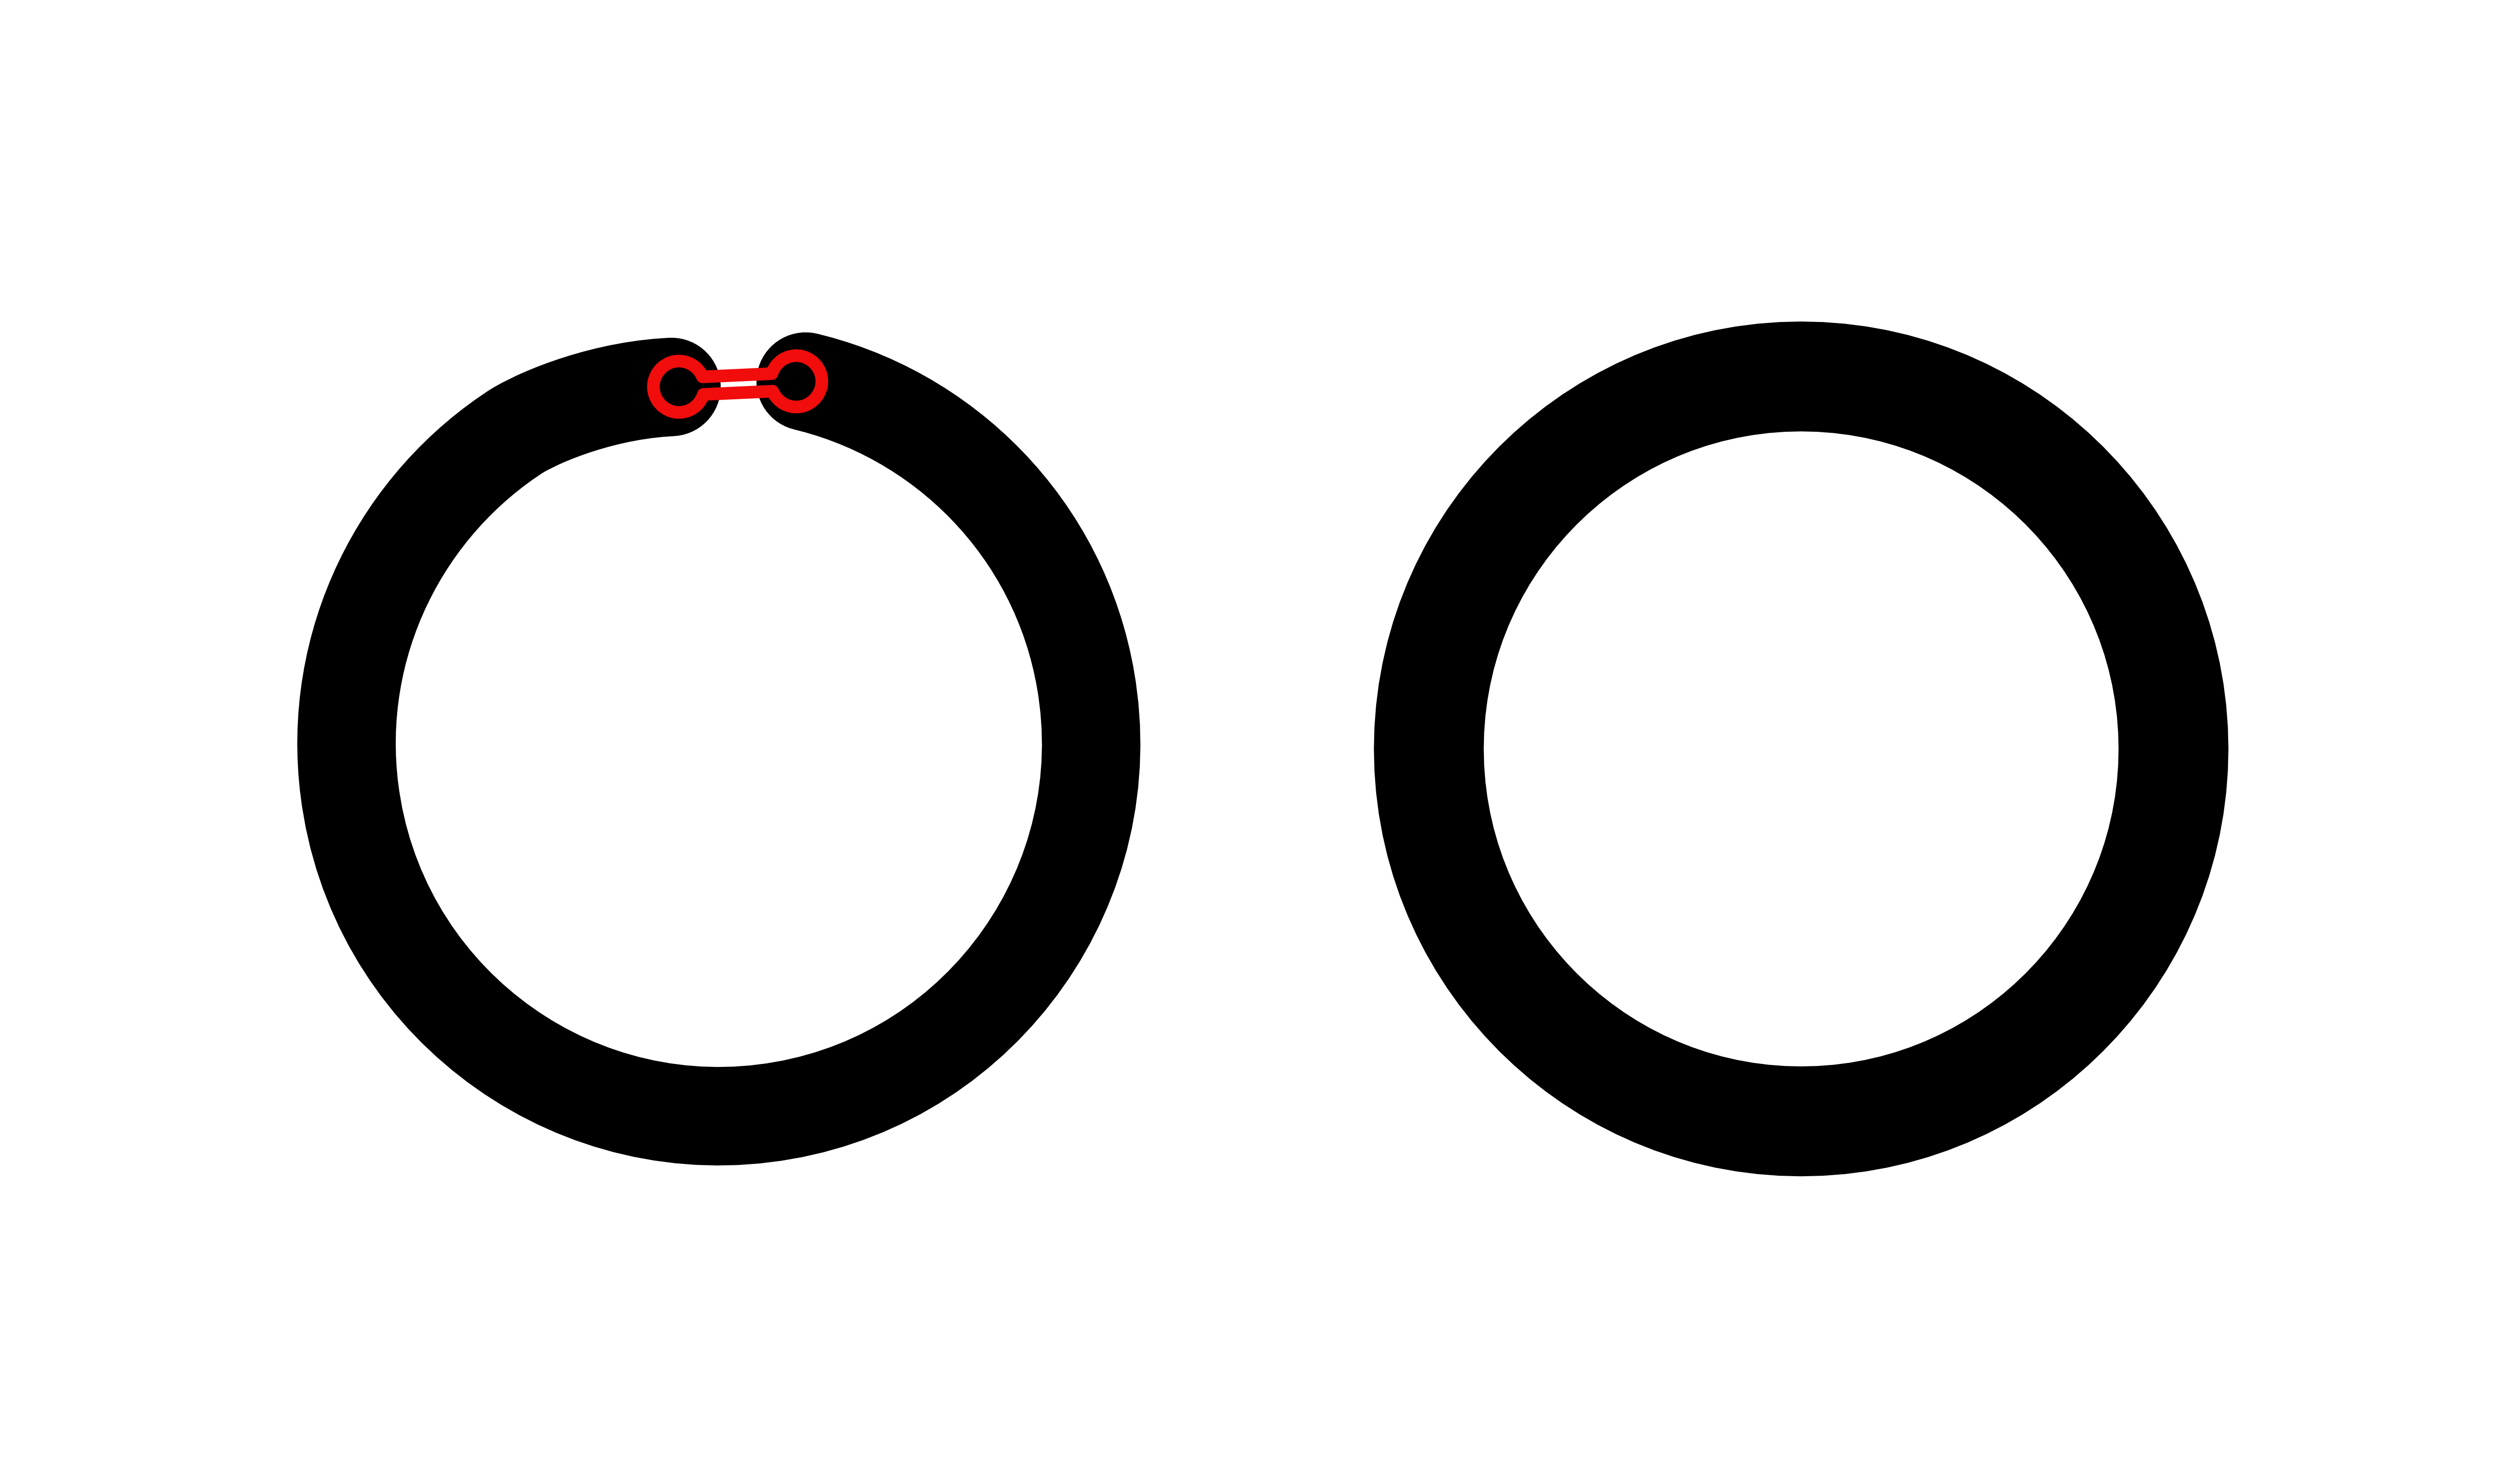
The context toolbar's Auto close options let you create a closed curve from your stroke when enabled. While drawing, if the pencil cursor nears the same curve's starting node, a 'dog bone' visual aid temporarily appears to indicate that closure will occur on mouse release.
Auto close can be set with the following options on the context toolbar: