Painting pixel brush strokes
You can use Pixel Persona to add photo-realistic textures to your vector designs using pixel brushes. Alternatively, you can use basic hard- and soft-edged pixel brushes to add shadows and highlights to your work.
You can use Pixel Persona to add photo-realistic textures to your vector designs using pixel brushes. Alternatively, you can use basic hard- and soft-edged pixel brushes to add shadows and highlights to your work.
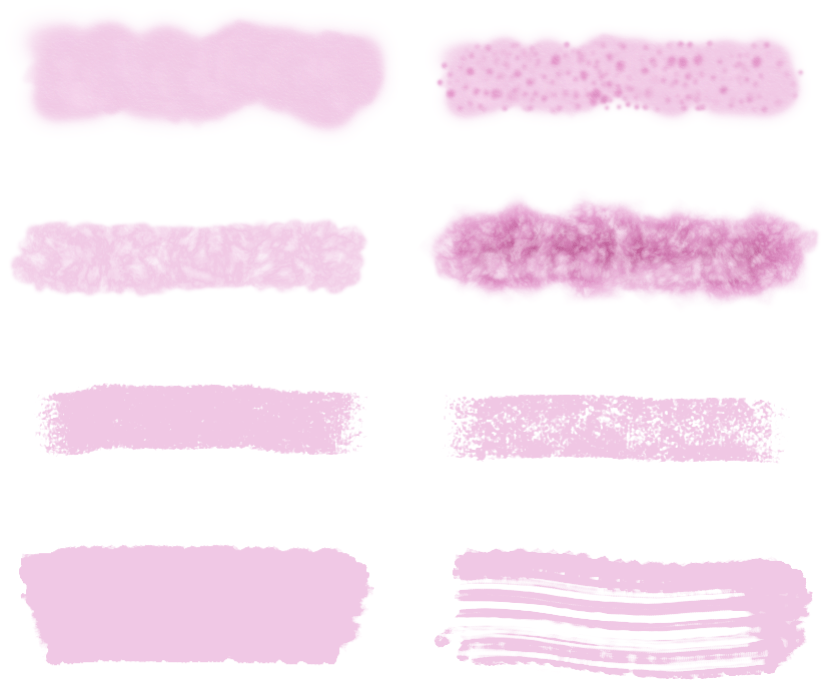
Affinity Designer provides an impressive selection of pixel brush designs for use with your Paint Brush Tool. Each category contains brushes of varying properties and characteristics.
You can also create your own pixel brushes to assist with your design work. If you want to save a brush, these can be stored in the panel as a custom brush for future use.
This feature allows any brush to have one or more additional sub brushes attached to it. The sub brushes will draw over the top of the base brush as the stroke is applied. It is intended to introduce more nib variety, randomness and character to your brush stroke appearance (avoiding repetitive texture tiling) so the results are more varied and natural. Each sub brush can have a fully separate and customizable set of dynamics. You can control where the sub brushes are drawn on the stroke and how they blend with the main brush.
Sub-brushes can be created from an existing brush or as a new brush by accessing the Sub-brushes tab in the Brush - Editing dialog (double-click a pixel brush in the panel to view). You can drag and drop existing brushes from the same Brushes panel category directly into the tab's Sub Brushes list. Change the order in which they are added to the main brush by dragging them up or down in the list.